51
B751
180
6. Secure the log using the log clamps. Adjust the
height of the log clamps, but do not position them
so high that the saw blade may come into contact
with them.
7. Set the height of the saw head for the first
kerf using the kerf depth crank. Turning the crank
clockwise raises the saw head, and turning it
anticlockwise lowers it.
8. Check that the saw blade runs clear of the log
supports and log clamps.
9. Set the adjustable saw blade guard to allow for
the widest part of the log.
10. Open the saw blade flushing valve so that water
drips onto the blade guide roller/saw blade.
11. Before each saw kerf, perform all checks refer-
red to under Before each saw kerf in the Safety
instructions section.
12.
Stand behind the push handle of the saw
carriage, then start the combustion engine. Open the
throttle by squeezing the dead man’s switch all the
way in. This will increase the speed of the combustion
engine to its operating range, and the band wheels/
saw blade will start to move.
13. Placing both hands on the push handle, carefully
push the saw carriage forward until the saw blade
starts to cut into the log. The feed rate can be
increased once the entire bandsaw blade is engaged
in the log. Keep adjusting the feed rate to ensure
the kerf is straight and smooth. Reduce the feed rate
when cutting through knots in the log, and select
a lower feed rate when sawing coarser logs and
harder timber varieties. Also reduce the feed rate
as you approach the end of the log.
14. As soon as you have sawn through the log,
release the dead man’s switch and stand still until
the saw blade has come to a complete stop. Tip:
The blade will stop more quickly if you release the
throttle just before the blade cuts through the log.
15. Remove the sawn section from the log.
16. Raise the saw head slightly and return the saw
carriage back to its starting position by hand.
17. Set the height of the next kerf. Use the crank
and read off the gauges.
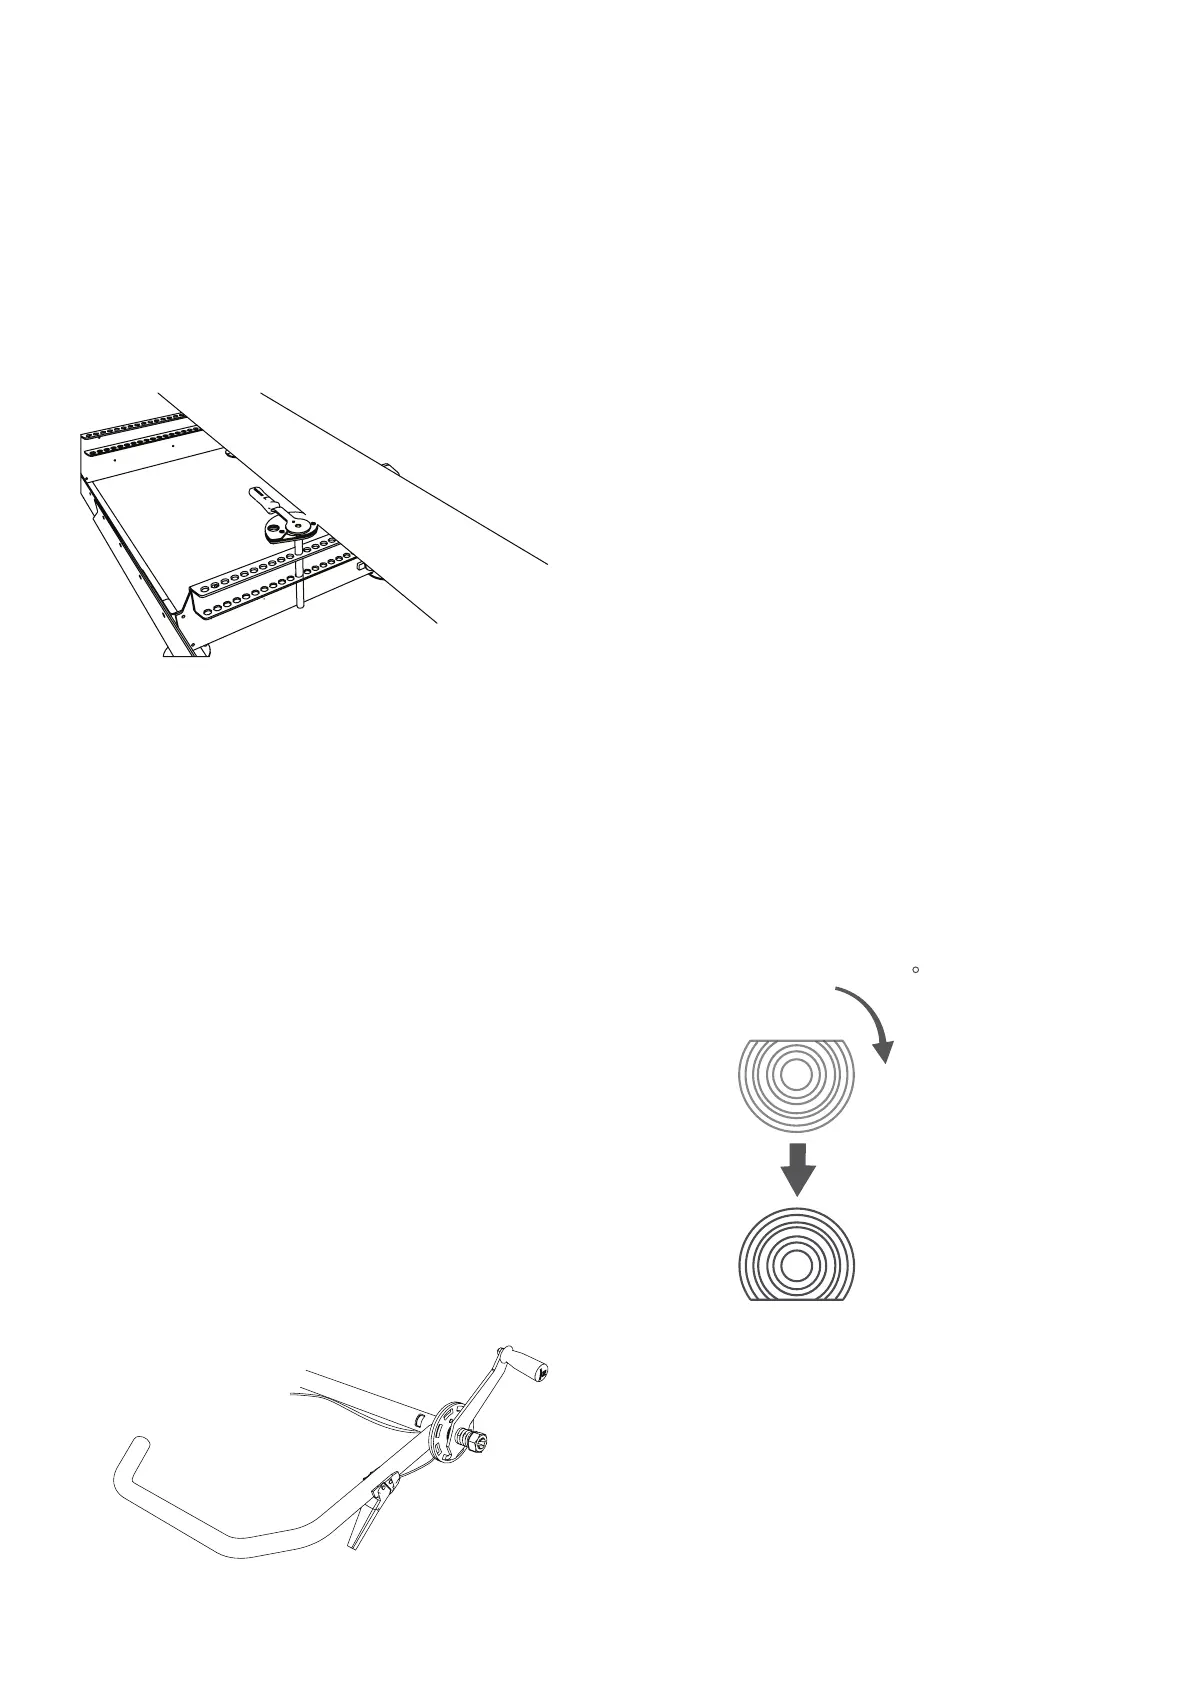
18. Turn the log through 180° so that the freshly
sawn surface is lying against the log bed.
Lower the log supports and log clamps so that they
cannot come into contact with the saw blade, then
clamp the log in position. Saw until you achieve the
preferred block width.
Log clamps. Use of two log clamps is recommended.
Push handle with dead man’s switch.
Turn the log through 180° so that the freshly sawn
side faces towards the log bed.
OPERATING INSTRUCTIONS