Pump Accessories Installation 7170 Pump Installation
EN EN9 Pump Accessories Installation
Pumps can be installed with a range of protective
and enhancing accessories. For an overview, please
also refer to "Figure 2: Submersible pump layout" on
page 20 and "Figure 3: Surface pump layout" on
page 21.
a
CAUTION – Installing a SunSensor
is mandatory for all PSk3 CS-F and CS-G
series solar pump systems. Operating
without a SunSensor can lead to
increased wear or damage the pump.
Such damage is excluded from the
warranty.
CAUTION – Never let the pump run
dry. Dry running will damage the pump
and void the warranty. LORENTZ requires
a dry run protection for every pump
system.
CAUTION – Installing a surge
protector at all switch inputs is
recommended, damaged inputs due to
electric surges are not covered by the
warranty.
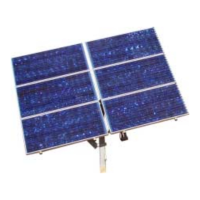
9.1 Well probe
The well probe, see also "Figure 37: Well probe" on
page 71 contains a mechanical oat with a magnet
inside. When the probe is submerged, the oat rises,
and the magnet actuates a switch. The switch closes
(makes contact) to indicate the presence of water.
If the water level drops below the probe, the oat
drops, and the switch opens (breaks contact): The
controller will stop the pump. When the water level
recovers and the switch closes again, the controller
will delay the restart for 15 minutes for the water
level to recover. To force a quick restart, turn the
controller o, then on again. The switch is sealed, so
the contacts never touch the water.
Figure 37: Well probe
l
WARNING – Do not start the pump
until it has been lled completely with
water.
WARNING – Make sure that the
installed shuto valves in the suction and
pressure lines are completely open during
operation, the pump must never run with
shuto valves closed!
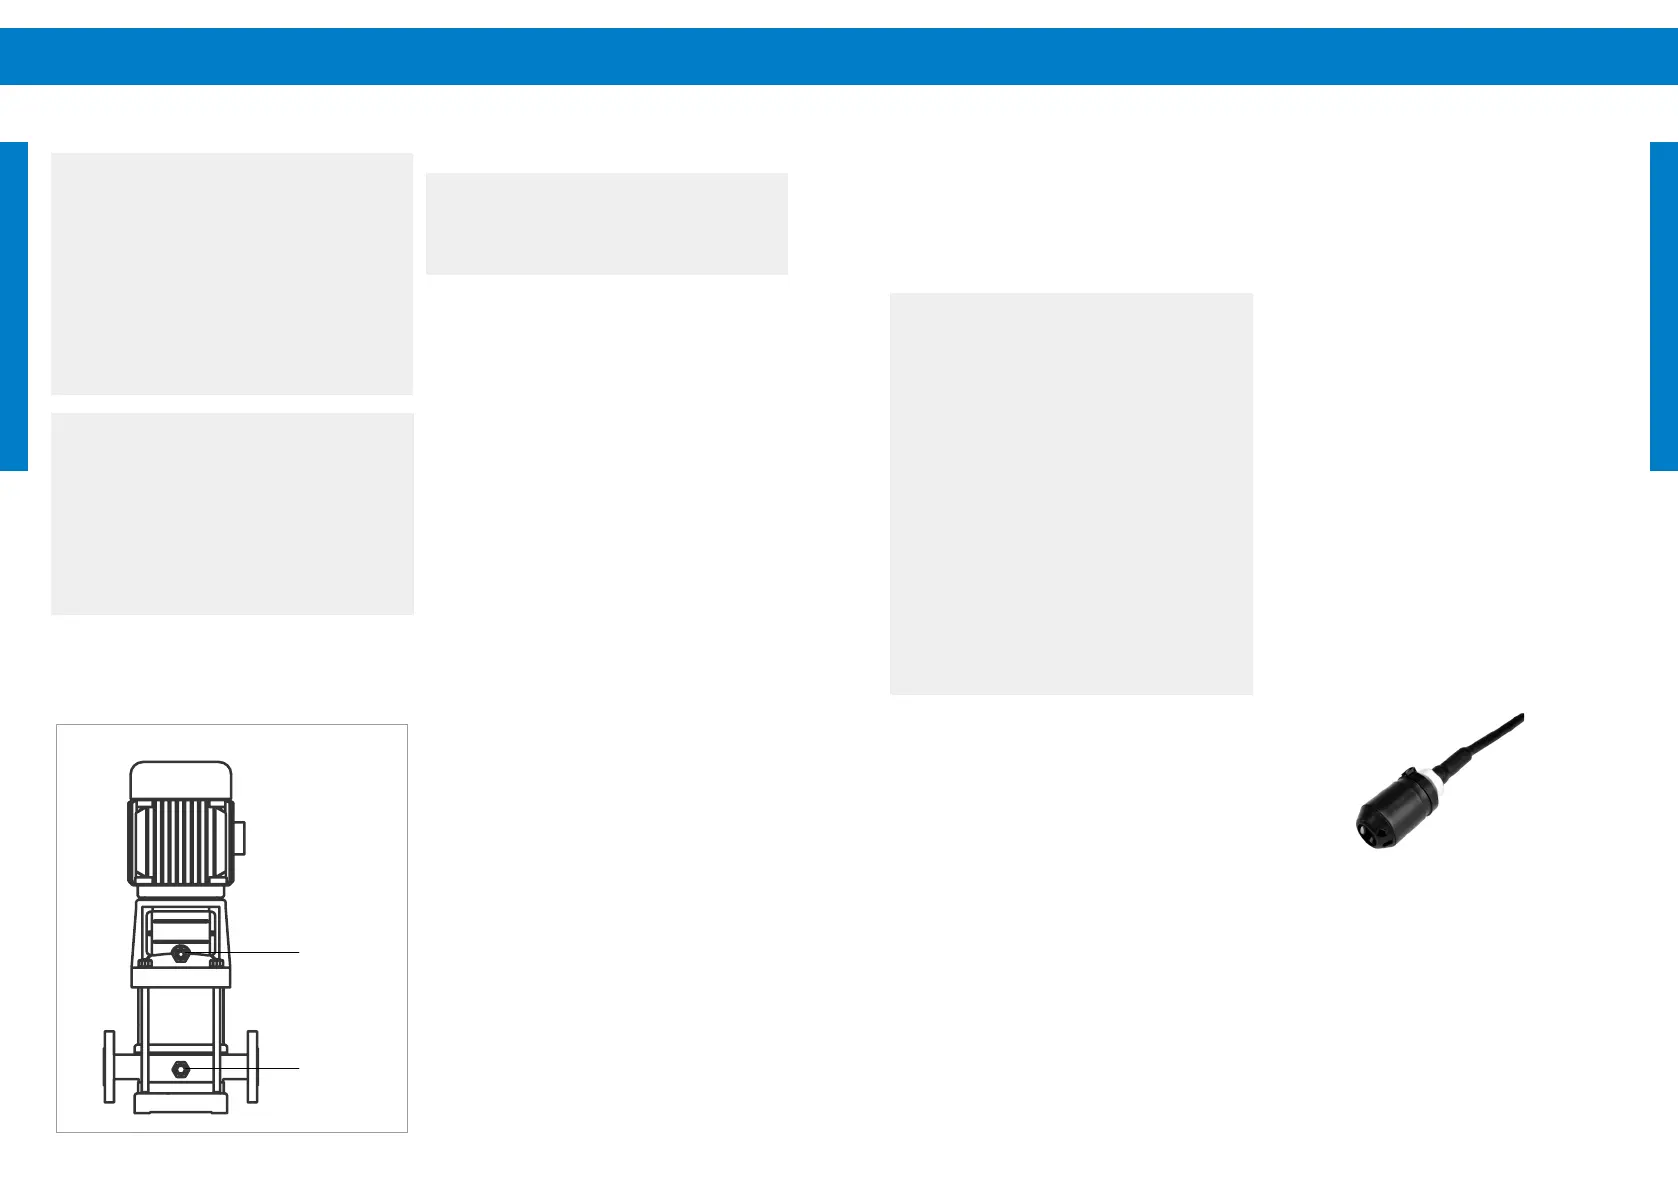
Figure 36: Vent and drain holes
8.3.5.2 Rotary direction
a
CAUTION – Never let the pump run
dry, not even for the purpose of checking
the direction of rotation! Dry running will
damage the pump and void the warranty.
Switch on the power supply and look at the rotary
direction by looking at the motor fan. An arrow on
the pump unit indicates the correct direction of the
rotation.
Viewed from the top, the pump turns
counterclockwise.
8.3.5.3 Final Check-up
Check whether the foundation bolts are fastened,
the pump and suction pipes are completely lled
with water, the voltage of the power supply is correct
and that the pump turns correctly. Make sure all
pipelines are connected tightly and can supply water
normally. Make sure there is no closed valve or other
obstruction in the water line.
a
CAUTION – Installing a suitable ller
pipe is highly recommended for proper
priming of the pump system. A pump
system which is not primed completely
will likely get damaged when it is
switched on.
CAUTION – A nonreturn valve must
be installed at the start of the inlet
pipeline otherwise it is impossible to
prime the pump successfully.
Water drain
hole
Air vent hole