DDNS Setup (Advanced)
19
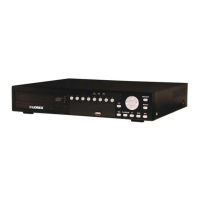
3. Reconnect the power adapter to power the system back on.
Security System
(may not be exactly as
shown)
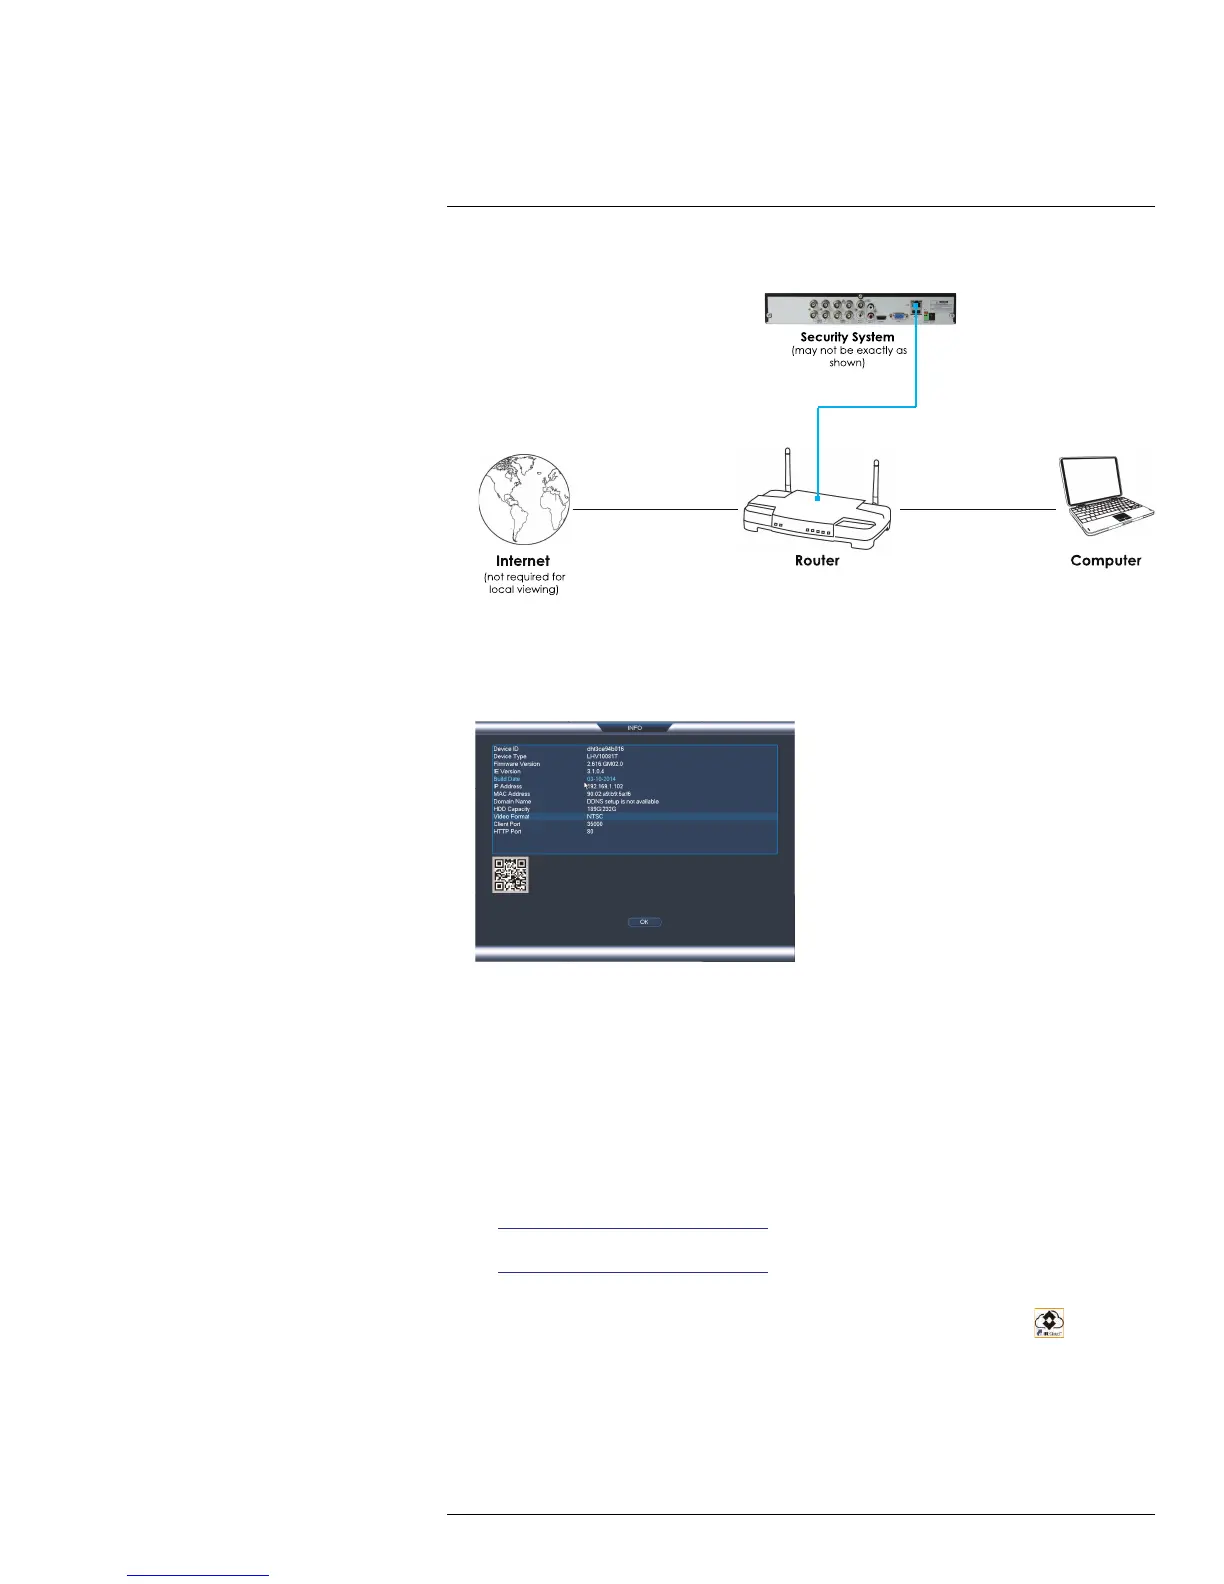
19.1.2 Step 2 of 3: Obtain the System’s Local IP Address
1. Right-click to open the Quick Menu and click Info. Enter the system user name (de-
fault: admin) and password (default: 000000).
2. Write down the IP Address of the system.
• A local IP looks something like this: 192.168.5.118.
19.1.3 Step 3 of 3: Connect to the System’s Local IP Address
Follow the steps below to confirm connectivity over a local network on a PC or Mac.
To connect using the system’s local IP address:
1. Download and install the client software.
• PC Users: Download and install the Client Software for PC from
www.lorextechnology.com/support.
• Mac Users: Download and install the Client Software for Mac from
www.lorextechnology.com/support. Double click to extract the software. Drag the
software to Applications.
2. Once installation is finished, double-click the FLIR Cloud™ Client icon (
) from the
desktop or Applications list.
#LX400021; r. 1.0/16017/16020; en-US
154

 Loading...