 Loading...
Do you have a question about the Lowrance StructureScan 3D and is the answer not in the manual?
| Frequency | 455 kHz, 800 kHz |
|---|---|
| Beam Width | 60° at 455 kHz, 45° at 800 kHz |
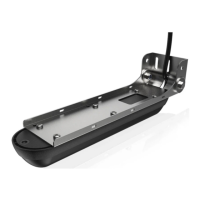
| Transducer Type | Skimmer |
| Mounting Options | Transom mount |
| Max Depth | 300 ft (91 m) |
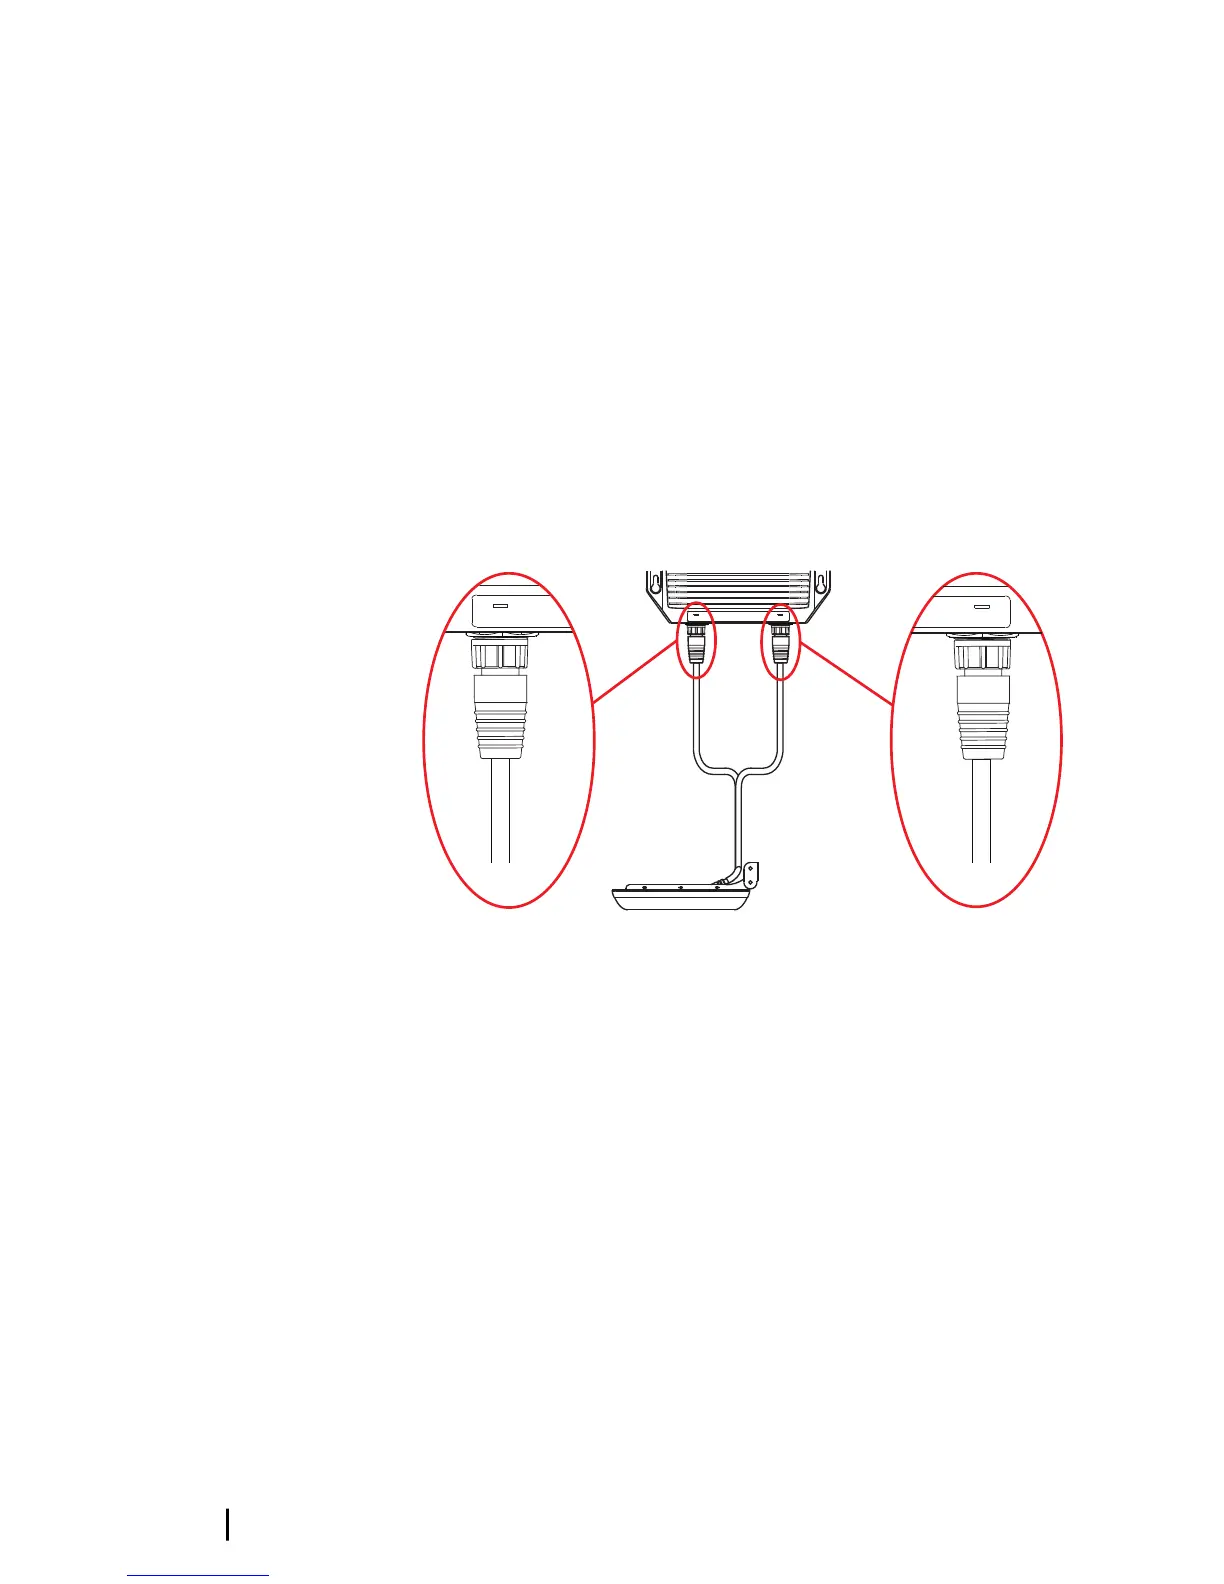
| Connector | 9 Pin |
| Cable Length | 20 feet |
| Maximum Range Side | 600 feet |
| Depth Capability | 300 ft (91 m) |
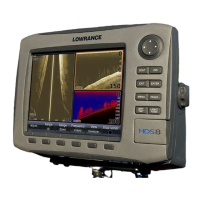
| Compatibility | HDS Gen3, HDS Carbon, HDS LIVE |