2-4
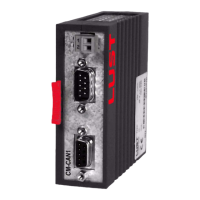
User Manual CM-CAN1
2 Mounting and connection
2.2.2 Size BG6...8
(22 ... 90 kW)
Figure 2.3 Mounting of size BG6...8
Step Action Comment
1
Make sure the power supply to the drive
unit is cut.
2
Open the device cover.
3
Click the module into the mounting
bracket.
For positioning and orientation refer to
Figure 2.3 (A)
The bracket is part of the
MP-UMCM mounting package
(see Figure 2.2).
4
Bolt the bracket onto the bottom slot
position - see Figure 2.3 (B).
The CM module is thereby
placed on its head and the rear
of the module is facing forward.
5
Connect the module by the ribbon cable
as shown in Figure 2.3 (C).
The ribbon cable is part of the
MP-UMCM mounting package
(see Figure 2.2).
Mounting is finished; for the further procedure see section 2.3 “Electrical
installation”.
Figure 2.2 Mounting
package
MP-UMCM
L+
L2
RB
L-
L1
L3
U
V
W
H1 H2 H3
X4
start
enter
stop
return
VAL
Hz
X7
X7
12
ANTRIEBSTECHNIK
S
N
.
:
0
0
0
.
0
0
0
.
0
0
0
0
0
0
0
0
T
y
p
:
N
e
t
z
:
A
u
s
g
.
:
D
-
3
5
6
3
3
L
a
h
n
a
u
klick!
A
B
C