16
Control
(only 1 at a time)
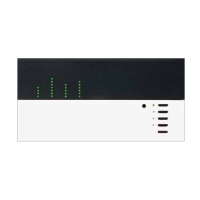
GRX-4000
Series Control
Unit
NTGRX-4S
NTGRX-4Q
NTGRX-4S-IR
GRX-CIR
w/GRX-IT
GRX-4S-DW
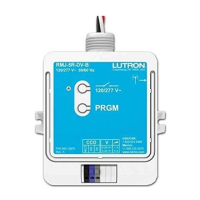
NTGRX-RL
NTGRX-4PS
NTGRX-4M
GRX-AV
NTGRX-2B
as a Scene
Selector
NTGRX-2B
as a
Partition
Switch
STEP 15: Set Up Accessory Controls
All Accessory Controls (except NTGRX-1S) must be
set up to make a Control Unit(s) “listen” to button
presses on the Accessory Control.
• Only one Accessory Control can be set up at one
time.
• A Control Unit can also be made to “listen” to
another Control Unit and is therefore listed with the
Accessory Controls at right.
Follow Steps A-C for each Accessory Control.
Notes:
• Accessory Controls can not be made to “listen” to
each other , but a GRX-4000 Series Control Unit
can be made to “listen” to more than one
Accessory Control.
• When it is desired for two GRX-4000 Series
Control Units to always respond to each other’s
button presses, the first Control Unit must be set up
to respond to the second Control Unit’s buttons,
and then the second Control Unit must be set up to
respond to the first Control Unit’s buttons.
• An NTGRX-1S is wired directly to the GRX-4000
Series Control Unit that is to “listen” to it. No set-up
is required.
• GRX-AV-RS232’s do not follow this chart. See
instructions packaged with each control.
Set Up Accessory
Controls
STEP A: Place Control to ‘Talk’ in Set-Up Mode
Action
Press and hold first and fifth buttons of a Control
Unit.
Press and hold first and fifth buttons on Accessory
Control until its LEDs cycle sequentially.
Note: GRX-CIR only has 1 LED. Use the GRX-IT
to activate the first and fifth buttons.
Press and hold Raise and Lower buttons of
NTGRX-RL until its LED blinks (LED is located
behind faceplate)
Press and hold first and fifth buttons of the
NTGRX-4PS until LED 1 blinks.
Press and hold first and fifth buttons of the
NTGRX-4M until LED 1 blinks.
Press and hold the Program Switch until its LEDs
react like the simulated Accessory.
Press and hold both buttons of the NTGRX-2B until
its LED blinks (LED is located behind faceplate).
LUTRON
LUTRON
SEQUENCE
ZONE LOCK
SCENE LOCK
FADE OVERRIDE
LUTRON
1 2 3 4 5 6
LUTRON
1
2
3
4
PARTITION STATUS
OPEN
CLOSED
LUTRON
LUTRON
LUTRON
GRX-AV

 Loading...