6
Address
N/A
Control 1
Control 2
Control 3
Control 4
Control 5
Control 6
Control 7
Control 8
Control 9
Control 10
Control 11
Control 12
Control 13
Control 14
Control 15
Control 16
STEP 4: Set Address Switches
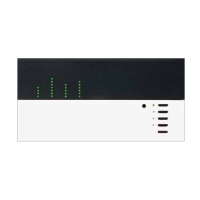
Control
NTGRX-1S GRX-4000 Series
LUTRON
1
2
3
4
PARTITION STATUS
OPEN
CLOSED
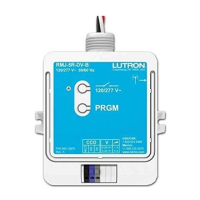
NTGRX-RL NTGRX-4PS
SEQUENCE
ZONE LOCK
SCENE LOCK
FADE OVERRIDE
LUTRON
LUTRON
LUTRON
LUTRON
LUTRON
ALL OTHERS
Function
N/A
Leave switches as factory
set.
Go to Step 6 if no other
types of Accessory controls.
Setting Switches 5 and 6
requires system knowledge.
See Step 5 for function
options.
5 6
LUTRON
LUTRON
Action
No switches for addressing.
Go to Step 6 if no other types of
Accessory Controls.
Must set switches BEFORE
installing these controls.
Set Switches 1-4 on each
Accessory Control to a unique
address.
Must set switches BEFORE
installing these controls.
Set Switches 1-4 on each
Accessory Control to a unique
address.
Set Switches 5-6 to define the
function of control.
1 2 3 4 5 6
1 2 3 4
1 2 3 4 5 6
1 2 3 4 5 6
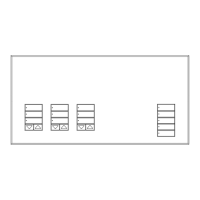
Set Address Switches
Notes:
• GRX-AV has 8 switch positions. Positions 7 and 8
also set the function.
• GRX-AV-RS232’s do not have an address—
follow instructions packaged with each control
and skip to step 6.
4
3
2
1
Back of Accessory Control
Switch
location
GRX-AV
Step by Step instructions for GRAFIK Eye Switching Panel
Factory Set
For More Information...
See also One-Line Diagram from submittals.
?
Caution - Do not install controls in
wallbox without setting the Address and
Function Switches.

 Loading...