irst determine if the problem
is being caused by location.
irst determine if the problem
is being caused by location.
irst determine if the problem
f the grill is subject to high
is being caused by location.
f the grill is subject to high
is being caused by location.
winds, reposition it to provide
heck the gas supply and
ame characteristics.
heck the gas supply and
burners are correctly posi-
burners are correctly posi-
tioned in the grill.
burners are correctly posi-
tioned in the grill.
lacement” for further
tioned in the grill.
orrectly-installed burners
should be seated rmly and
orrectly-installed burners
should be seated rmly and
orrectly-installed burners
level with no side-to-side
he valves on the grill feature
an adjustable low setting.
luctuations in gas pressure,
gas conversion and even in
luctuations in gas pressure,
gas conversion and even in
luctuations in gas pressure,
the quality of the gas itself
gas conversion and even in
the quality of the gas itself
gas conversion and even in
may affect burner perfor-
the quality of the gas itself
may affect burner perfor-
the quality of the gas itself
may affect burner perfor-
mance at the “
may affect burner perfor-
may affect burner perfor-
LOW
may affect burner perfor-
t could be either too high or
djustment” for further details.)
ollow the same procedure as
described for the grill bur
ollow the same procedure as
described for the grill bur
ollow the same procedure as
to diagnose problems with the
to diagnose problems with the
rotisserie burner.
to diagnose problems with the
burner ame may be hard to
see in bright sunny conditions.
held in for 30 to 60 seconds
after ignition for the rotis-
serie burner to stay lit.
f the burner will not stay lit
knob, re-light it and hold the
control knob in for at least
knob, re-light it and hold the
control knob in for at least
knob, re-light it and hold the
60 seconds to allow the ther-
f, after holding the control
f, after holding the control
knob in for at least 60
f, after holding the control
seconds, the burner still will
not stay lit when releasing
the control knob, call for
not stay lit when releasing
the control knob, call for
not stay lit when releasing
ynx” for further details.)
Lynx” for further details.)L
power source and check for
rotisserie motor operation.
grill and wait 5 minutes for
isconnect power from the
grill and wait 5 minutes for
isconnect power from the
the transformer to cool down
grill and wait 5 minutes for
the transformer to cool down
grill and wait 5 minutes for
transformer and replacing
power.
transformer and replacing
power.
f, after resetting the
transformer and replacing
f, after resetting the
bulbs, you still do not have
transformer and replacing
bulbs, you still do not have
transformer and replacing
bulbs, you still do not have
power, call for service.
bulbs, you still do not have
Replacement
halogen, 12 volt, 10
Replacement
3 type with a
4 bi-pin base.
3 type with a
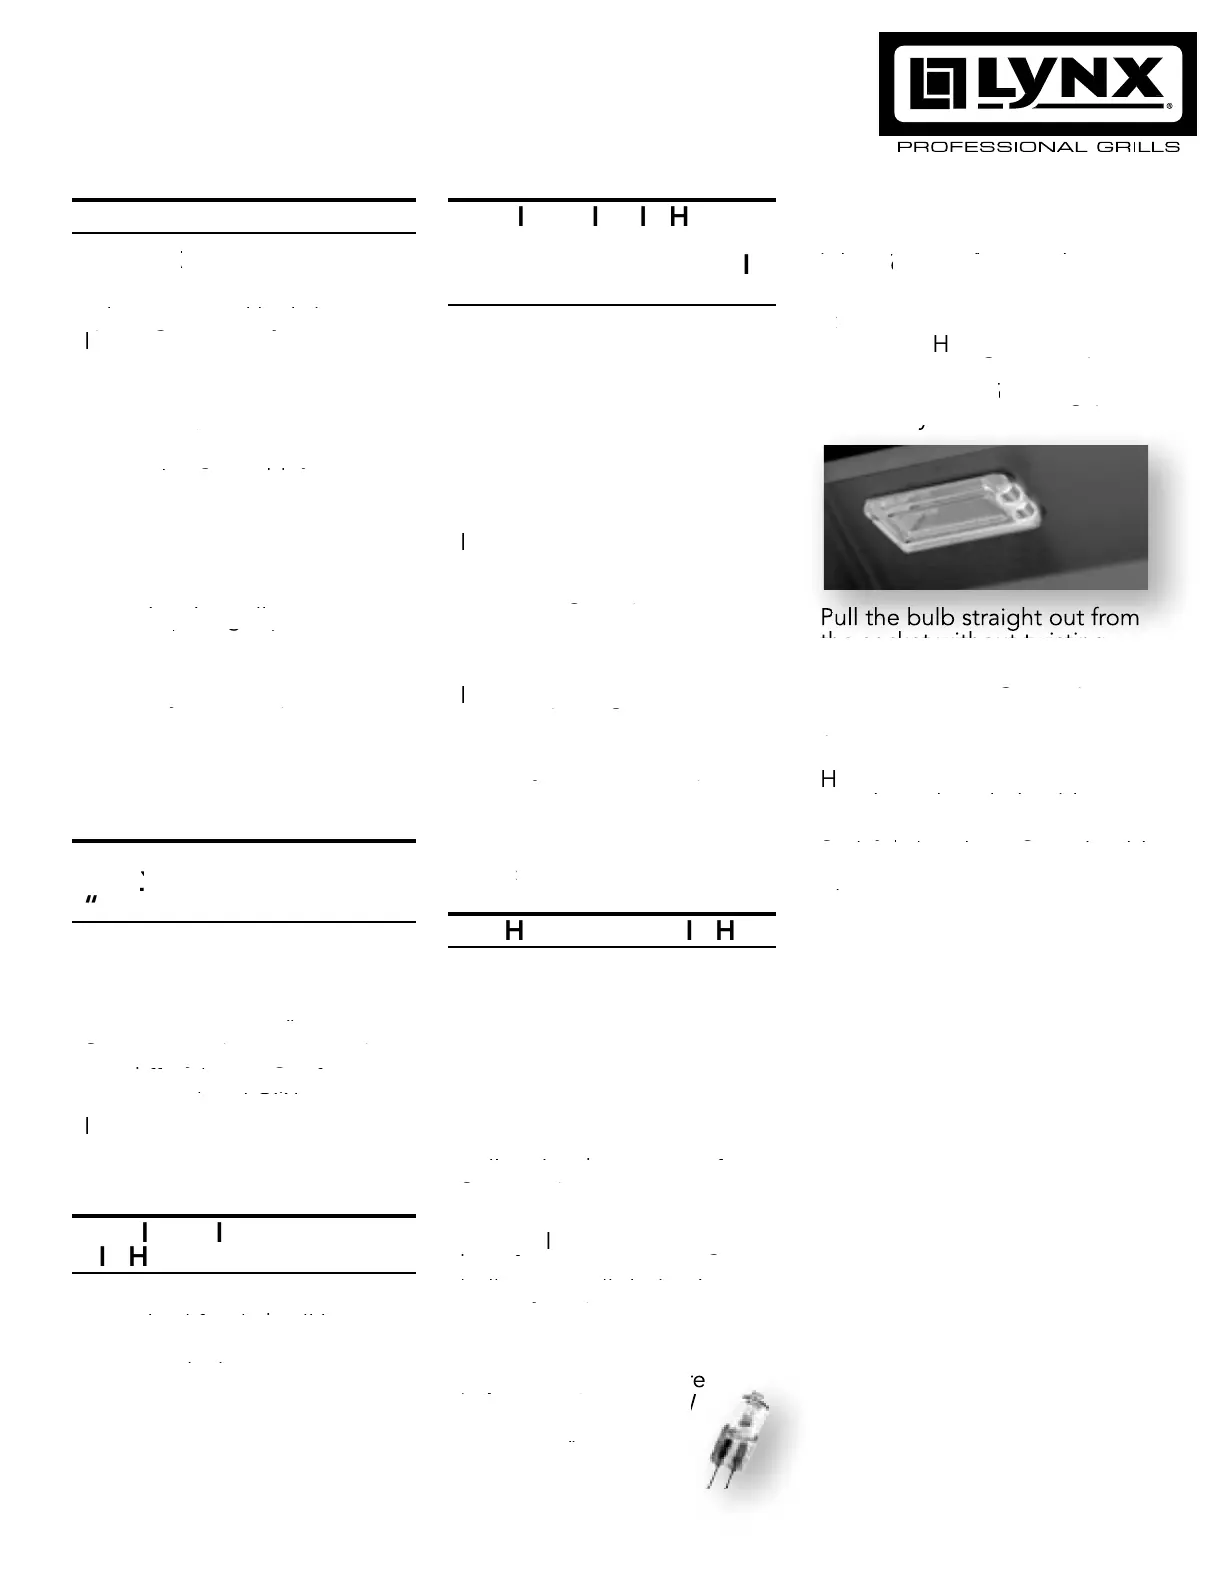
he glass cover is held in
place by two spring tension
place by two spring tension
tabs.
place by two spring tension
place by two spring tension
ou may have to loosen
place by two spring tension
void touching the glass of a
Avoid touching the glass of a A
very sensitive to the oils found
alogen bulbs are
very sensitive to the oils found
alogen bulbs are
bulbs may shorten their life.
ouching the
bulbs may shorten their life.
ouching the
the socket without twisting.
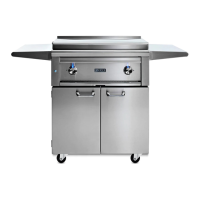
he 27” and 30”grills each
have one halogen light xture;
he 27” and 30”grills each
have one halogen light xture;
he 27” and 30”grills each
all other grills have two light
all other grills have two light
xtures.
all other grills have two light
old the bulb using a paper
old the bulb using a paper
towel or other cloth and
old the bulb using a paper
gently press it straight into the
gently press it straight into the
socket.
gently press it straight into the
gently press it straight into the
he glass cover should
gently press it straight into the
be gently snapped back into
be gently snapped back into
place.
be gently snapped back into
bulbs may shorten their life.
ull the bulb straight out from
the socket without twisting.
PULL ON
SPRING
TABS TO
RELEASE
LIGHT
COVER