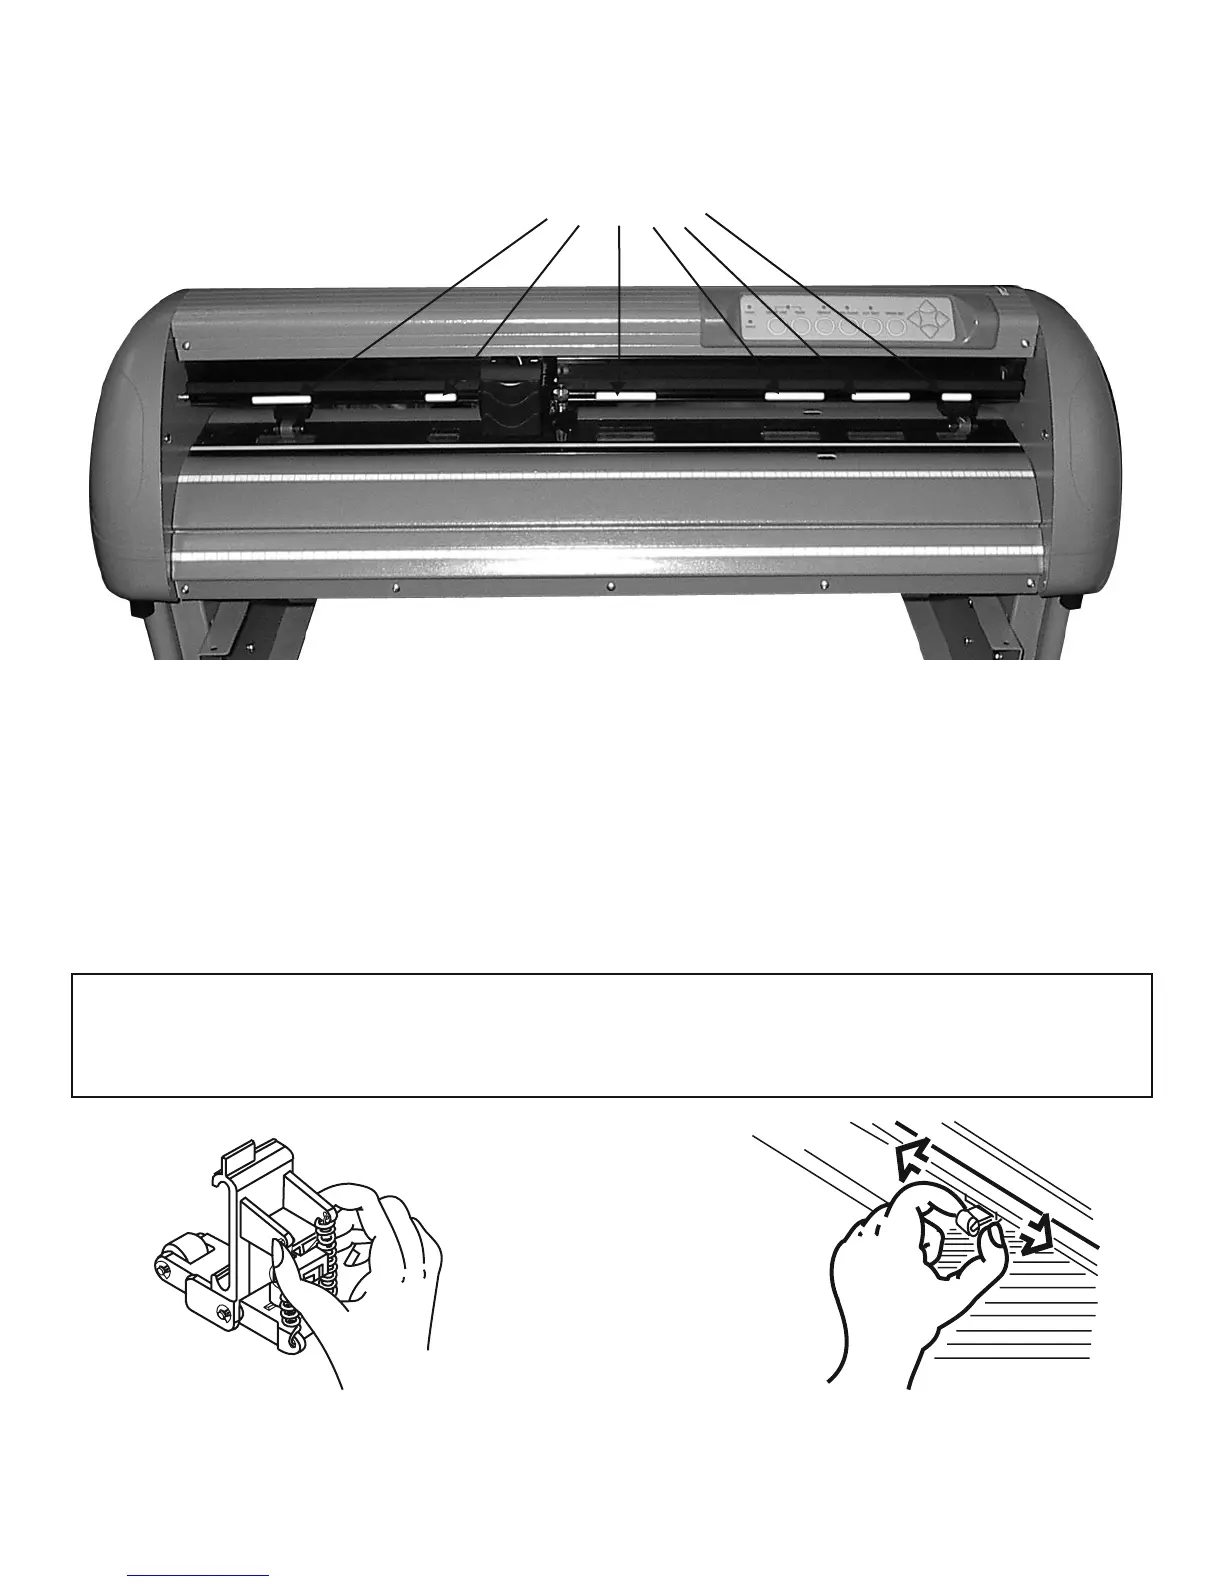
3. Move the pinch rollers manually to the proper position. The pinch rollers must be positioned above the
grid drum. The white marks on the main beam will remind you where the grid drums are (Figure 4-3). The
cutting head will not cut outside of the pinch rollers. The distance between the pinch rollers is your maximum
cutting distance.
4. Push the lever backward to lower down the pinch rollers.
5. Turn on the power; the tool carriage will measure the size of the media automatically, and the plotting
cutter will begin to work.
Note:
• Move the pinch roller by applying force at the rear portion of the pinch roller support. Do not move it
by holding its front rubber roller (Figure 4-4)
Figure 4-4
(O)
4. Basic Operation 4-2
(X)
White Marks
Figure 4-3
 Loading...