(NOTFOUNDONALLRANGES)
LIGHTSWITCHES- Locate the switch on your
range to turn on your surface light.
PUSHON/OFF
PUSHON/OFF
ROCKER TWISTON/OFF
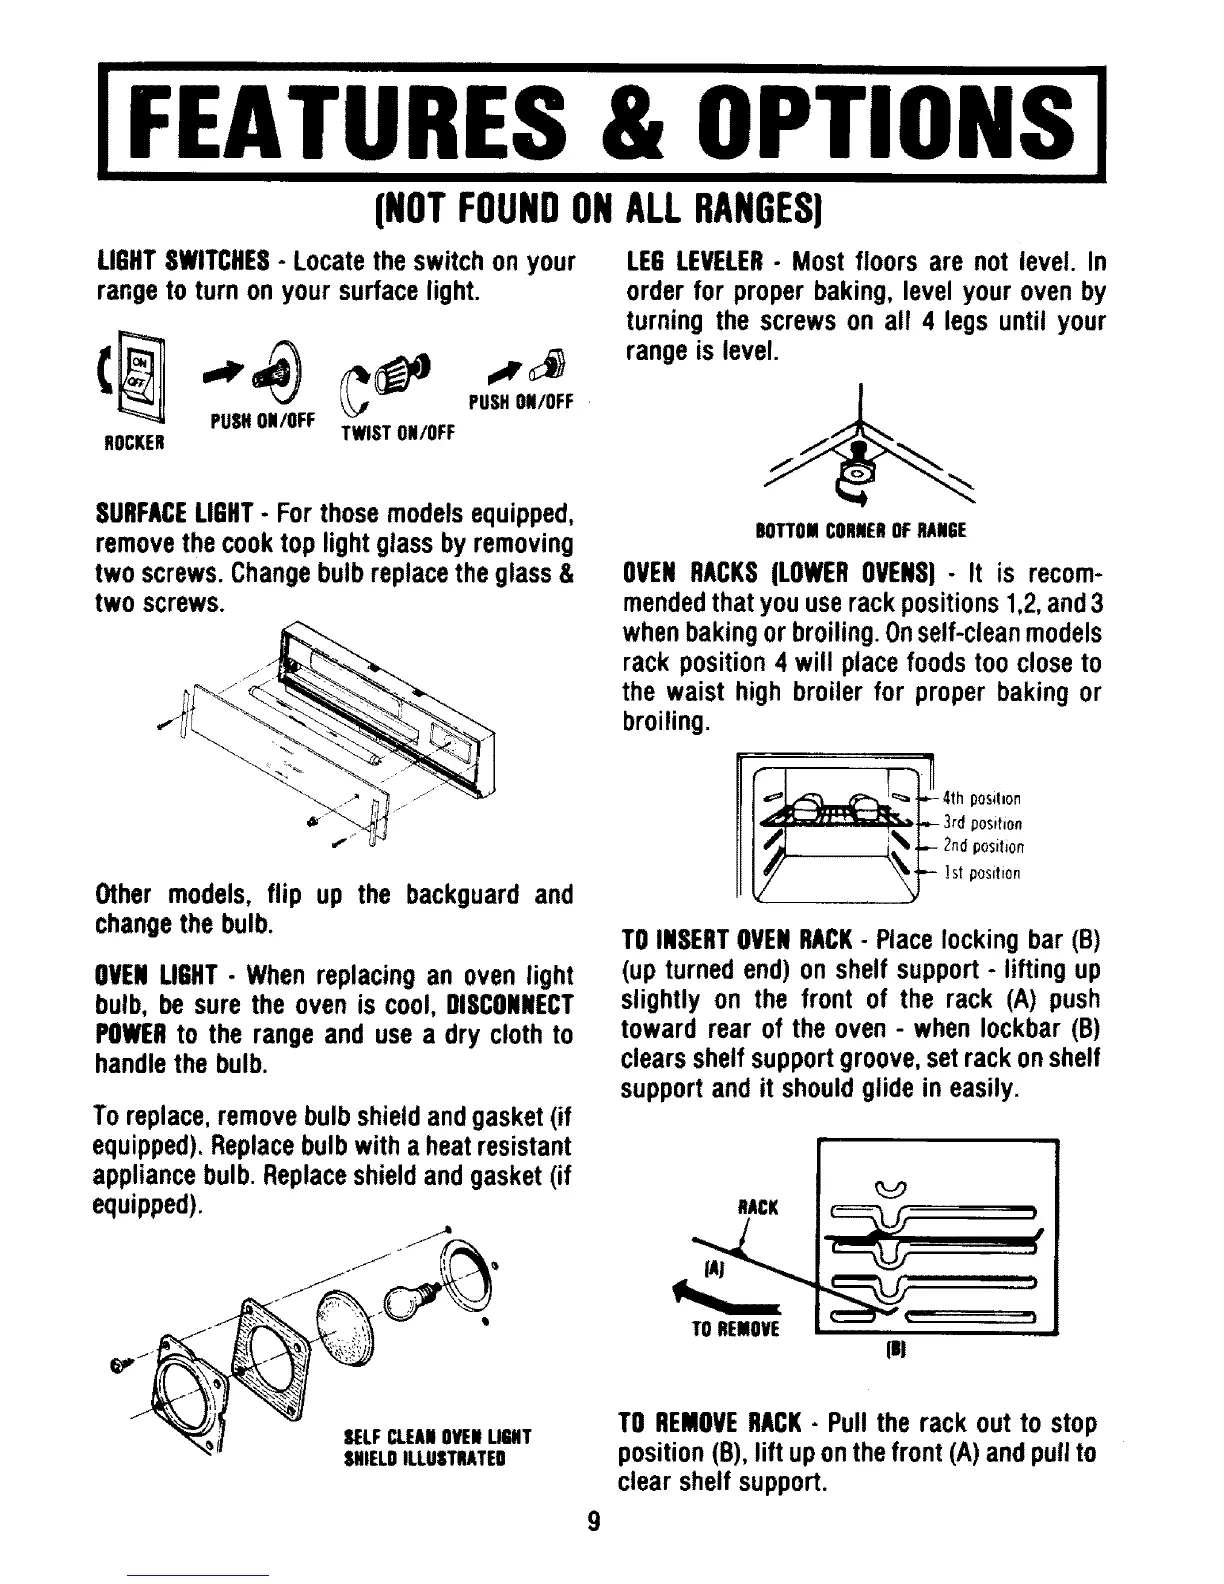
SURFACELIGHT- For those models equipped,
remove the cook top light glass by removing
two screws. Change bulb replace the glass &
two screws.
Other models, flip up the backouard and
change the bulb.
OVENLIGHT- When replacing an oven light
bulb, be sure the oven is cool, DISCONNECT
POWERto the range and use a dry cloth to
handle the bulb.
To replace, remove bulb shield and gasket (if
equipped). Replace bulb with a heat resistant
appliance bulb. Replace shield and gasket (if
equipped).
SELFCLEANOVENLIGHT
SHIELDILLUSTRATED
LEG LEVELER- Most floors are not level. In
order for proper baking, level your oven by
turning the screws on all 4 legs until your
range is level.
BOTTOMCORNEROFRANGE
OVEN RACKS(LOWEROVENS)- It is recom-
mendedthat you use rack positions 1,2,and 3
when baking or broiling. Onself-clean models
rack position 4 will place foods too close to
the waist high broiler for proper baking or
broiling.
C_ ] _,1,-- 3rd position
TO INSERTOVENRACK- Place locking bar (B)
(up turned end) on shelf support - lifting up
slightly on the front of the rack (A) push
toward rear of the oven - when Iockbar (B)
clears shelf support groove, set rack on shelf
support and it should glide in easily.
RACK
TOREMOVE
P
, f
iill
ml
TO REMOVERACK- Pull the rack out to stop
position (B), lift up on the front (A) and pull to
clear shelf support.