Page 4
>PROGRAM
I-CHIP
ERASE
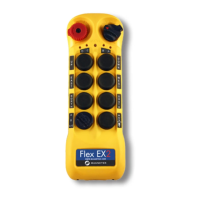
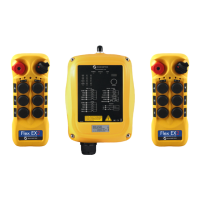
4. Flex EX Models
4.1 Program I-Chip
When entering the Flex EX model the first selection shown on the screen is
“Program I-Chip”. Use the “↑” and “↓” buttons to scroll through various Flex
EX settings or press “→” button to enter “Program I-Chip”. Make sure the I-
Chip is connected to the programmer.
1) Press “→” button to erase I-Chip information, press “→” button again to
execute. “ERASE OK” is shown on the screen when completed.
2) Press “READ” button to store the I-Chip information into the programmer.
If the screen shows “READ OK” the transfer is completed.
3) Press “WRITE” button to transfer the stored I-Chip information into a new
I-Chip. If the screen shows “WRITE OK” the transfer is completed.
4) Exit Program I-Chip by pressing the “BACK” button until the cursor is
shown next to “PROGRAM”.
5) Press “↑” and “↓” button to scroll through other Flex EX settings.
4.2 Program Serial Number (TX & RX)
1) Make sure the I-Chip is connected to the programmer.
2) Press “→” button to enter Serial Number setting.
3) Press “↑” and “↓” button to change serial number as a whole or…
4) Press “→” button to go to the 1
st
digit on the far left of the serial number.
5) Press “↑” and “↓” button to change numeric value.
6) Press “→” button to go to the next digit to the right and repeat step 5.
7) Press “BACK” button to go back to step 3 or 4.
8) Exit Program Serial Number by pressing the “BACK” button until the cursor
is shown next to “S/N:”.
9) Press “↑” and “↓” button to scroll through other Flex EX settings.
When finished, take out the I-Chip and insert it onto the I-Chip programming port located on
the decoder module to transfer the new serial number from the I-Chip to the receiver. Make
sure JP6 jumper is inserted when transferring I-Chip information into the receiver.