11-37
5540F/YB5515 SERVICE MANUAL STRUCTURALS
15. Stand winch on motor end with bearing support up. Then
remove eight (8) bearing support capscrews and
bearing support being careful to avoid damaging the
sealing or bearing surfaces.
16. Slide drum cut of base onto a work bench and remove
seal and bearing from support end.
17. Thoroughly clean and inspect drum and base.Check
ring gear (machined into inside surface of drum) teeth
for nicks, spalling or excessive wear. Replace if wear is
greater than 0.015 in. (0.4 mm) when compared to
unworn area of teeth.
Assembly
NOTE: Winches with a three piece fabricated base special
shoulder capscrews to fasten side plates the base
plate. DO NOT use standard capscrews in their
pace.
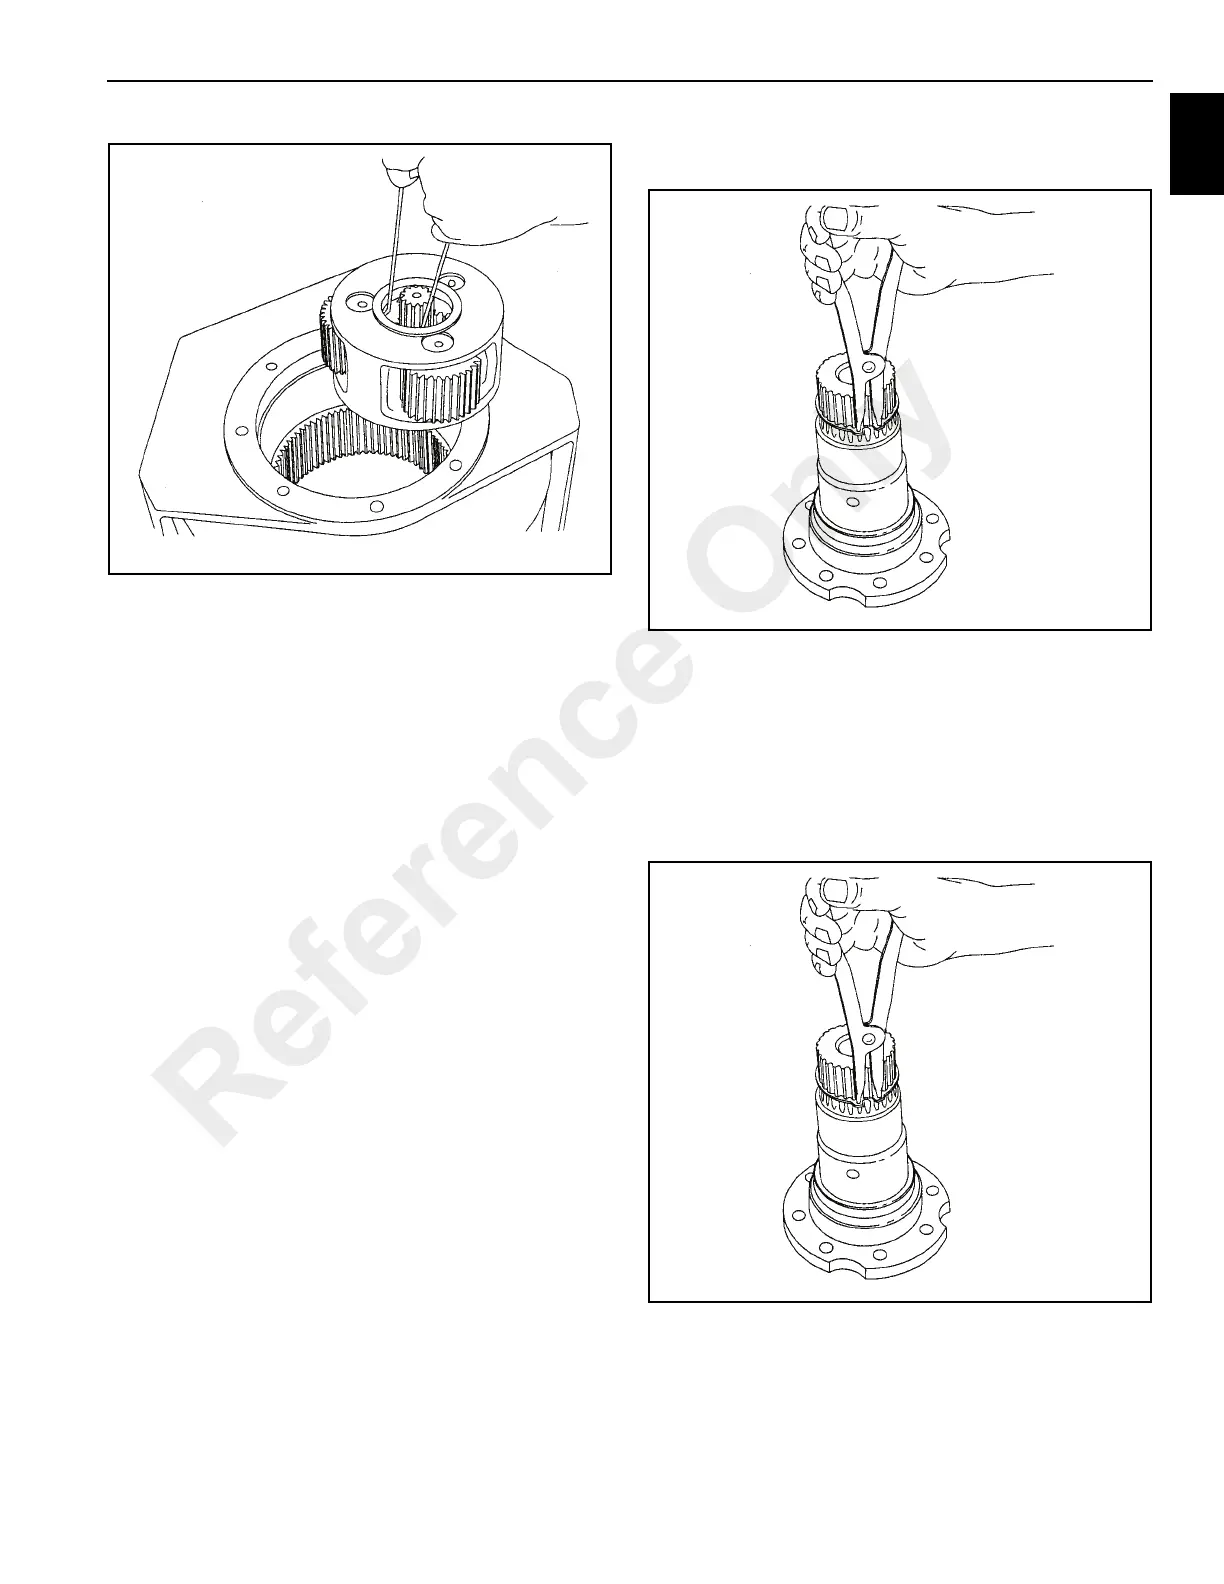
1. Place winch base on side with bearing supported up
(Figure 11-72).
2. Install a new bearing in the drum if replacement is
necessary. Apply a non-hardening sealant on the
outside diameter of the new seal. Install the spring side
of the seal next to the bearing, then press into he drum,
using a flat plate to avoid distortion. Be sure the drain
plug is installed correctly.
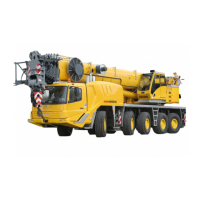
3. Install the snap ring on the bearing support
(Figure 11-73).
Make certain the snap ring is installed on the bearing
support. This snap ring will keep the output planet carrier
correctly positioned in the winch.Gear train damage may
occur if this snap ring is omitted.
Reference Only

 Loading...


