installation
Matters to be attended to before installation
Main source of electricity: AC220Volt, 1ph, 3Ampare
Cable connection: All cables need to be installed by being connected fast without being bent
or twisted.
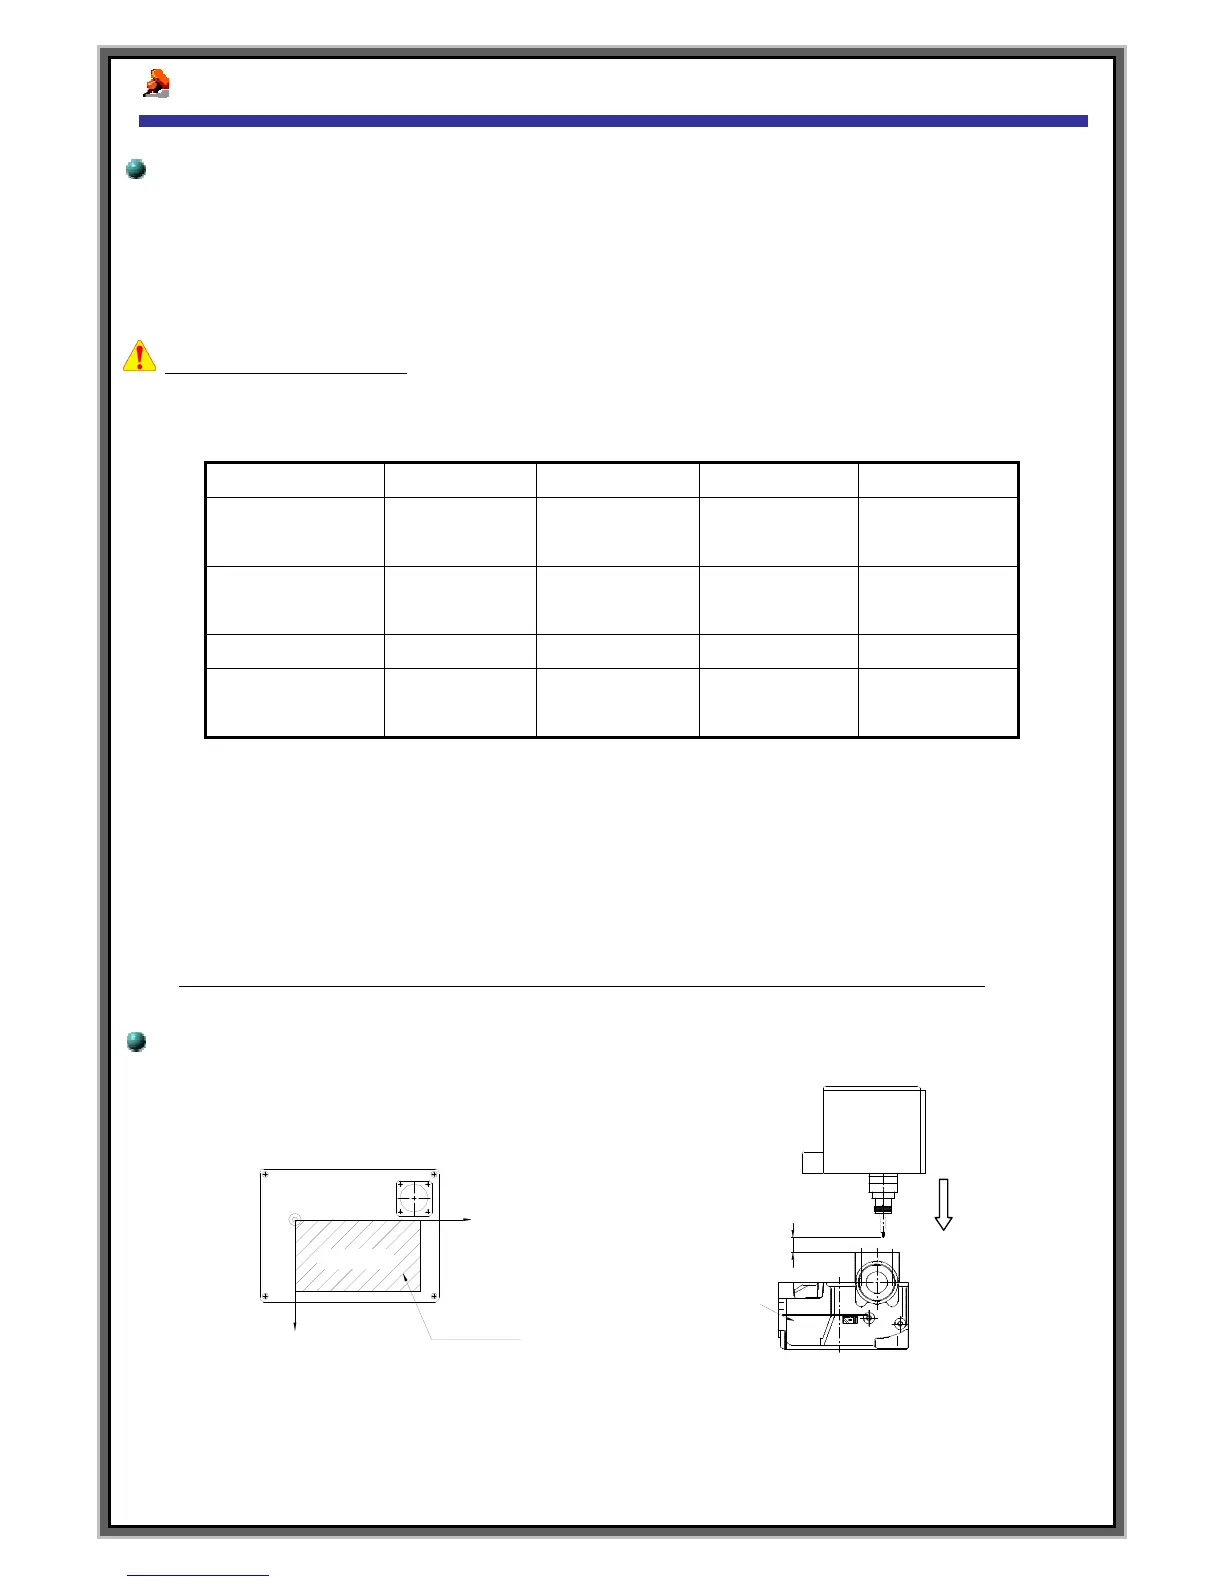
Installation of Marking Head
Installation should take place so that the distance between the Pin and the surface of work piece should be
3.5~4.5mm with a deviation of ±10mm.
Control marking quality :
The quality of the marking products differ according to marking distance and air pressure.
At the Parameter Setup of MCU`s F4 screen, you can control the transfer speed of the pin.
Also You can choose the thickness of the pin edge-
The ball type of marking pin is thick and deep. The sharp type of marking pin is thin and deep.
.
+ Marking depth will be deeper when the distance between marking pin and work piece is far
Refer to the drawing below to decide the installation location and the Pin interval.
(References1) (References2)
#.Be able to reduce cycle time when marking position is close with 0 point