A light impact to the vehicle will
activate the warn-away (first stage
shock sensor / Zone 1), the system
will emit a short chirp.
A more forceful impact will activate
the full alarm (second stage shock
sensor / Zone 4), the system will
emit a long chirp.
Using a small screw driver to adjust
the sensitivity.
• Turn the screw to the “-” direction
decreases the sensitivity.
• Turn the screw to the “+” direction
increased the sensitivity.
Continue to test the shock sensor
until the proper sensitivity is
reached.
Step 4
Step 5
OFF
ON
3X
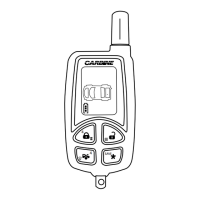
Turn the ignition switch from the
OFF position to the ON position 3
times leaving it in the Off position
the third time.
Step 1
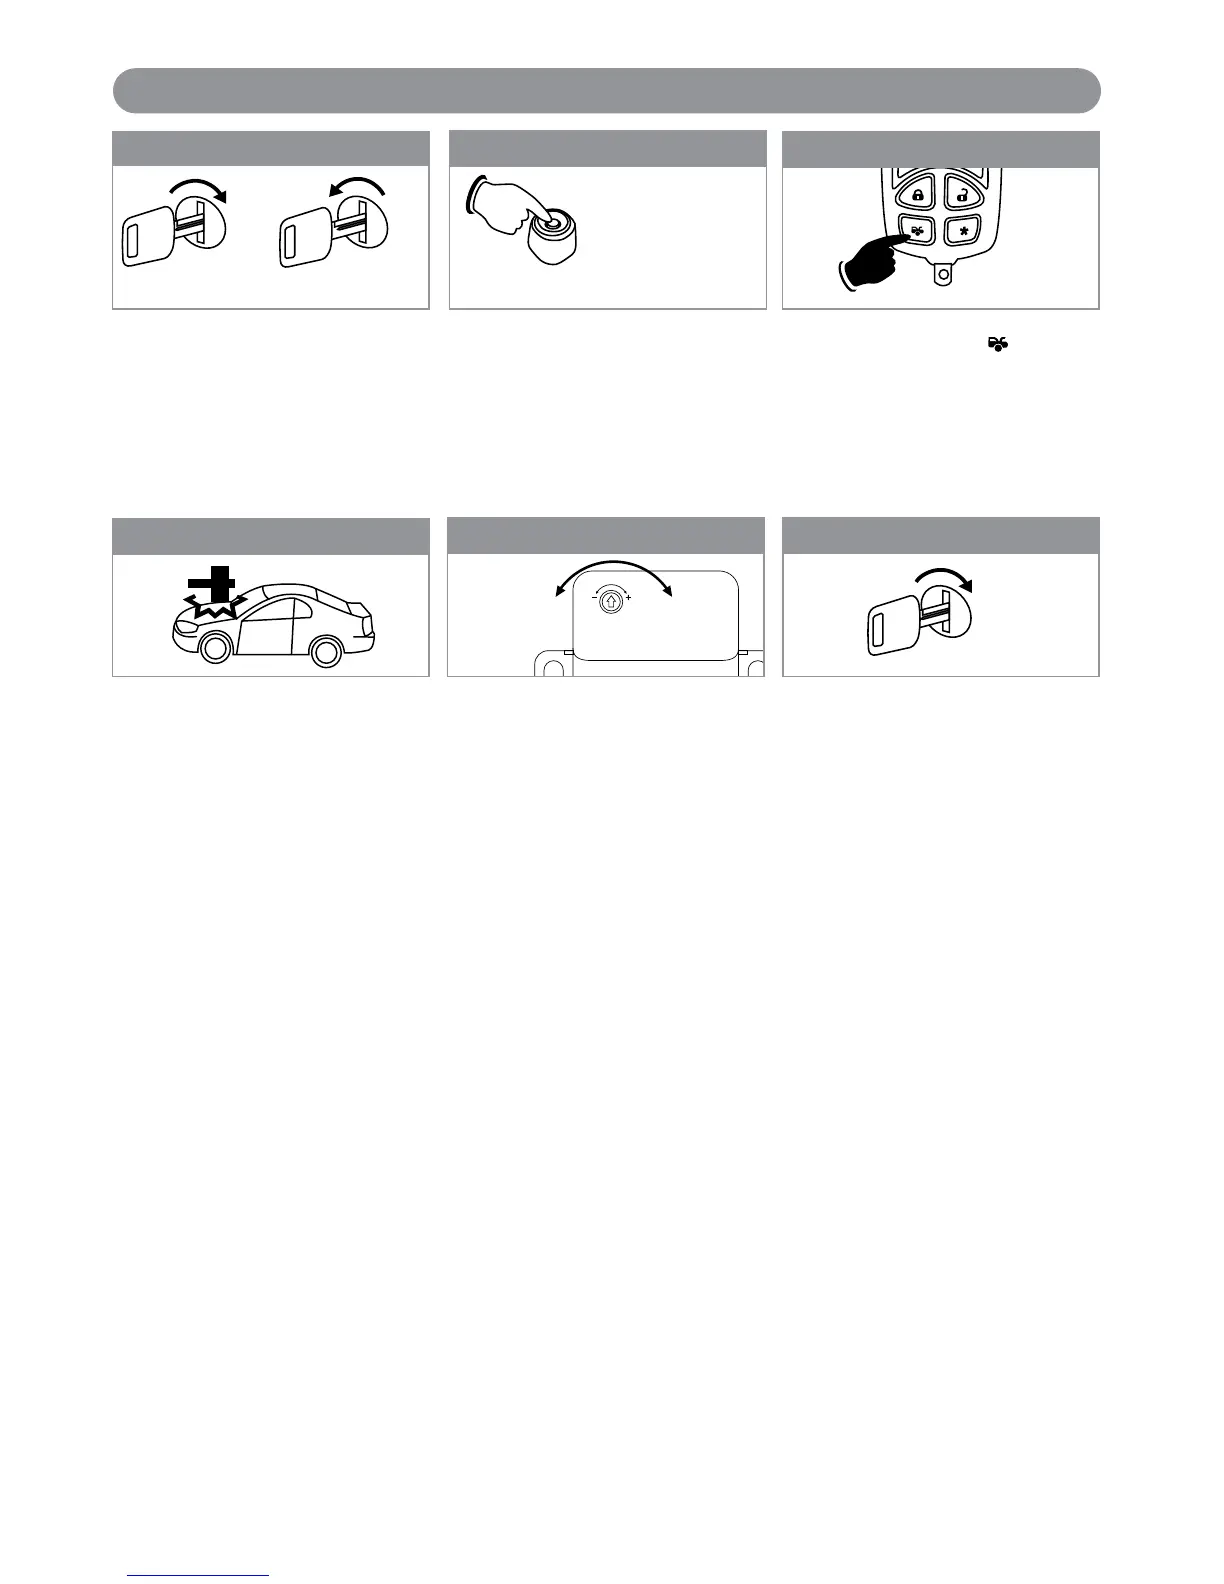
Press and release the ( )
button to enter the “Shock Sensor
Test” mode, there will be a 2 chirp
confirmation.
Step 3
ON
Turn ignition “On” and 3 long chirps
and 3 parking light flashes will
confirm exit “Shock Sensor Test”
mode.
Step 6
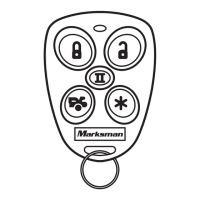
Before 15 seconds has passed,
push and release the valet switch 6
times. Hold the button down on the
6th press until 3 short chirp/beeps
and 1 long chirp/beep is heard then
release it.
5X + 1X (Hold)
Step 2
18
Shock Sensor Testing and Adjustment
X4-IM.qxp 3/6/08 10:53 AM Page 18
 Loading...