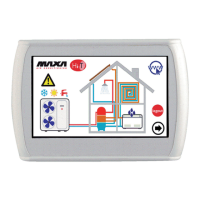
Hi‐TCentralizedcontroller
6
2.2 CLOCK
It’spresentaclockwithbackupbattery.
2.3 CONNECTIONS
Openthecontrolapplyingaslightpressureinthelowerandupperpartsofthecontrol,inordertoseparatetherearcoverfromthe
frontone.Passthecablesthroughtheholeintherearpanelandmakeconnectionsaccordingtothefollowingguidelines.
Terminals1and2:12V
acpowerconnectsupply(terminalonchiller12V‐e12V+).
Terminals3‐4‐5:connecttheRS‐485bus:terminal3toterminalGNDR,terminal4toR‐andterminal5toR+.
R+
R-
12V+
12V-
GND
1
23
45
6
7
8
12
11 10 9
Figure2.Connections.
2.1 INSTALLING
TheHi‐Tcontrolisusedforfixingtothewallaccordingtothestandard503.
Intherearpartofthecontrolsomepre‐drilledholesarepresenttobedetachedpursuingapressurewithascrewdriver,insucha
wayastoobtaintheholesusefultothefixing.
Ofthe6holes,useonlytheouter2holesofthehorizontalseries(seeFigure3).
Before you do this, open the control itself, applying a slight pressure in the lower and upper parts of the control, in order to
separatetherearcoverfromthefrontone.
Usetherearpanelandapplytheholesinthetwoslotsshowninthefigurebelow.
Do
notdirectlyusethepanelasatemplatetodrilltheholesonthewall,theelectronicsmaybedamagedduringthisoperation.
Figure3.Holesforwallmounting.