GMK Sphere Calipered Kinematic Alignment Surgical Technique
28
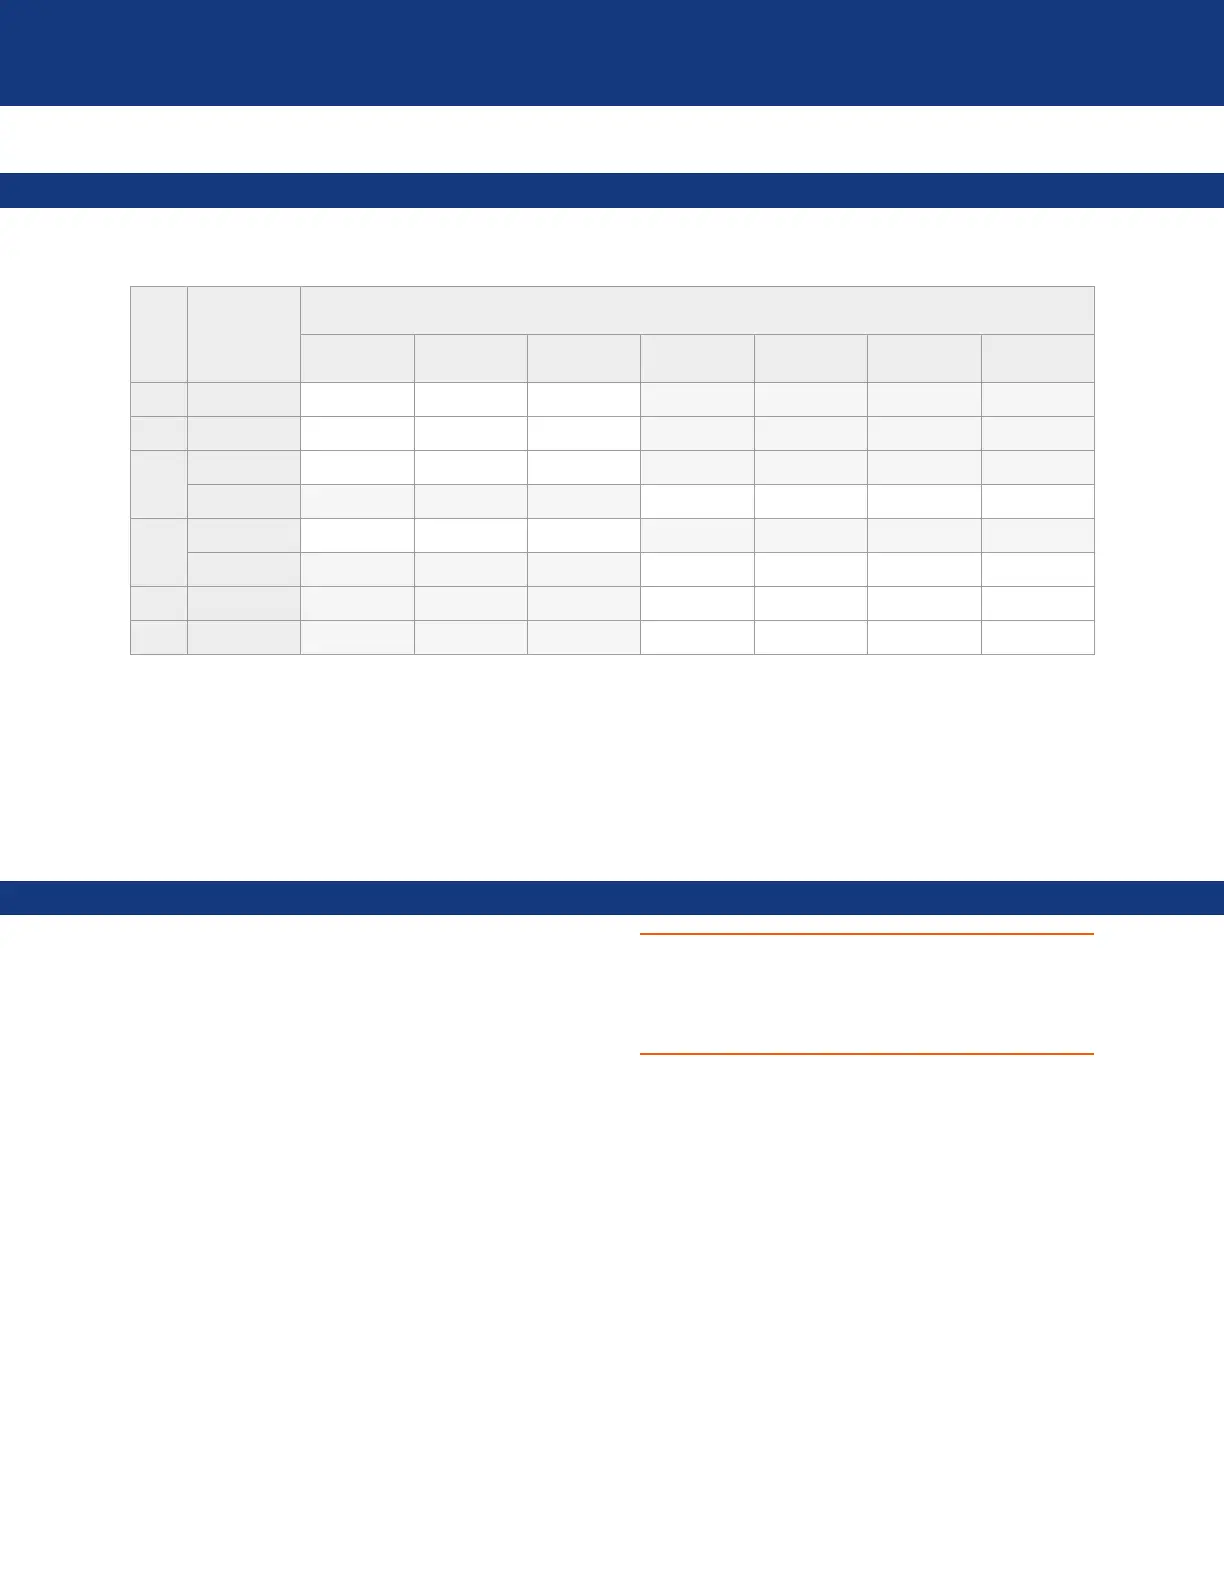
11. SELECTION OF THE PROSTHETIC COMPONENTS - SIZE MATCHING
GMK Fixed Tibial Trays can be matched with GMK Sphere Flex/CR Tibial Inserts and GMK Sphere Femoral Components
according to Table 1.
Tibia
bone
size
GMK
Fixed Tibial
Trays
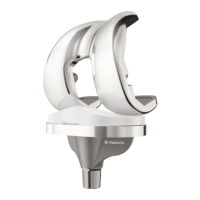
GMK Sphere Femoral Components
Sizes 1/ 1+ Sizes 2/2+ Sizes 3/3+ Sizes 4/4+ Sizes 5/5+ Sizes 6/6+ Size 7
1 Size 1
Insert* size 1 Insert* size 1 Insert* size 1
2 Size 2
Insert* size 2 Insert* size 2 Insert* size 2
3
Size 3
Insert* size 3 Insert* size 3 Insert* size 3
Size t3-i4**
Insert* size 4 Insert* size 4 Insert* size 4 Insert* size 4
4
Size t4-i3***
Insert* size 3 Insert* size 3 Insert* size 3
Size 4
Insert* size 4 Insert* size 4 Insert* size 4 Insert* size 4
5 Size 5
Insert* size 5 Insert* size 5 Insert* size 5 Insert* size 5
6 Size 6
Insert* size 6 Insert* size 6 Insert* size 6 Insert* size 6
Table 1
* GMK Sphere Flex/CR Tibial Insert
** Tibia size t3-i4 = Tibia size 3 for insert size 4
*** Tibia size t4-i3 = Tibia size 4 for insert size 3
All GMK Fixed Tibial Trays can be implanted with or without the extension stem. All GMK Resurfacing Patellae can be implanted
with all the sizes of GMK Sphere Femoral Components.
12. FINAL IMPLANT
Having completed all bone preparations and selected the
definitive components these are opened in an aseptic
manner and implanted with bone cement. It is generally
easier to implant the tibial component first.
12.1 TIBIAL IMPLANT
The tibial implant should be positioned manually, ensuring
that there is no conflict between the posterior edge of the
baseplate and the femur, which may result in femoral injury
or tibial malrotation. The bone cement must be prepared
according to the related instructions for use, provided by
the cement manufacturer. Once the cement reaches the
right viscosity, it must be applied only to the undersurface
of the tibial implant into the corresponding cement pockets.
If cement is applied directly to the bone please make sure
it does not enter the keel hole. The final impaction is
performed using the baseplate impactor, assembled with
the slide hammer. If a stem extension is used, pre-assemble
it by removing the plastic plug of the tibial keel, impacting
the stem on the keel and, finally, fixing it with a screw
inserted through the tibial keel. Once the tibial implant has
been fully inserted using the dedicated impactor, the
extruded cement is cleared from the tibia, carefully
checking that no cement remains in the joint.
CAUTION
To avoid damaging the stem, protect it during impaction. A
screwdriver can be inserted in the hexagonal hole of the
stem and the impaction can be performed by hammering
on the screwdriver.