19
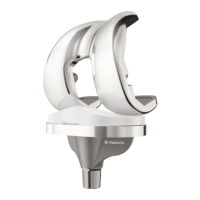
Assemble the femoral impactor/extractor on the slide
hammer and impact the appropriate size trial femur
centering it on the anatomical notch. Ensure medial or
lateral overhang is minimized.
40.
To change the thickness of the tibial trial insert, pull the
lever (A) and substitute with a more appropriate trial insert.
Remove the handle by pressing the button (B) and reduce
the patella. Test the knee by moving it through its full range
of motion to ensure optimal tracking of the components.
B
A
41.
CAUTION
During trialing, remove the trial femur before changing the
trial insert. Changing the trial insert with the trial femur in
place could be difficult due to the conformity of the medial
compartment.
8.1 BALANCE THE TKA WITH TRIAL COMPONENTS
If corrections are needed, a stepwise alignment algorithm
determines the actions to achieve kinematic alignment.
The underlying principle of this algorithm is that the
corrections requiring a recut of bone are performed by fine-
tuning the varus/valgus, slope, and proximal-distal
positions of the tibial resection, and not by recutting the
femur.
Balance the knee in full extension, 15-20° of flexion, and 90°
of flexion referring to the steps in the GMK Sphere CS and
Sphere CR Decision-Trees below.
Balance the TKA in Full Extension and 15-20° of Flexion
Place the knee in full extension. Confirm the knee fully
extends without a flexion contracture.
Retract the medial and lateral soft-tissues and examin the
interface between the femoral component and insert. Manually
apply a varus-valgus stress. Confirm the laxity is negligible and
increase insert thickness if needed.
Flex the knee 15-20°. Confirm the lateral compartment opens
~2 mm more than the medial compartment.
Balance the TKA in 90° of Flexion
Place the knee in 90° of flexion. Manually distract the tibia
from the femur, apply a posterior drawer test. Confirm the
knee is stable. If corrections are needed, refer to the steps
in the GMK Sphere - Flex Insert and GMK Sphere - CR Insert
decision trees below.
CAUTION
When using GMK Sphere Flex insert, confirm complete
resection of the posterior cruciate ligament.
VERIFICATION CHECK
When using the GMK Sphere CR insert, confirm the A-P
offset matches the offset measured at the time of exposure.
When the A-P offset is greater than at exposure and the
knee is tight in flexion and well-balanced in extension,
recheck the tibial slope and insert thickness. Refer to the
steps in point 4 in the GMK Sphere - CR Insert decision
trees below.
When the A-P offset is less than at exposure and the knee
is well-balanced in extension and loose in flexion, recheck
the integrity of the posterior cruciate ligament, the tibial
slope, and the insert thickness. Refer to the steps in point
6 in the GMK Sphere - CR Insert decision trees below.
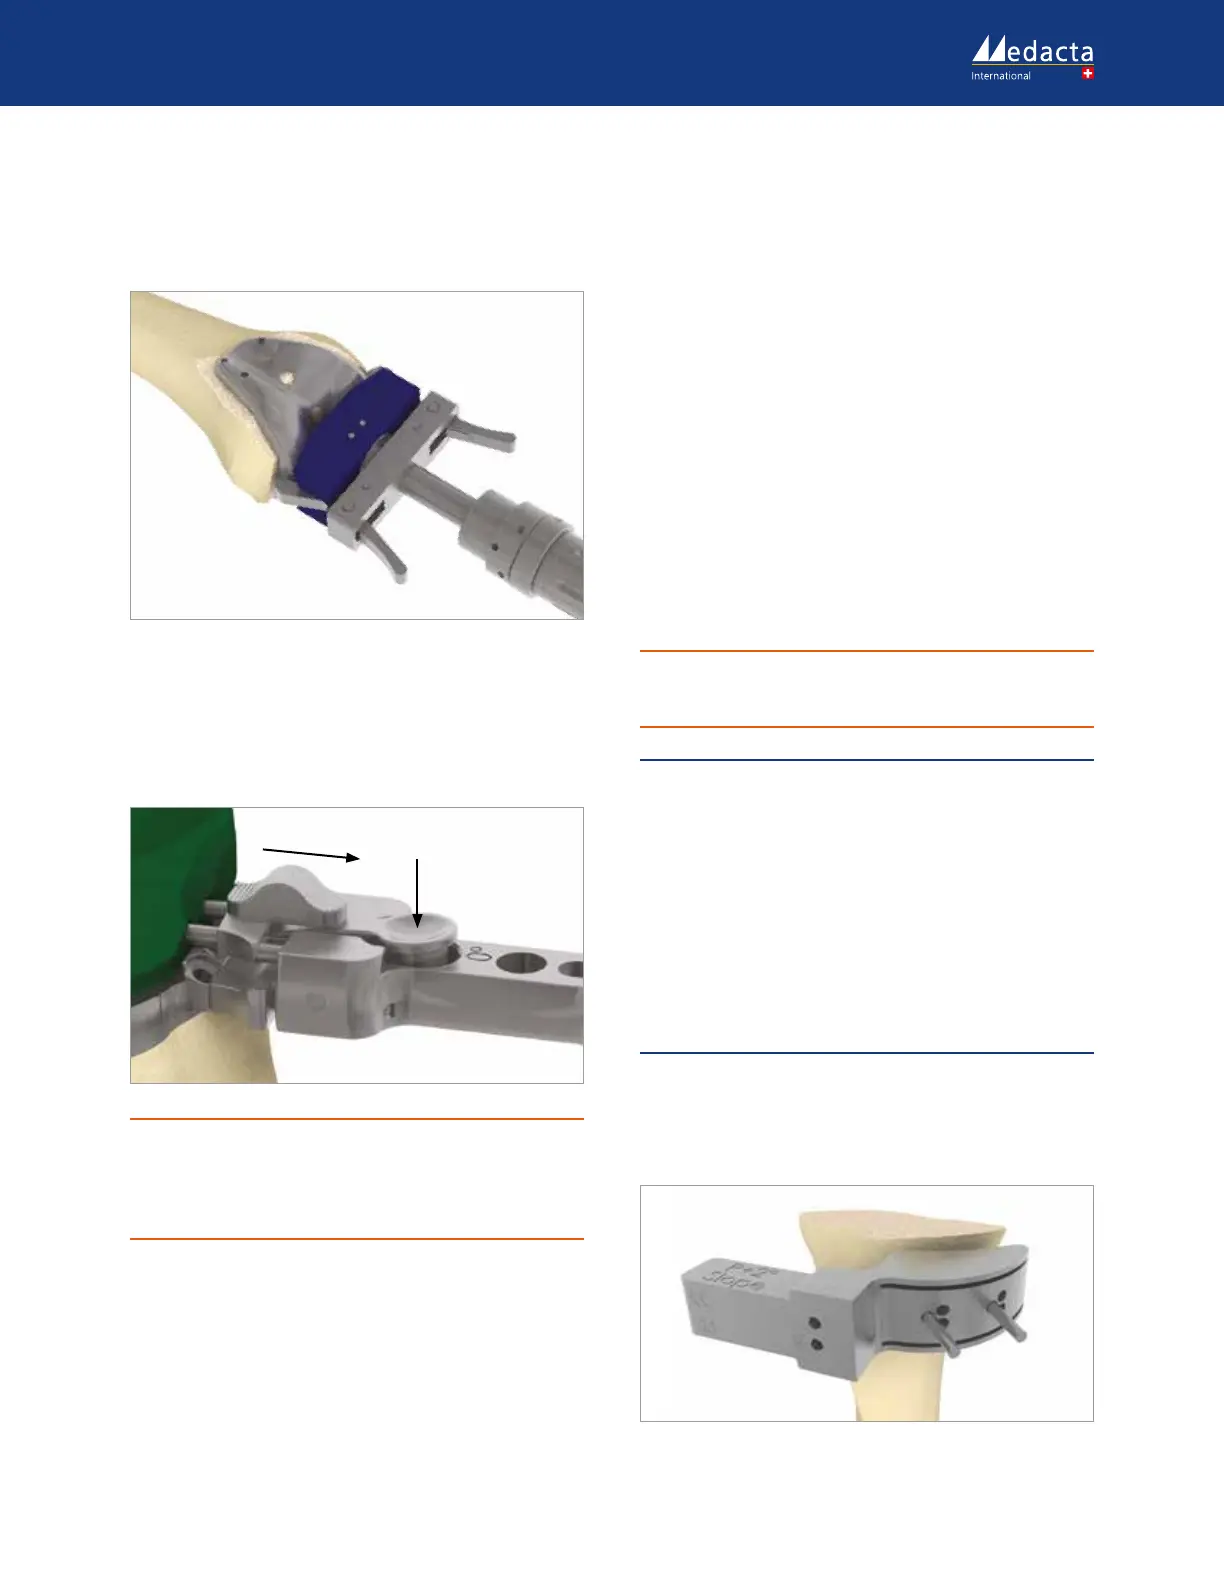
It is possible to adjust the posterior slope (+/- 2°) using the
dedicated recut block. Ensure that the correction cutting
blocks are positioned on the same row of holes used to
perform the initial tibial resection.
42.
After any correction is applied, check again the extension
and flexion gaps.