MVR Lite-UG01-EN-200324-OB
<16>
MVR Lite User Guide - English
Changing Input Signals in Live View = Multi Input
If two cameras are being connected, MVR Lite detects both input resolutions and displays an additional icon on
the monitor. You have the option to change between Input 1 and Input 2 at any time during one imaging session
(patient study). Any active video recording must be stopped rst.
• By using a touchscreen monitor simply tap on the Input button to toggle between both signals.
• Alternatively, you can use the remote control button for toggling the Input.
• [USB keyboard: Pressing “c” has the same function.]
Storage Options = Multi-Storage
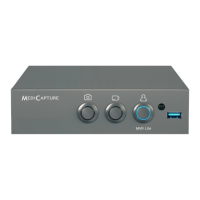
➤Settings ➤Archive ➤Storage
MVR Lite offers the possibility to store your recording studies to multiple storage targets.
Note: Two types/options of storage
can be chosen at the same time.
Options are:
• USB Storage
• Network Storage*
You can also select different
video resolutions for different
storage targets.
Example: Recording to USB in the
highest possible resolution and recording
to a network server* in reduced resolution.
Resolutions 1920x1200 and 1280x1024 will be supported at setting 1080p –
recorded and captured in original resolution and format.
Note: Images are always captured in the original input resolution.
Recording to a USB Flash Drive
Recording to the supplied MediCapture USB ash drive is the easiest way to start using your MVR Lite. When you nish recording,
you can remove the ash drive and easily carry it with you.
Please make sure that USB storage is activated.
➤ Settings ➤ Archive ➤Storage
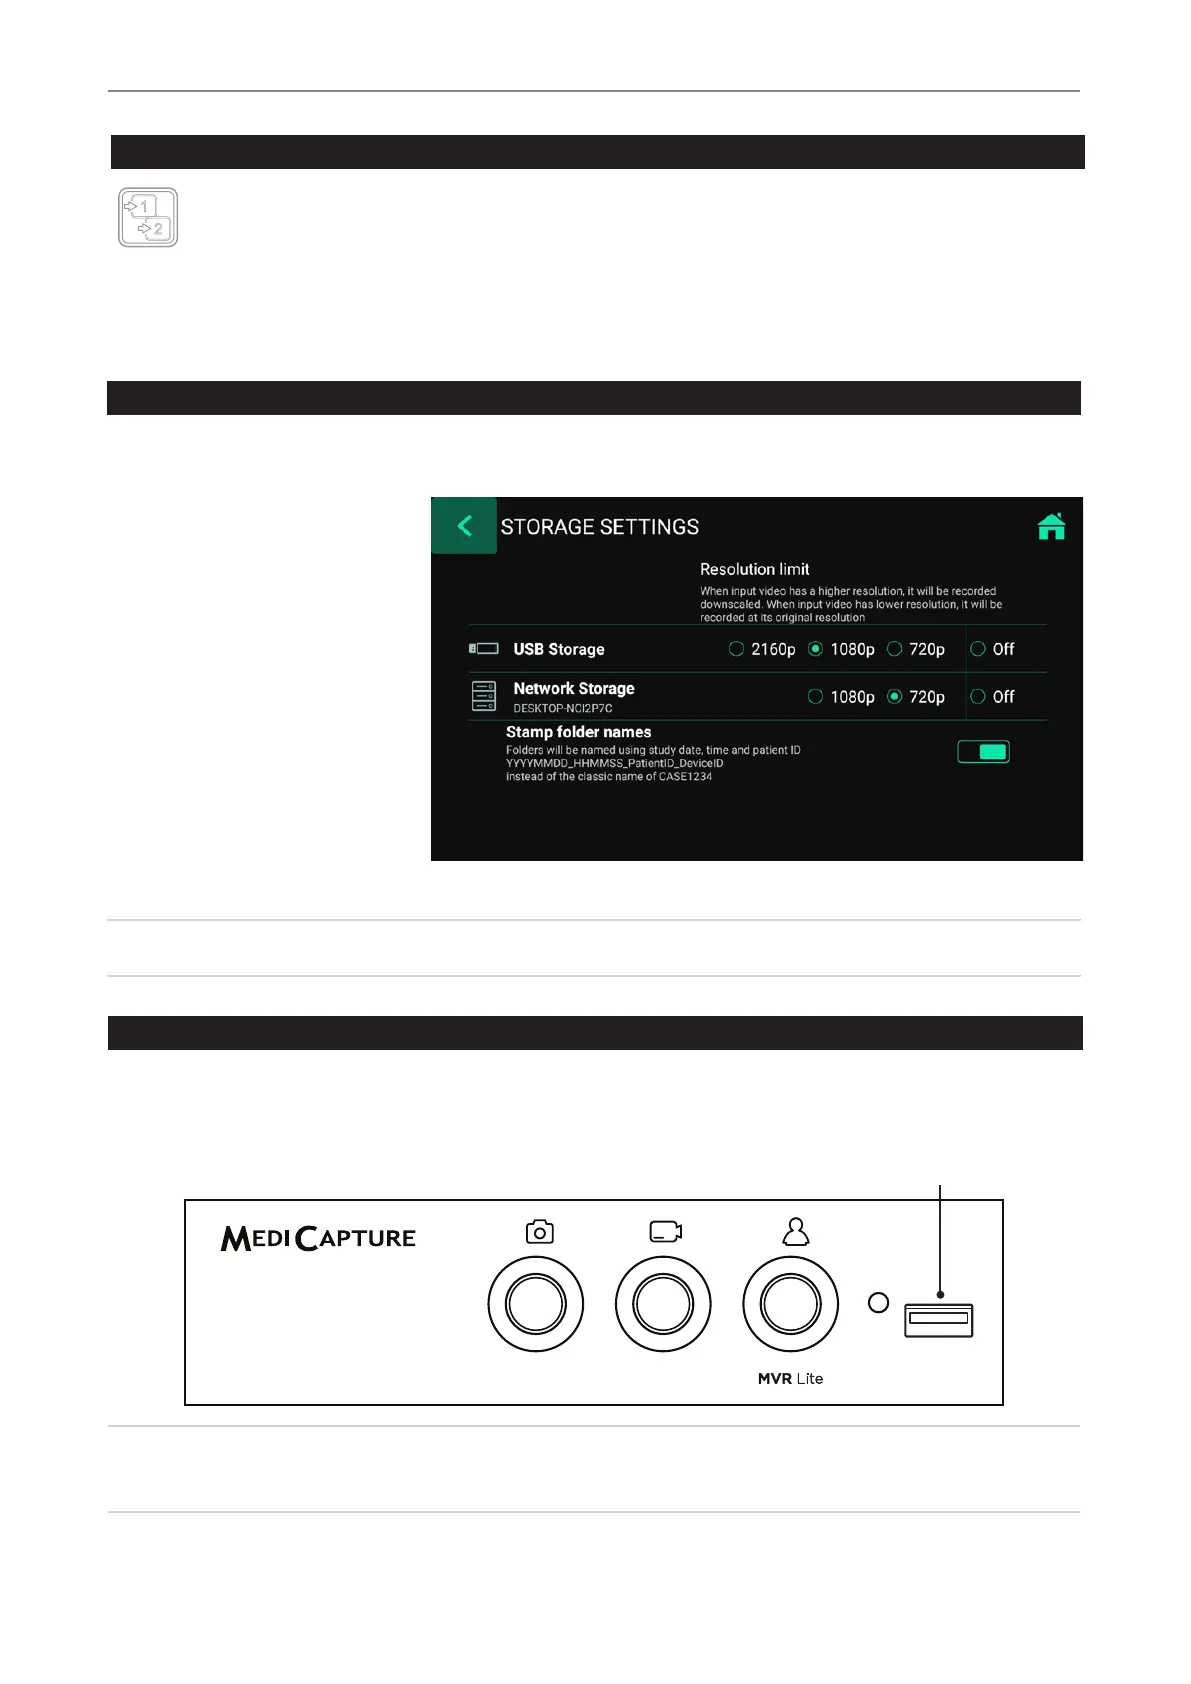
USB Drive Connector
Connect a USB drive here. Images
and videos are captured to the drive.
Note: In case the policy in your IT-environment does not allow the use of USB storage media at all,
IT-Administrators can disable the USB-option for storage and use the network storage* instead.
➤Settings ➤Archive ➤Storage
*Note: Only available when Network is activated by activation key.