RIGHT HAND NON-RATCHETING
Page 6A-12 90-855347R1 JANUARY 1999
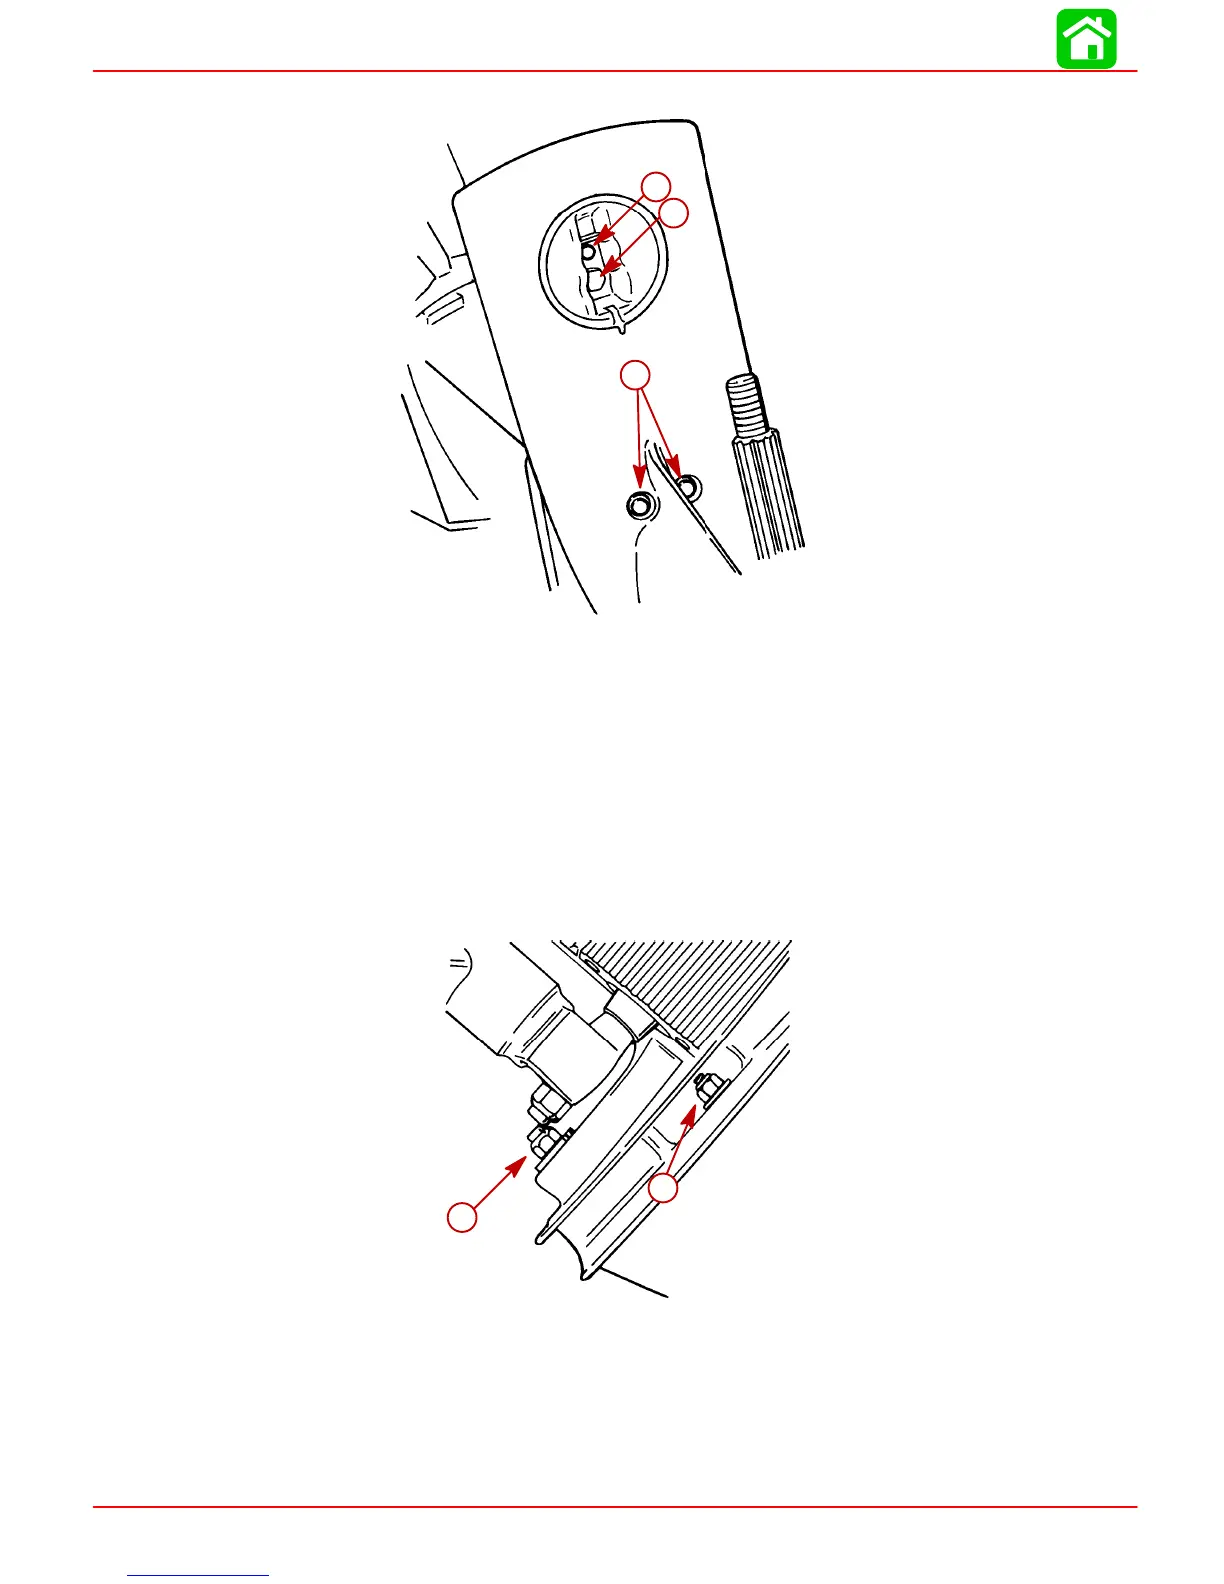
7. Remove 2 locknuts from bottom middle of anti-cavitation plate.
51866
a
b
c
a-Bolt (Secures Trim Tab)
b-Bolt (Inside Trim Tab Cavity)
c-Locknuts and Washers
8. Remove locknut from the front gear housing mounting stud.
9. Loosen the side mounting locknuts. (DO NOT attempt to remove one nut before oppo-
site side is loosened sufficiently, or driveshaft housing could be damaged.)
10. Pull gear housing away from driveshaft housing as far as the loosened nuts (in Step
9) will allow, then remove loosened nuts. (DO NOT allow gear housing to fall, as it now
is free.)
11. Pull gear housing from driveshaft housing.
51879
a
b
a-Front Mounting Locknut
b-Side Mounting Locknut (One Each Side)
Draining and Inspecting Gear Housing Lubricant
1. Place gear housing in a suitable holding fixture or vise with the driveshaft in a vertical
position.