RIGHT HAND NON-RATCHETING
90-855347R1 JANUARY 1999 Page 6A-45
Gear Lubricant Filling Instructions
1. Remove any gasket material from “Fill” and “Vent” screws and gear housing.
2. Install new gaskets on Fill and Vent screws.
IMPORTANT: Never apply lubricant to gear housing without first removing Vent
screw, or gear housing cannot be filled because of trapped air. Fill gear housing
ONLY when housing is in a vertical position.
3. Slowly fill housing thru Fill hole with Quicksilver Super Duty Lower Unit Lubricant until
lubricant flows out of “Vent” hole and no air bubbles are visible.
4. Install Vent screw into Vent hole.
IMPORTANT: DO NOT lose more than one fluid ounce (30cc) of gear lubricant while
reinstalling Fill screw.
5. Remove grease tube (or hose) from Fill hole and quickly install Fill screw into Fill hole.
Installing Gear Housing to Driveshaft Housing
WARNING
Disconnect high tension leads from spark plugs and remove spark plugs from
engine before installing gear housing onto driveshaft housing.
1. Tilt engine to full up position and engage the tilt lock lever.
2. Apply a light coat of Quicksilver 2-4-C w/Teflon Marine Lubricant onto driveshaft
splines.
CAUTION
DO NOT allow lubricant on top of driveshaft. Excess lubricant, that is trapped in
clearance space, will not allow driveshaft to fully engage with crankshaft. Subse-
quently, tightening the gear housing nuts (while excess lubricant is on top of dri-
veshaft) will load the driveshaft/crankshaft and damage either or both the power-
head and gear housing. Top of driveshaft is to be wiped free of lubricant.
3. Apply a light coat of Quicksilver 2-4-C w/Teflon Marine Lubricant onto shift shaft
splines. (DO NOT allow lubricant on top of shift shaft.)
4. Apply a thin bead of G.E. Silicone Sealer (92-91600-1) against the top of divider block.
5. Insert trim tab bolt into hole in rear of gear housing to driveshaft housing machined
surface.
6. Shift gear housing into forward gear and place guide block anchor pin into forward
gear position.
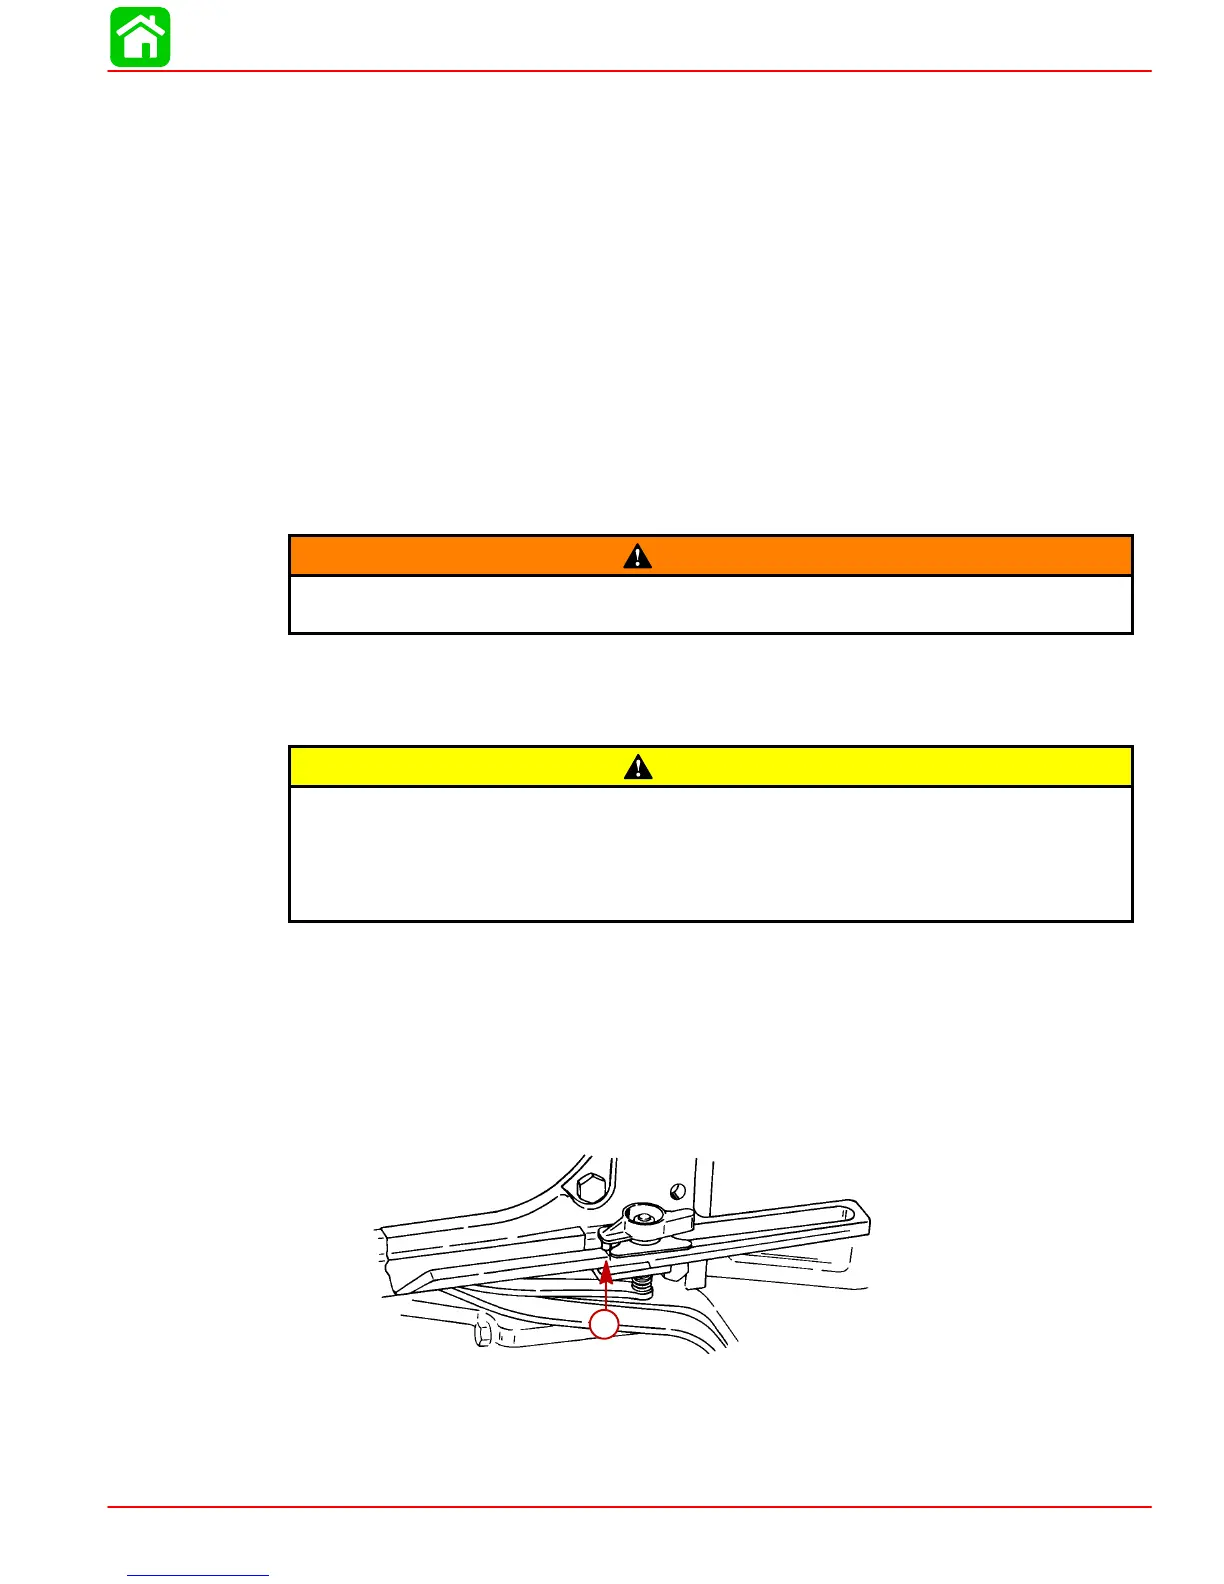
51900
a
a-Guide Block Anchor Pin
7. Position gear housing so that the driveshaft is protruding into driveshaft housing.
 Loading...


