2.
Press SETUP (F3). This advances you to the Start Pressure
Screen. (See below).
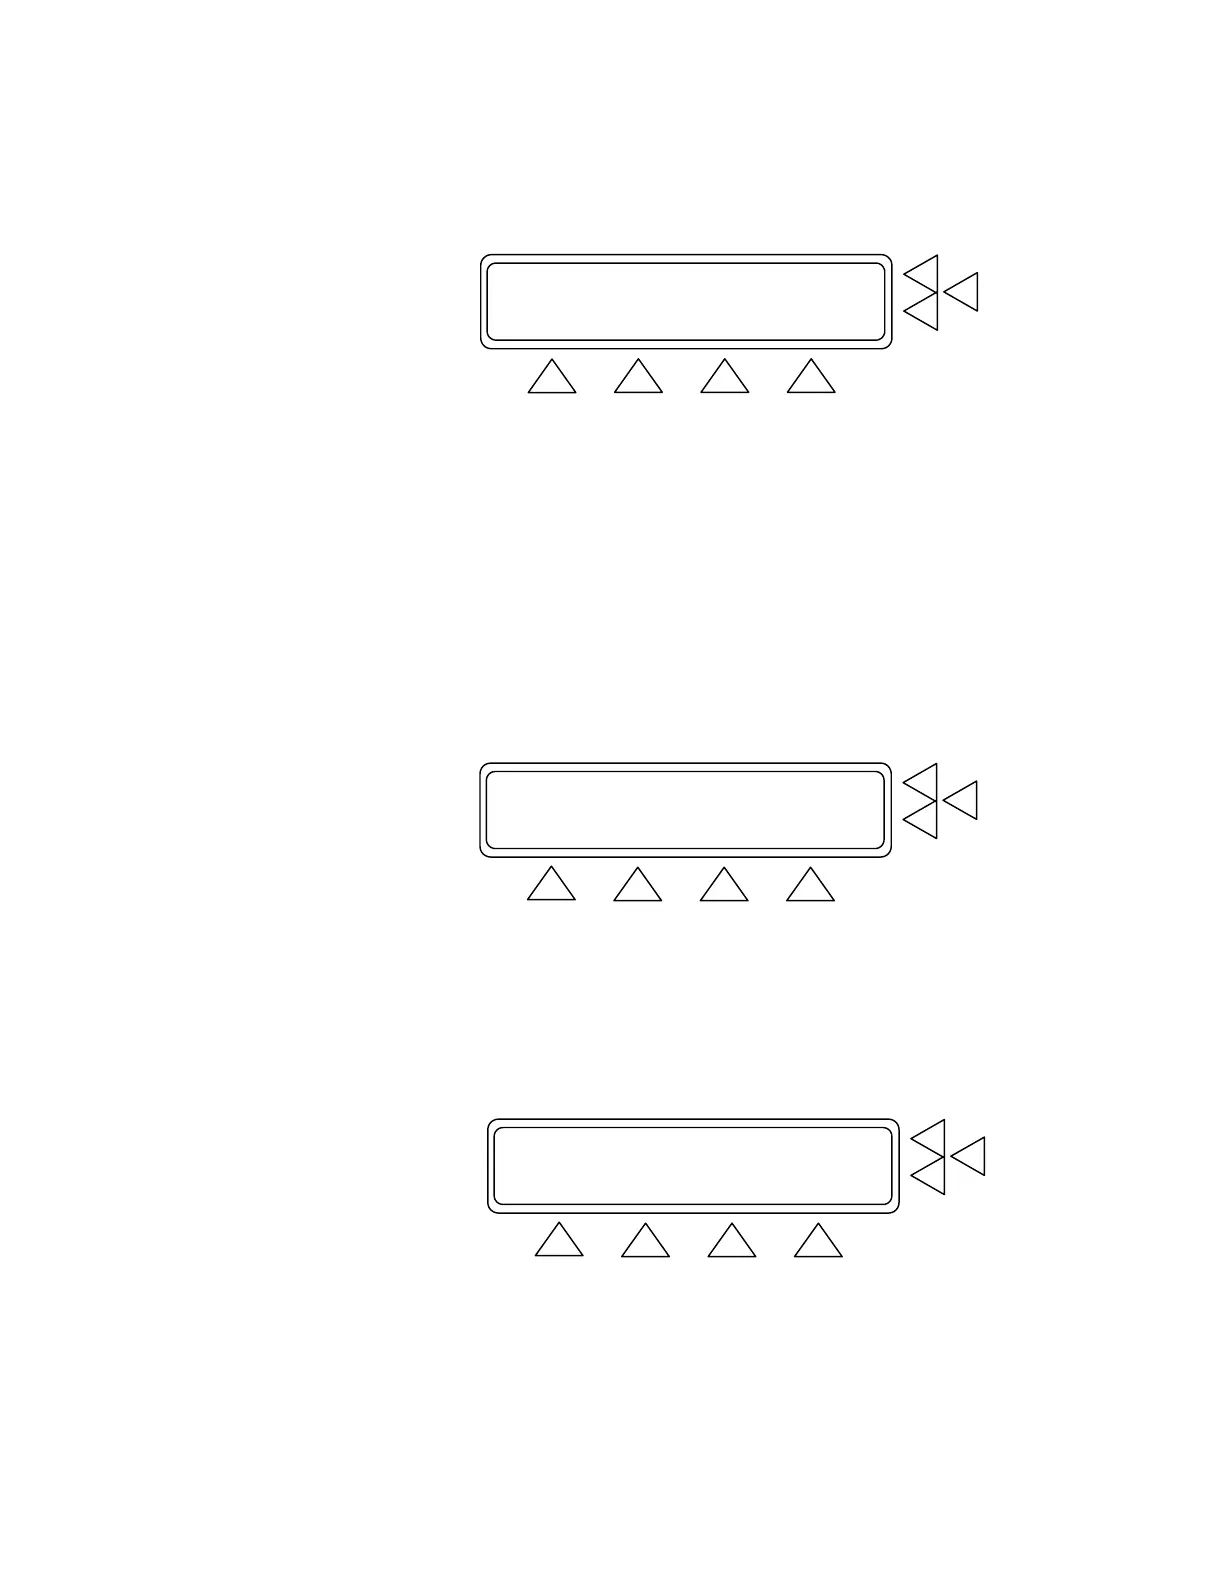
Start Pressure: XXX mmHg ......> F7
Test object : Cuff ......> F6
F5
STORE GO BACK MAIN MENU
F1 F2 F3 F4
3. Use the alphanumeric keys to enter the Start Pressure (F7) set-
ting to between 0 and 400 mmHg. Press the Enter key to save
the new setting(s). Use the Delete key to clear the current setting.
4. Scroll through Test Object (F6) to enter the device under test.
Available options are: Cuff, Monitor, and Cuff and Monitor.
5. Press:
• STORE (F1) to store the settings in flash memory.
• GO BACK (F2) to return to the Leak Test Screen.
• MAIN MENU (F4) to return to Main Menu 1.
Manometer: 0 mmHg Peak: 0 ZERO PR.> F7
PressDrop: 0 mmHg Time:00:00 RS PEAK.> F6
Leak Rate: 0 mmHg/min PRINT ..> F5
RESTART INFLATE SETUP MAIN MENU
F1 F2 F3 F4
6. Press INFLATE (F2). The menu changes and DEFLATE (F2)
becomes active (see below). Wait until the inflation stops. When
the test results are shown, press DEFLATE.
7. To reset the manometer and peak values to 0 mmHg, press
ZERO PR (F7) and RS PEAK (F6). Note that this also resets
the time to zero.
Manometer: 0 mmHg Peak: 0 ZERO PR.> F7
PressDrop: 0 mmHg Time:00:00 RS PEAK.> F6
Leak Rate: 0 mmHg/min PRINT ..> F5
RESTART INFLATE SETUP MAIN MENU
F1 F2 F3 F4
8. To repeat the test, press RESTART (F1), which resets the results
to zero. Then, press INFLATE.
5-2