08. Checking perfect leaf closure.
a) - Close the leaf completely and ensure that it is placed against the trav-
el stop; then shake by hand to check and ensure that the gearmotor
remains firmly in position. If this is not so, proceed as described
below; otherwise skip to phase 09:
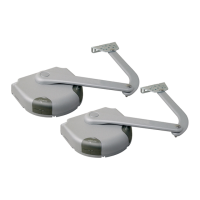
1. remove the slotted arm from the fixing bracket on the leaf;
2. loosen the bracket screws and move it by a few millimetres in the
direction of the gearmotor;
3. refit the slotted arm on the bracket, close the leaf and ensure that it
is aligned in contact with the travel stop and aligned with the other
leaf (if present). Caution! - If necessary, repeat point 2 to obtain per-
fect closure.
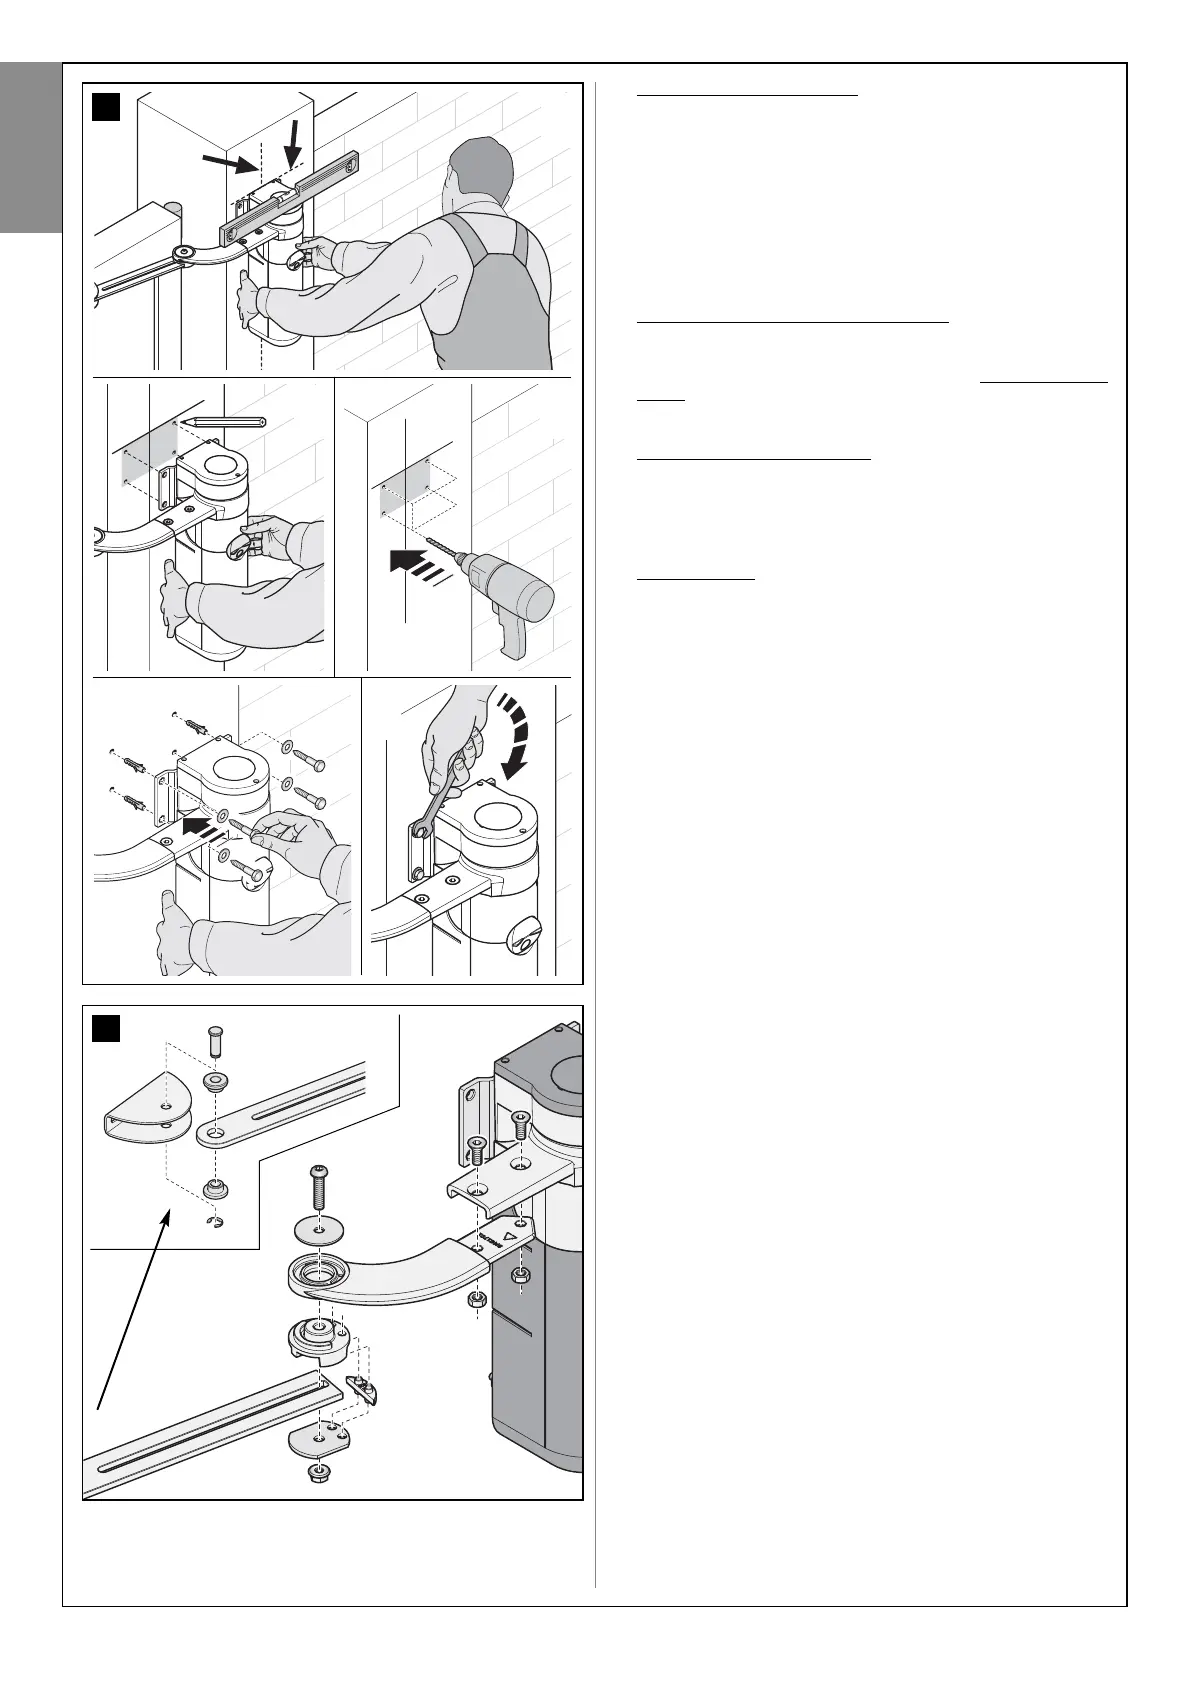
09. Permanently fixing the bracket on the leaf.
a) - Remove the slotted arm from the fixing bracket on the leaf (if not
already performed in phase 08).
b) - Drill a hole in the leaf at the same point as the hole at the centre of the
bracket and insert a screw. Permanently fix the bracket by tightening
the three screws fully down.
c) - Fix the slotted arm to the bracket, inserting the pin and stop benzing.
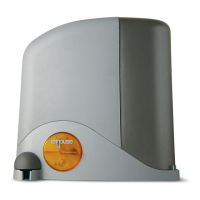
10. Manually locking the gearmotor
a) - Manually move the leaf to approximately mid-travel and lock the
gearmotor by means of the special key (refer to chapter “Manually
locking and releasing the gearmotor” in the “Operation Manual”).
Then manually move the leaf by a few centimetres in the opening
direction.
11. On 2-leaf gates.
a) - If the gate has two leafs, install the other gearmotor repeating all
operations described in paragraph 3.4 and in this paragraph.
1
2 3
4 5
15
7
English
12 – English