Appendix A micomTrooper 3 5-50 Watt HF-SSB Backpack Transceiver
139
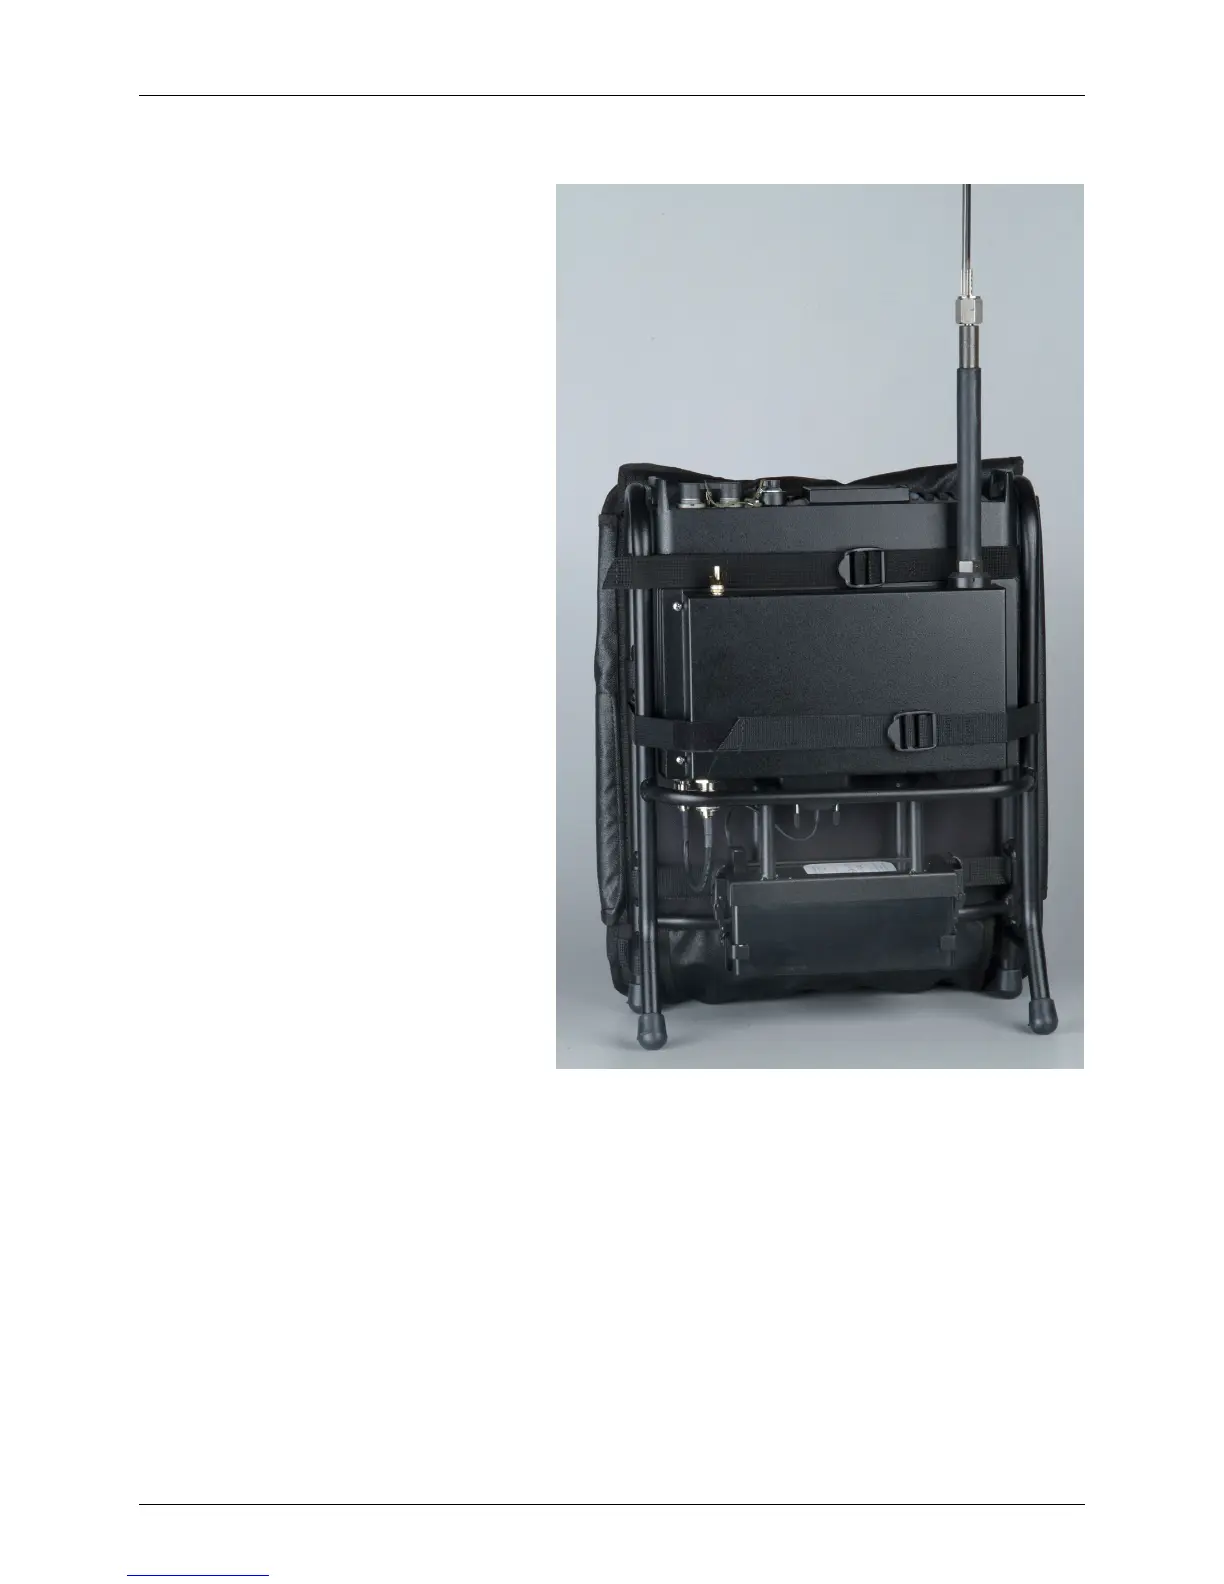
Installation of Whip Antenna
1. Visually inspect the whip mount
connector (located on the ATU) for
dirt or damage, and the threadings of
the antenna base, and of the whip.
Thoroughly clean dust and dirt if
necessary.
2. Screw antenna base into the whip
mount connector. Tighten by hand
only.
3. Extend the flexible steel blade of
the antenna.
4. Screw the whip antenna into the
antenna base. See the figure for a
general view of the transceiver after
completing this step.
5. To remove the whip antenna,
perform the above tasks in the
reverse order.
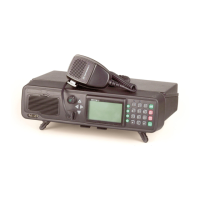
Connection of Audio Accessories
1. Connect the handset to either of the two audio connectors on the front panel of the
micomTrooper 3.
2. If necessary, connect an additional audio accessory, for example, telegraphy key or headset, to
the other audio connector.