SmartFusion2 SoC FPGA - Cache Controller Configuration - Libero SoC v11.7
Revision 10 13
3. Connect the power supply to the J6 connector and switch ON the power supply switch, SW7.
Start the HyperTerminal program with a baud rate of 115200, 8 data bits, 1 stop bit, no parity, and
no flow control. If your computer does not have HyperTerminal program, use any free serial
terminal emulation program such as PuTTY or Tera Term. Refer to the Configuring Serial
Terminal Emulation Programs tutorial for configuring the HyperTerminal, Tera Term, and PuTTY.
4. Program the SmartFusion2 Security Evaluation Kit board with the provided programming file
<download_folder>\m2s_ac389_liberov11p6_df\programming_file\CacheConfiguration.stp, refer
to "Appendix: Design and Programming Files" on page 16 using the FlashPro software.
5. Press SW6 switch to reset the board after successful programming.
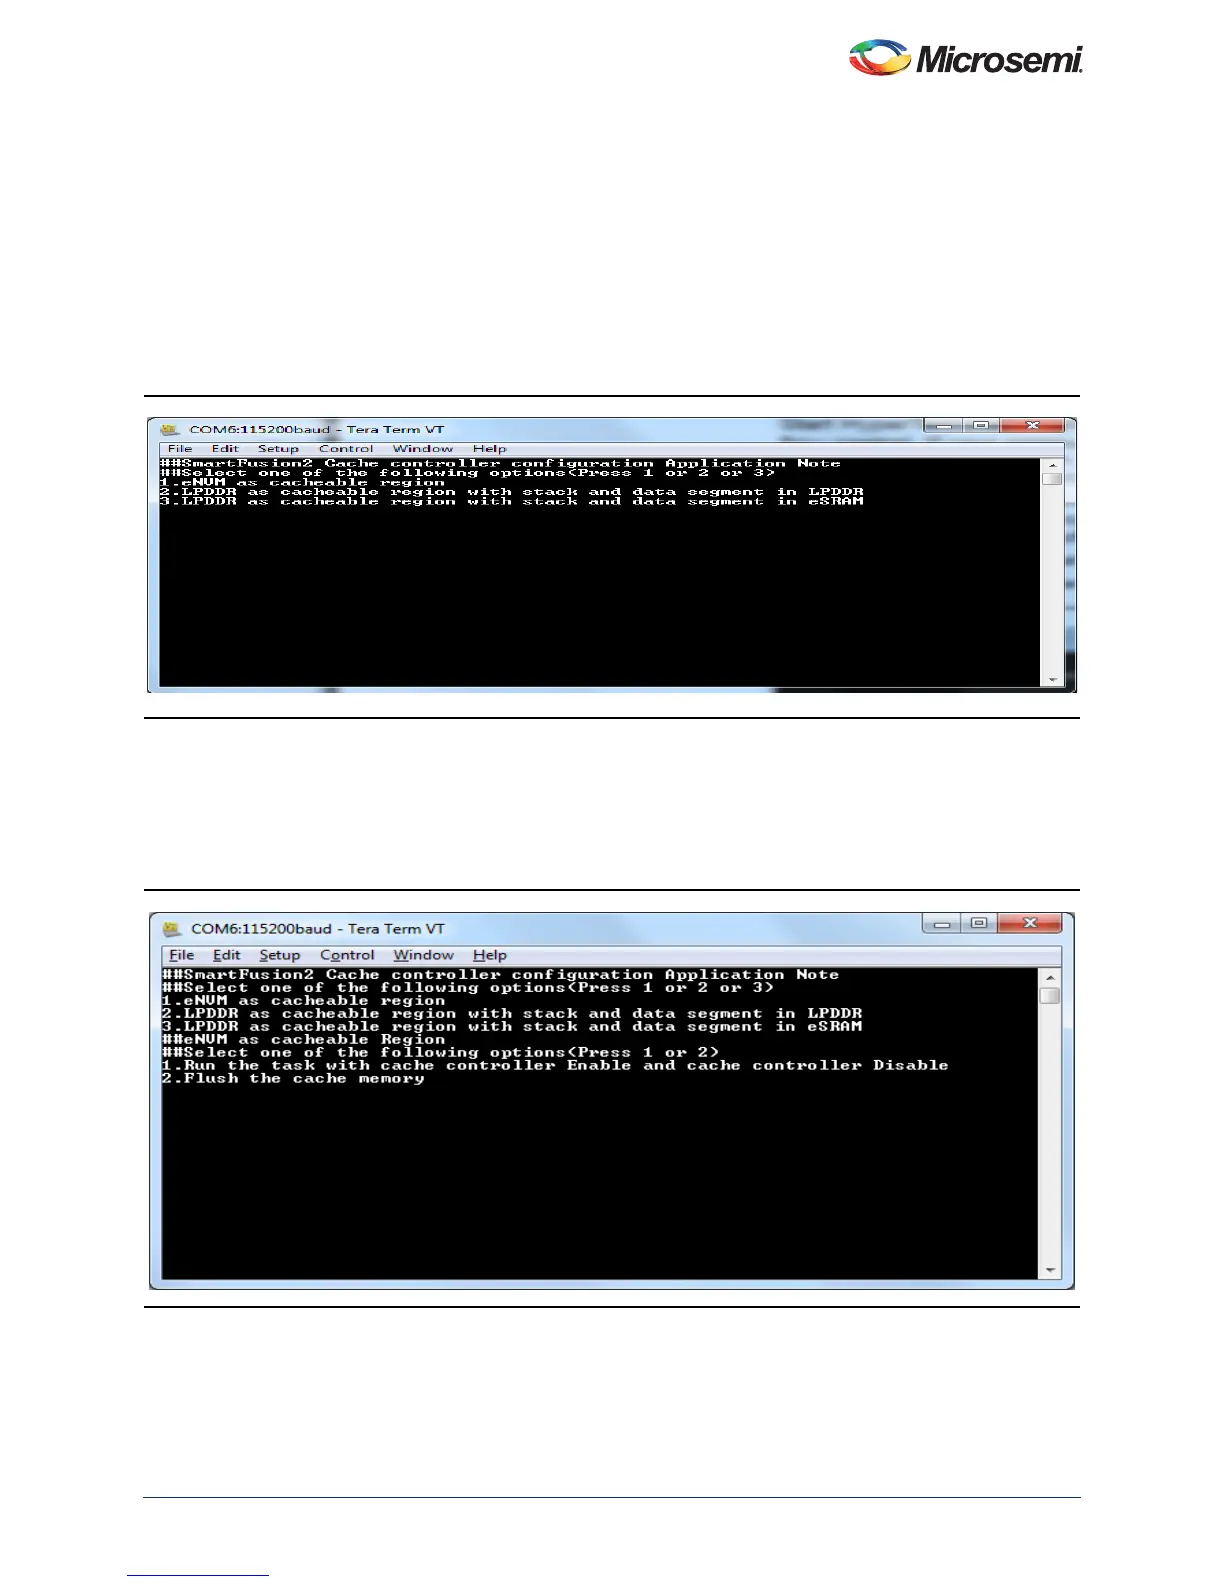
The serial terminal program displays the user options, as shown in Figure 9.
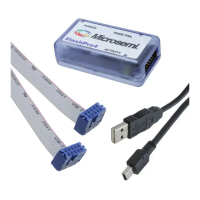
6. Select the option to remap the image to the bottom (0×0000_0000) of the Cortex-M3 processor
code region and to execute the code. Select option 1 to execute eNVM as cacheable memory
application image as shown in Figure 10. Select 2 or 3 to execute LPDDR as cacheable memory
application image as shown in Figure 11 on page 14 and Figure 12 on page 14.
Note: Reset the SmartFusion2 Security Evaluation Kit board to switch among the application images.
Figure 9 • User Options
Figure 10 • Executing eNVM as Cacheable Region Application