3 - 6 Operator’s Manual
3 System Preparation
On the monitor, the brightness adjustment comes before contrast. After readjusting the monitor’s
contrast and brightness, adjust all preset and peripheral settings.
3.5 Connecting/Disconnecting a Probe
• Press <Freeze> to freeze an image or turn off the power of the system
before connecting/disconnecting the probe. Otherwise, system or probe
failure may occur.
• When connecting or disconnecting a probe, place it in the proper position to
prevent the probe from falling off or becoming damaged.
• Only use probes provided by Mindray. Aftermarket probes may result in
damage or cause a fire.
3.5.1 Connecting a Probe
The probes, cables and connectors should be in proper operating order and
free from surface defects, cracks and peeling. Otherwise, this may lead to
electrical shock.
Before inserting the connector into the probe port, inspect the connector pin. If the pin is bent, do
not use the probe until it has been inspected/repaired/replaced.
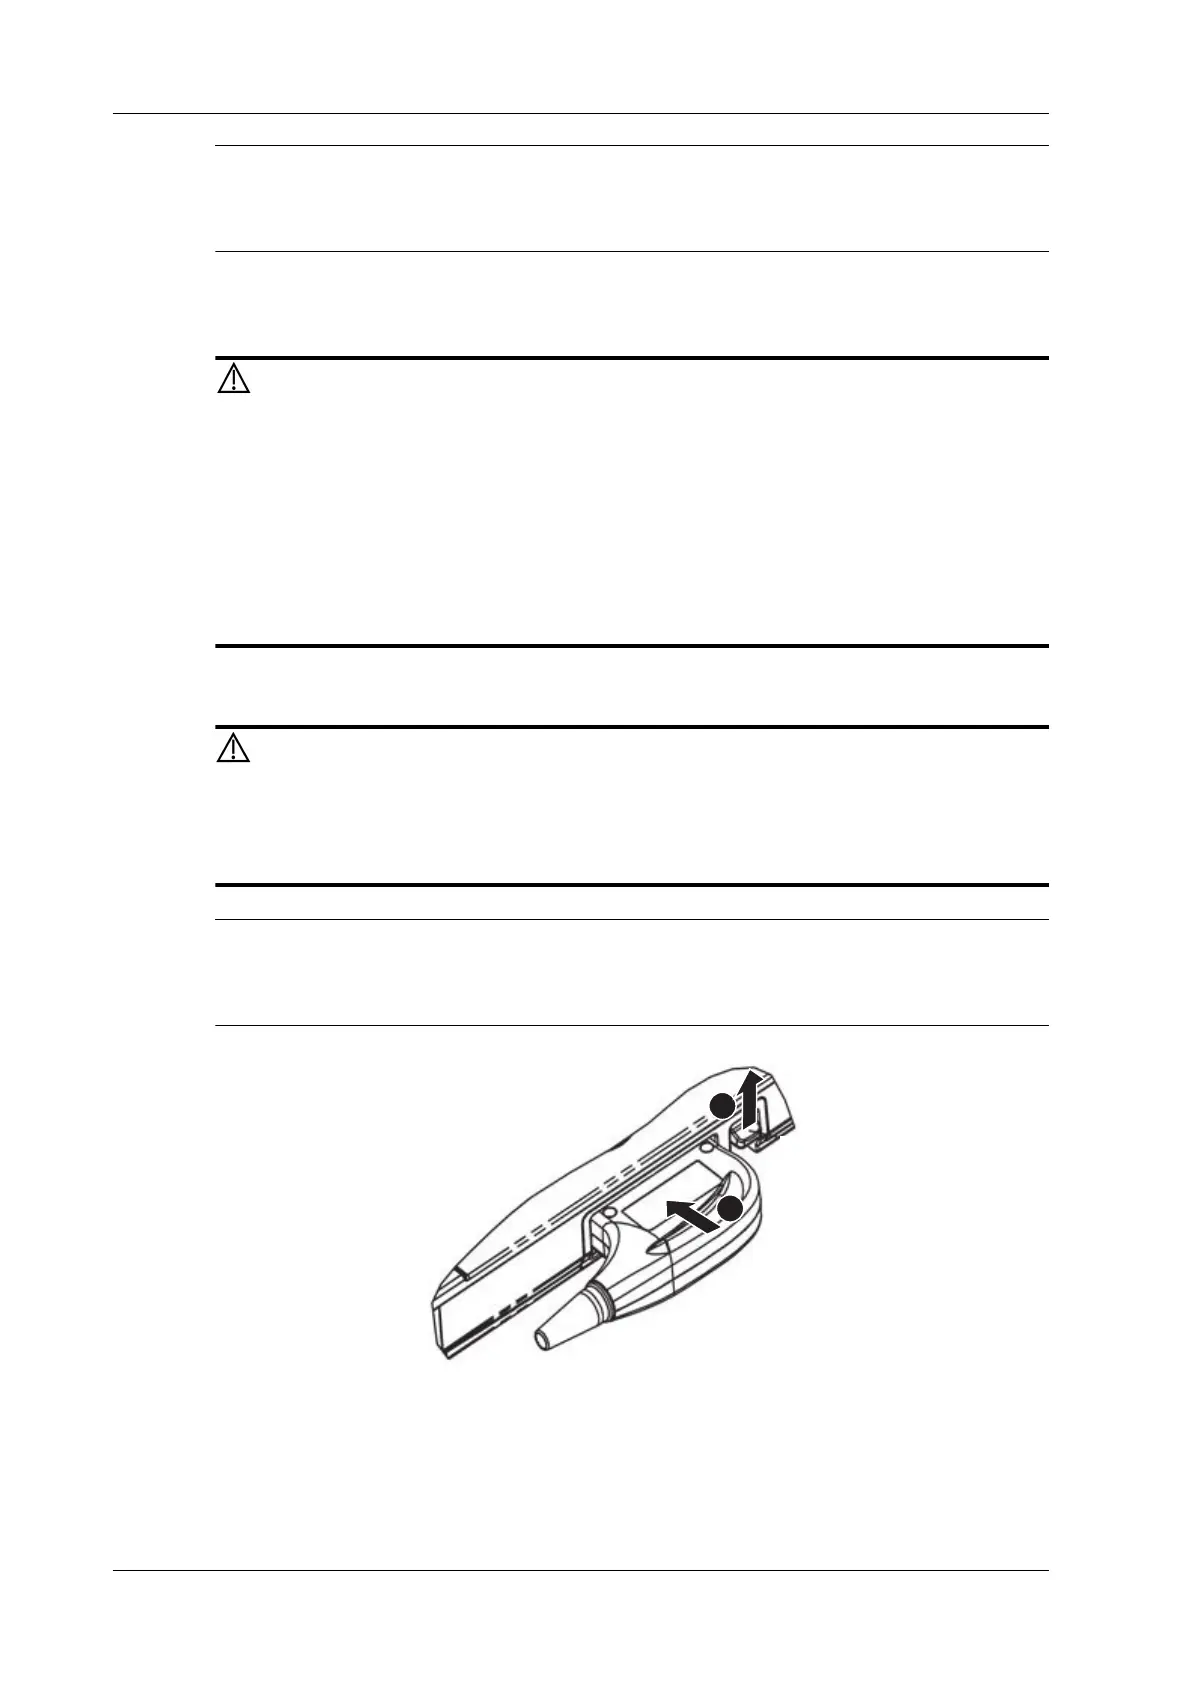
Perform the following procedure:
1. Keep the cable end of the transducer to the right side of the system, insert the connector into
the system port, then press in fully.
2. Toggle the locking lever to the top position.
1
2
 Loading...


