23
USING THE BUILT-IN FLASH
In low-light conditions or indoors, the flash is needed to illuminate the subject and reduce blurring
through camera shake. The flash can also be used as a fill light in direct sunlight to soften harsh
shadows.
FLASH RANGE – AUTOMATIC OPERATION
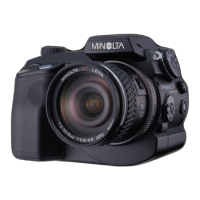
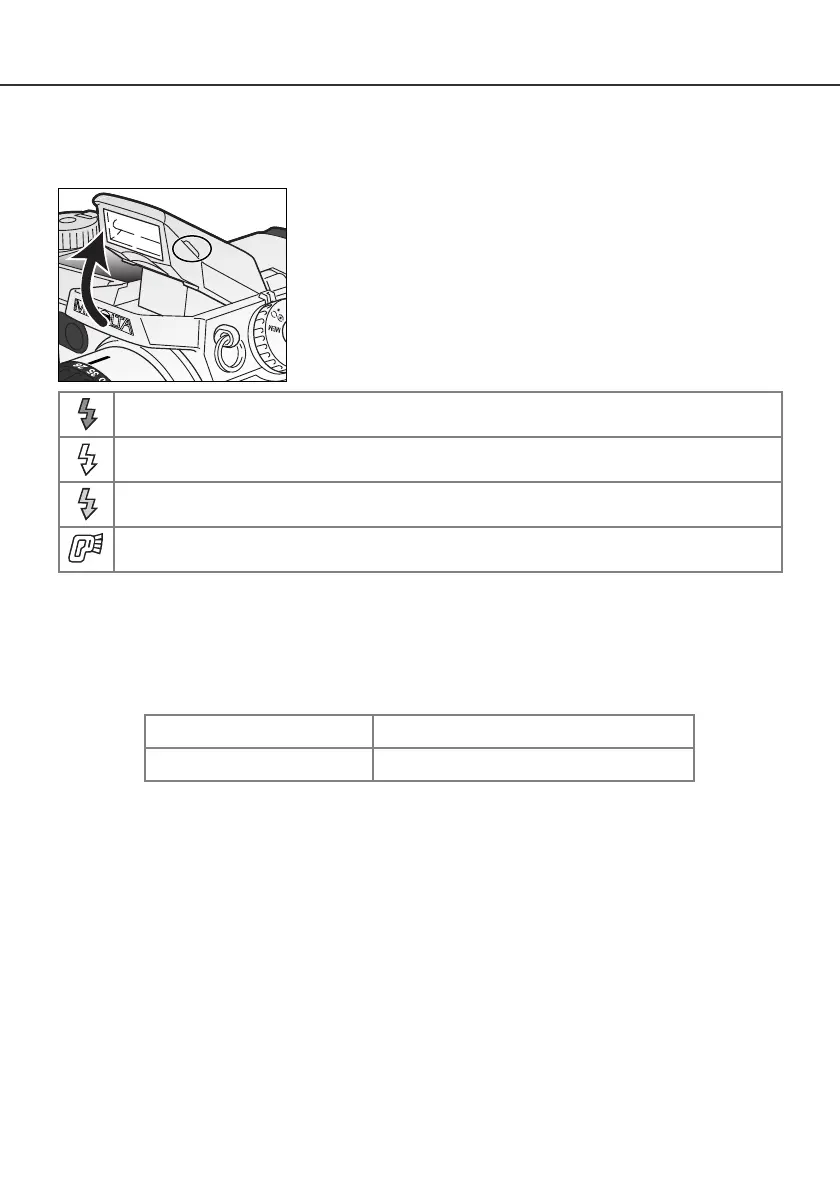
To use the flash, simply pull up the unit by the tabs on each side.
Icons will appear in the upper left corner of the EVF and LCD
monitor (see chart below).
• The flash position must be set manually.
• The flash will always fire regardless of the amount of ambient light.
• Always remove the lens hood when using the built-in flash. The
hood may cast a shadow if mounted.
The camera will automatically control the flash output. For well-exposed images, the subject must be
within the flash range. Because of the optical system, the flash range is not the same at the lens’
wide-angle position as it is at the telephoto position.
Wide-angle position
Telephoto position
0.5m ~ 3.8m (1.6 ft. ~ 12.5 ft.)
0.5m ~ 3.0m (1.6 ft. ~ 9.8 ft.)
Flash warning. In backlit situations, the icon appears to recommend the use of the flash.
When pressing the shutter-release button partway down, the white flash icon indicates
the flash is ready to fire.
When pressing the shutter-release button partway down, the red flash icon indicates the
flash is charging.
After taking a picture, a blue flash icon appears if the flash properly exposed the sub-
ject.