85
8575
8575
N/B Maintenance
N/B Maintenance
2.2.7 LCD
Disassembly
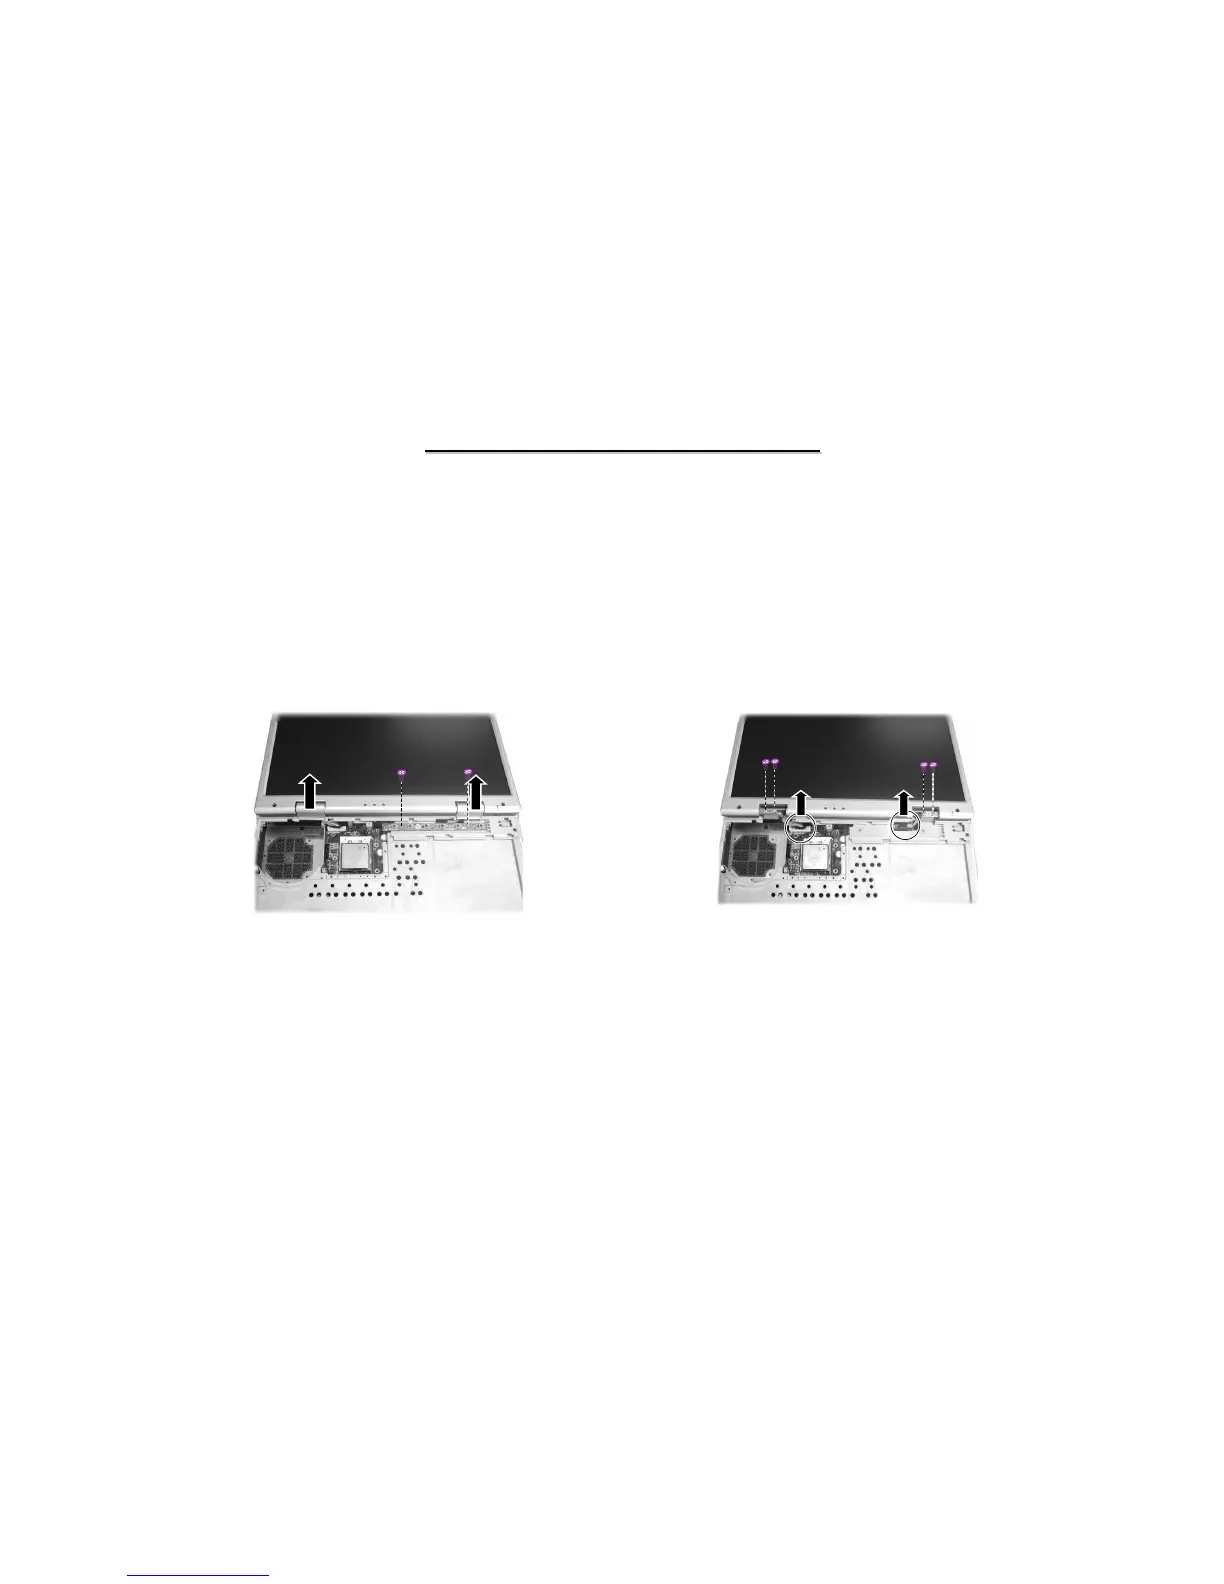
3. Disconnect the LCD cables from the system board, and remove four screws of the hinges. Now you can
separate the LCD assembly from the base unit. (Figure 2-16)
Reassembly
1. Attach the LCD assembly to the base unit and secure with four screws on the hinges.
2. Reconnect the LCD cable connectors to the system board.
3. Fit the easy start button board and secure with tow screws.
4. Replace two hinge cover, the heatsink, keyboard and easy start buttons cover.
Figure 2-15 Remove the LCD hinge cover
and button board
Figure 2-16 Remove cables and screws
to separate LCD
1. Open the top cover. Remove easy start buttons cover, keyboard, and heatsink . (See section 2.2.2 and 2.2.3 Disassembly)
2. Remove the two hinge covers and remove two screws fastening the easy start button board.(Figure 2-15)