84
8575
8575
N/B Maintenance
N/B Maintenance
2.2.6 SO-DIMM
Disassembly
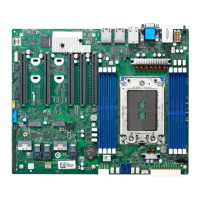
Figure 2-14 Remove the SO-DIMM
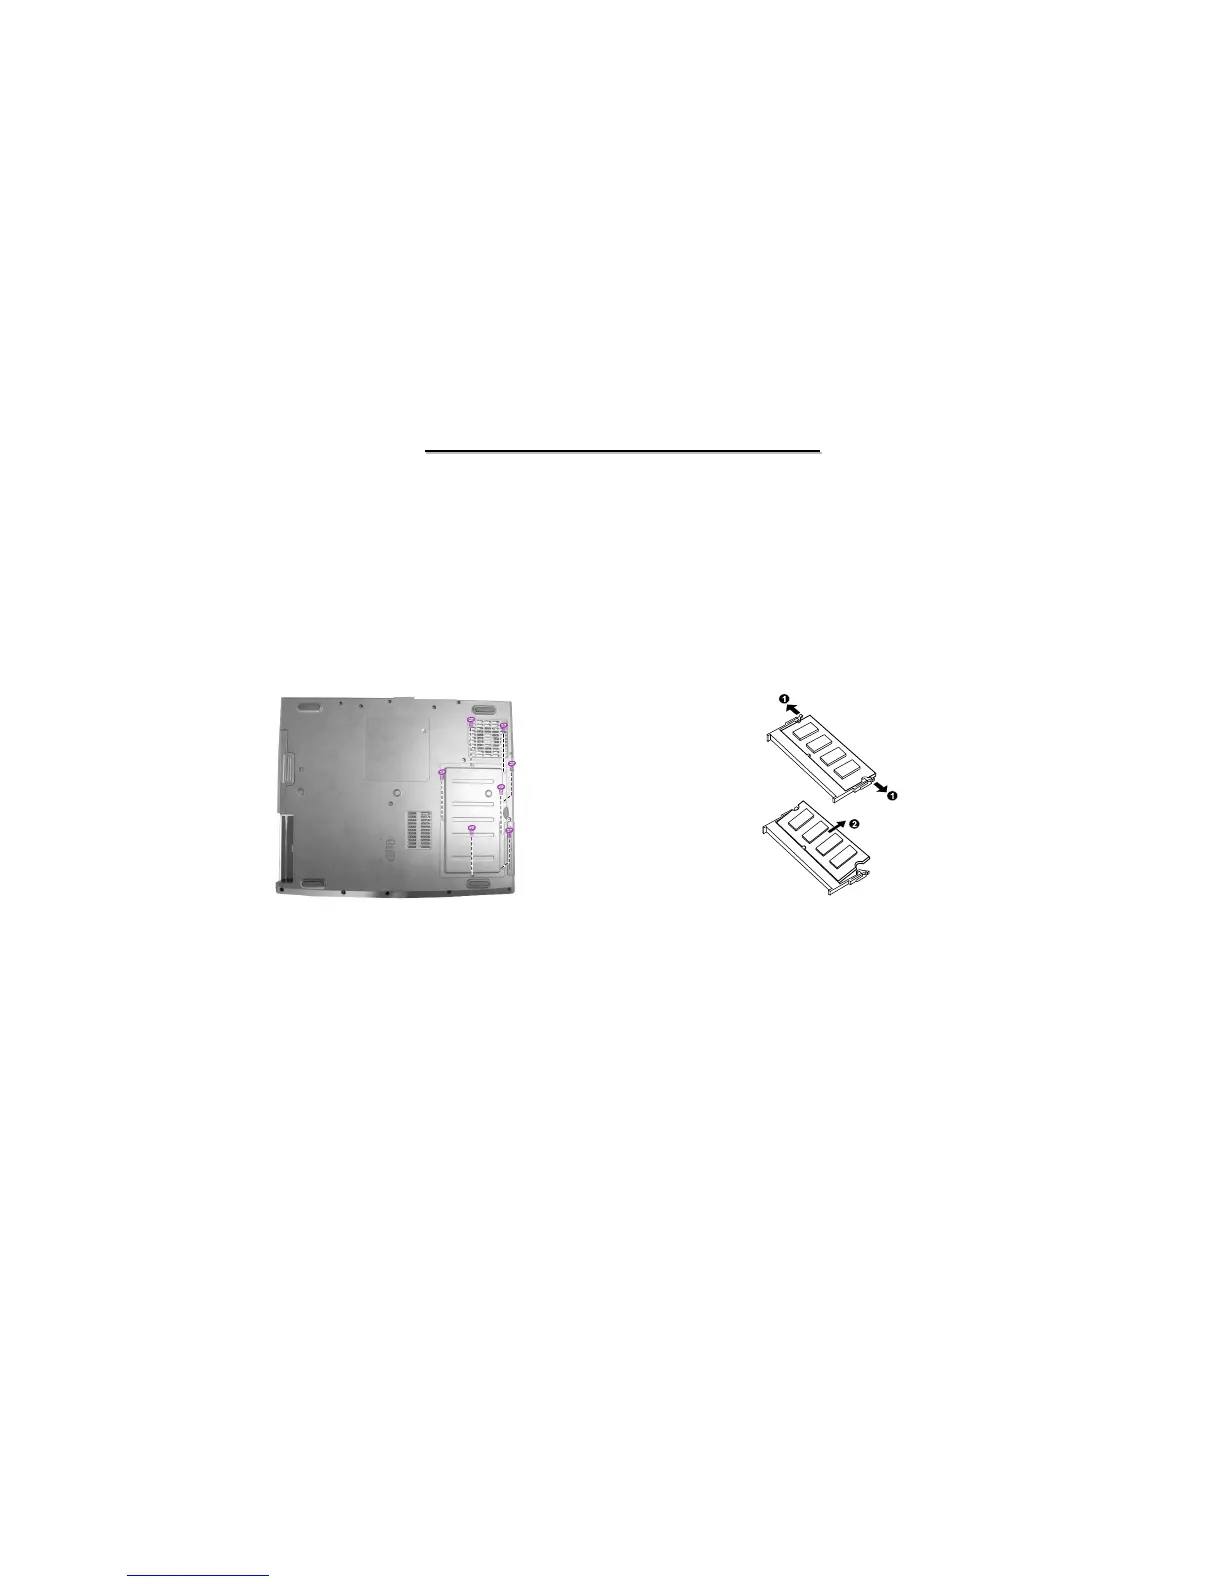
Figure 2-13 Remove the SO-DIMM cover
1. Carefully put the notebook upside down.
2. Remove seven screws to access the SO-DIMM socket. (Figure 2-13)
3. Full the retaining clips outwards () and remove the SO-DIMM (). (Figure 2-14)
Reassembly
1. To install the SO-DIMM, match the SO-DIMM’s notched part with the socket’s projected part and firmly
insert the OS-DIMM into the socket at 20-degree angle. Then push down until the retaining clips lock the
SO-DIMM into cover.
2. Replace the SO-DIMM cover.
3. Replace seven screws to fasten the SO-DIMM socket cover.