-11-
5. PROPER OPERATION
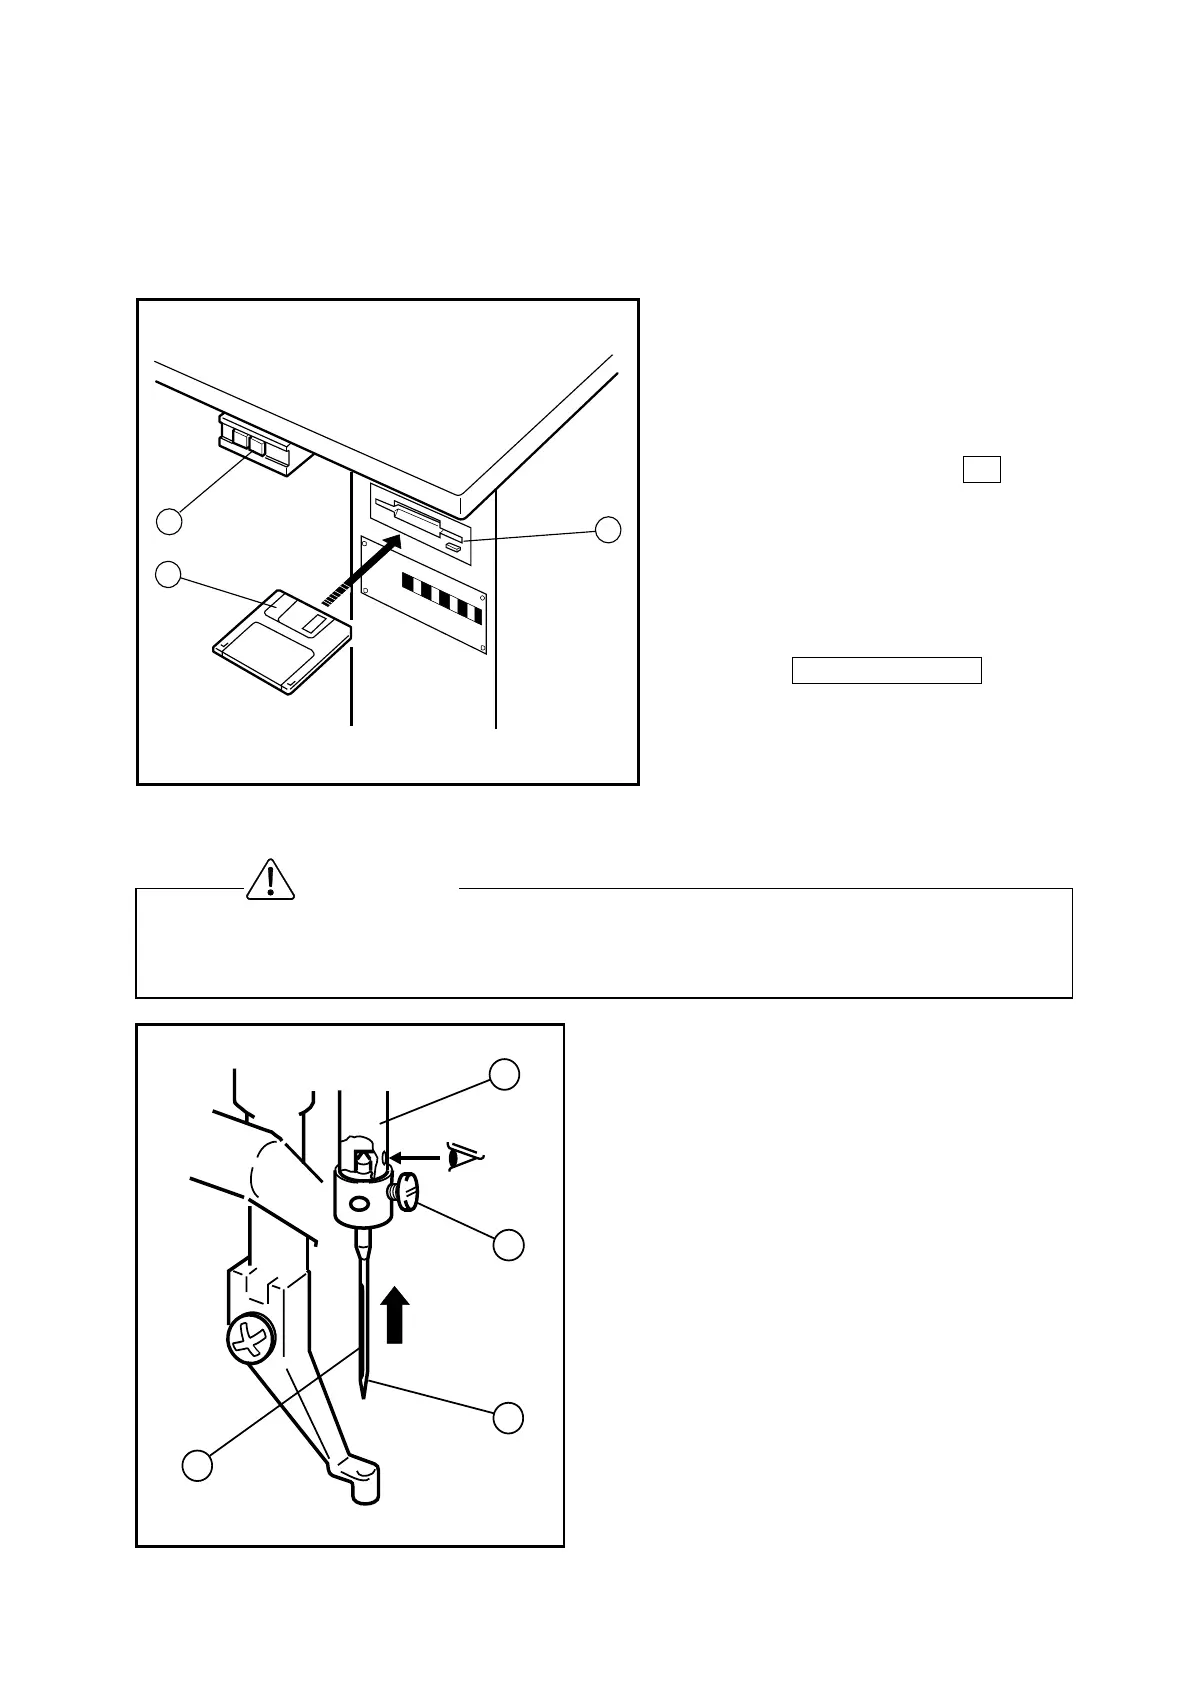
5-1. Loading the system software to the control box
When the brand new machine is operated first time or when the control box is adjusted for the
repairing, the system software has to be loaded to the control box.
For this loading, please take the following procedure.
(1) Insert the system floppy disc printed
[ F1 ] (NO.2) into the disc drive (NO.3)
of the control box. The system floppy
discs are enclosed in the accessory
box.
(2) While holding down the F key on
the setting panel of the control box,
turn the power switch (NO.1) ON.
(3) Load the system software with
following the instructions [System
installation method] on the technical
manual CONTROL UNIT .
(4) After loading the system software,
keep the system floppy disks with in
care.
5-2. Installation of the needle
(1) Loosen the needle set screw (NO.1) then,
insert the new needle (NO.2) until the needle
head is reached the end of the hole of the
needle bar (NO.3).
(2) Fasten the setscrew (NO.1) with facing the
needle groove (NO.4) to the front.
★Please make sure to turn the power switch OFF before installing or replacing the needle.
★Please pay attention for the fingers not to be wounded by the needlepoint.
Caution
4
2
1
3
O
F
F
O
N
1
2
3