25
Need help or have any questions? Call us at 1-714-963-0329 or send us an Email at service@globalhobby.net
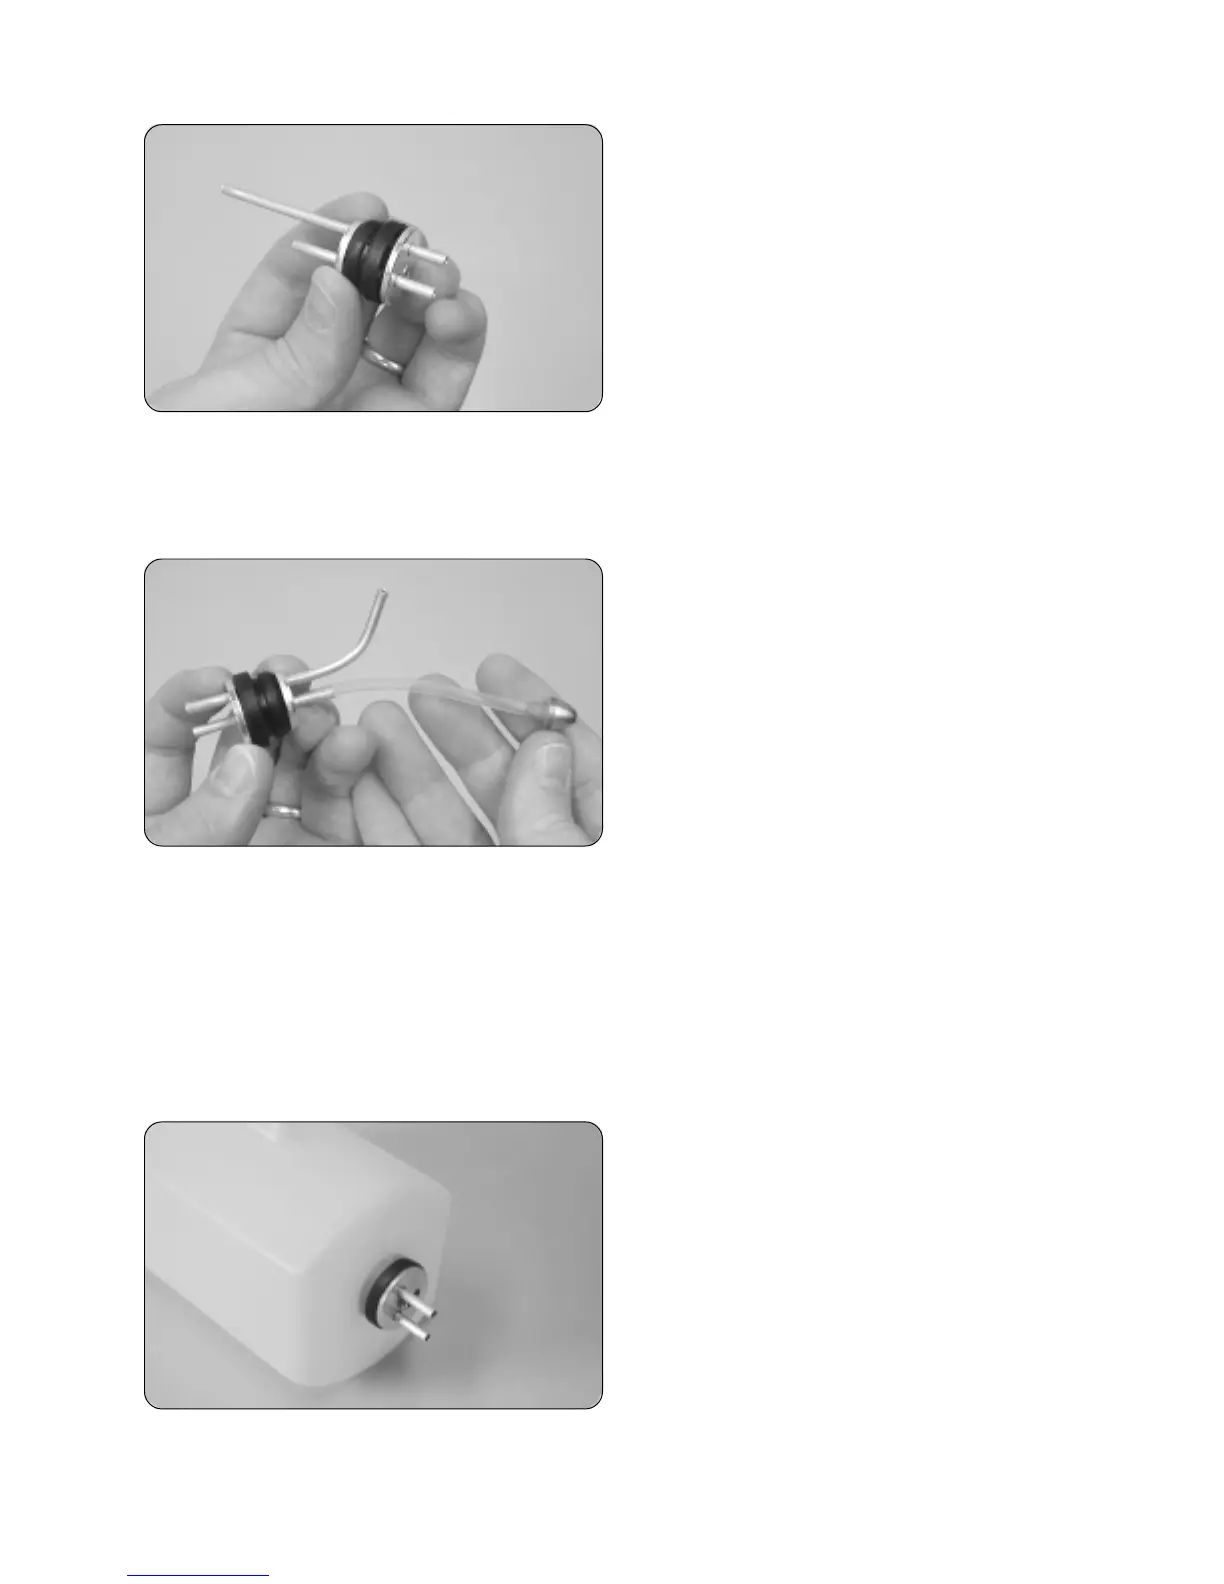
❑ Using a ruler, measure the distance that the two aluminum
tubes protrude from the front of the stopper assembly. This
distance should be 3/8". If it is not, adjust the tubes by
pushing them forward or backward until you are satisfied with
the alignment.
❑ Carefully bend the longer of the two aluminum tubes up at a 45º angle, being careful not to "kink" the tubing as you
bend it.
☞
When the stopper assembly is installed in the fuel tank, the top of the vent tube (the tube you just bent) should rest just
inside the bubble in the top of the tank.
❑ Secure one end of the silicon fuel tubing onto the end of
the fuel pick-up "clunk."
❑ Slide the silicon fuel tubing, with the fuel pick-up attached,
onto the end of the aluminum fuel pick-up tube (straight tube).
While holding the aluminum tube in place, adjust the length of
the silicon tubing until the fuel pick-up is 4-3/8" back from the
rear of the stopper assembly.
❑ Push the 3mm x 20mm machine screw through the stopper assembly, from the front, and partially thread it into the
small diameter metal backplate.
Step 2: Installing the Stopper Assembly
❑ Carefully push the stopper assembly into the molded hole in the front of the fuel tank. Gently rotate the stopper
assembly until the aluminum vent tube rests just inside the bubble in the top of the tank.
☞
If you have trouble seeing the vent tube, hold the fuel tank assembly up to a bright light. This will illuminate the inside
of the tank, making it easy to see the tubing inside.
❑ When satisfied with the alignment, tighten the machine
screw until the rubber stopper expands and seals the fuel tank
opening.
WARNING Do not overtighten the screw. This could cause
the front of the fuel tank to split.
❑ With the stopper assembly in place, double-check to make sure the fuel pick-up can move freely inside the tank.
Ideally, the fuel pick-up should be about 1/4" in front of the back of the tank.