63
Checking the Cutting Results
If Virtual MODELA is installed and set up, then before you perform actual cutting you can check the shape that will be produced after
cutting on the screen.
1
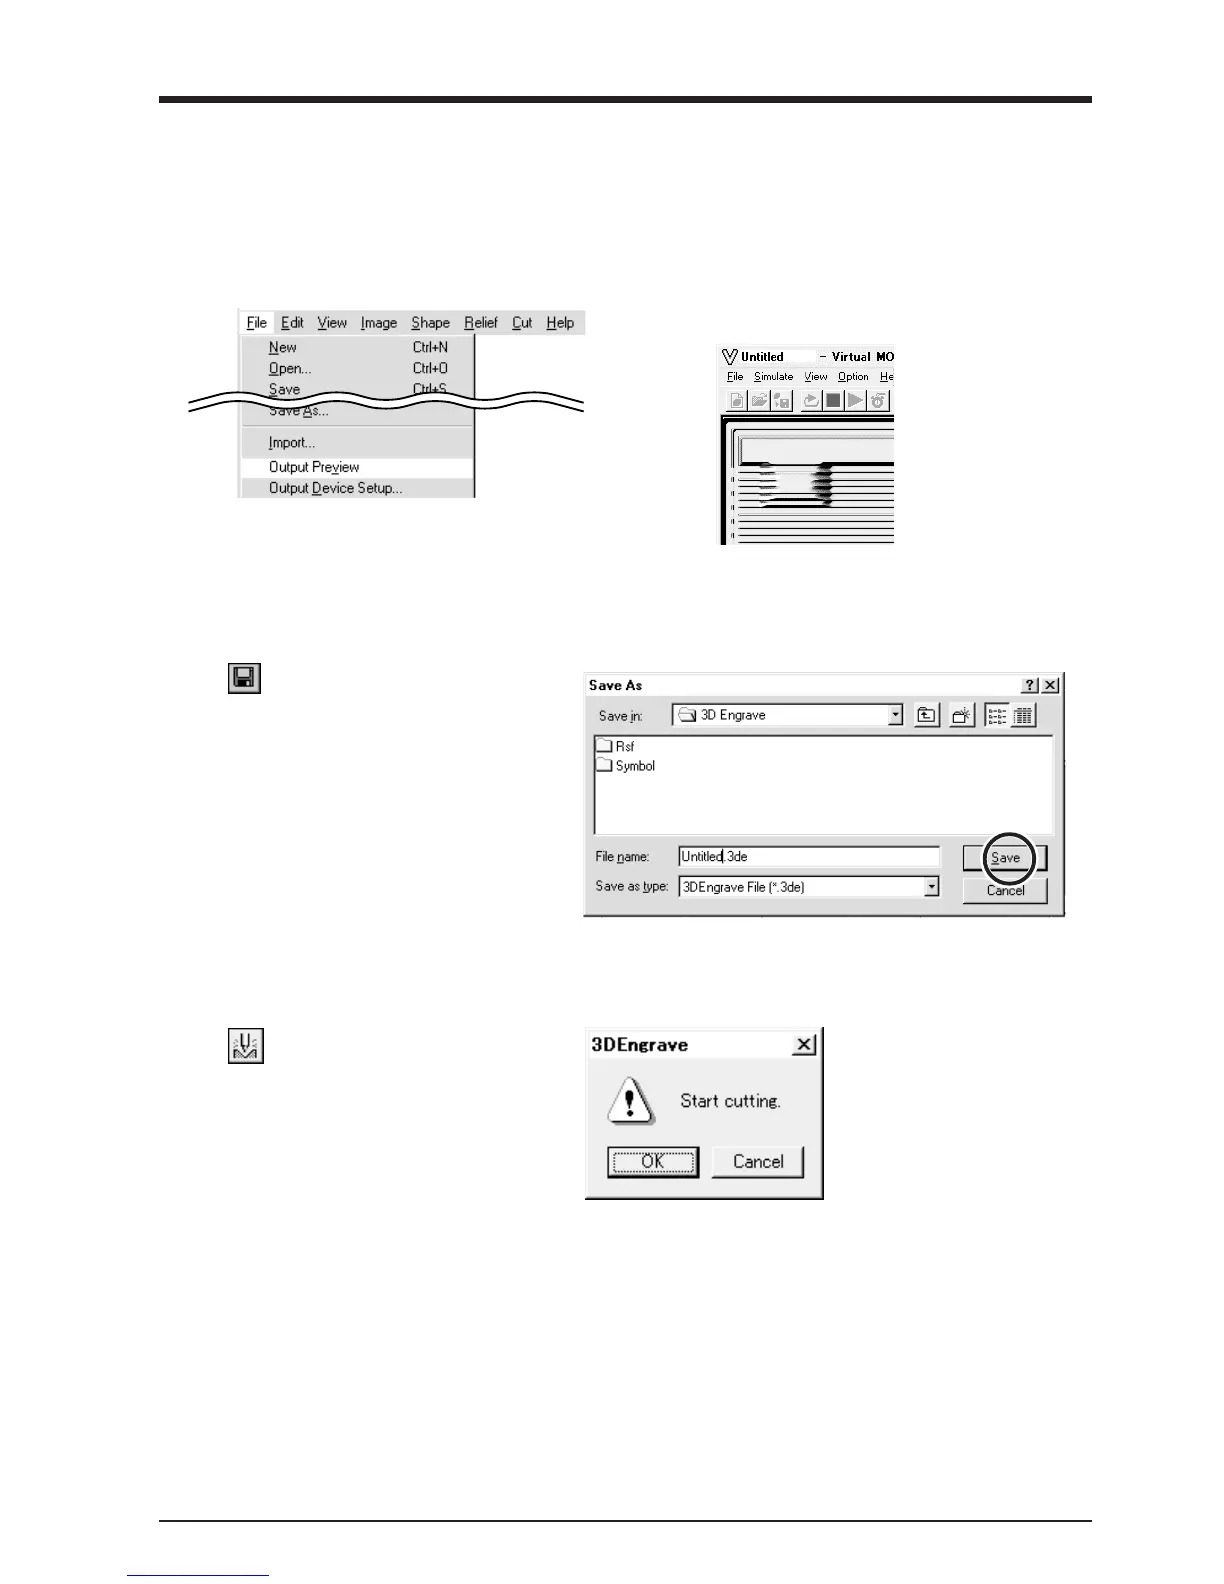
From the [File] menu, click [Output Preview].
Virtual MODELA starts.
2
The cutting data from 3D Engrave is imported into
Virtual MODELA.
An animated display of tool movement appears,
and the shape after cutting is gradually produced.
* For more informa-
tion on how to
operate Virtual
MODELA, see the
help for Virtual
MODELA.
Save the Data
Click the .
The [Save As] dialog box appears.
Enter the name of the file and click [Save].
Start Engraving
Click the .
When the screen at right appears, click [OK].
Cutting with MODELA starts.