11
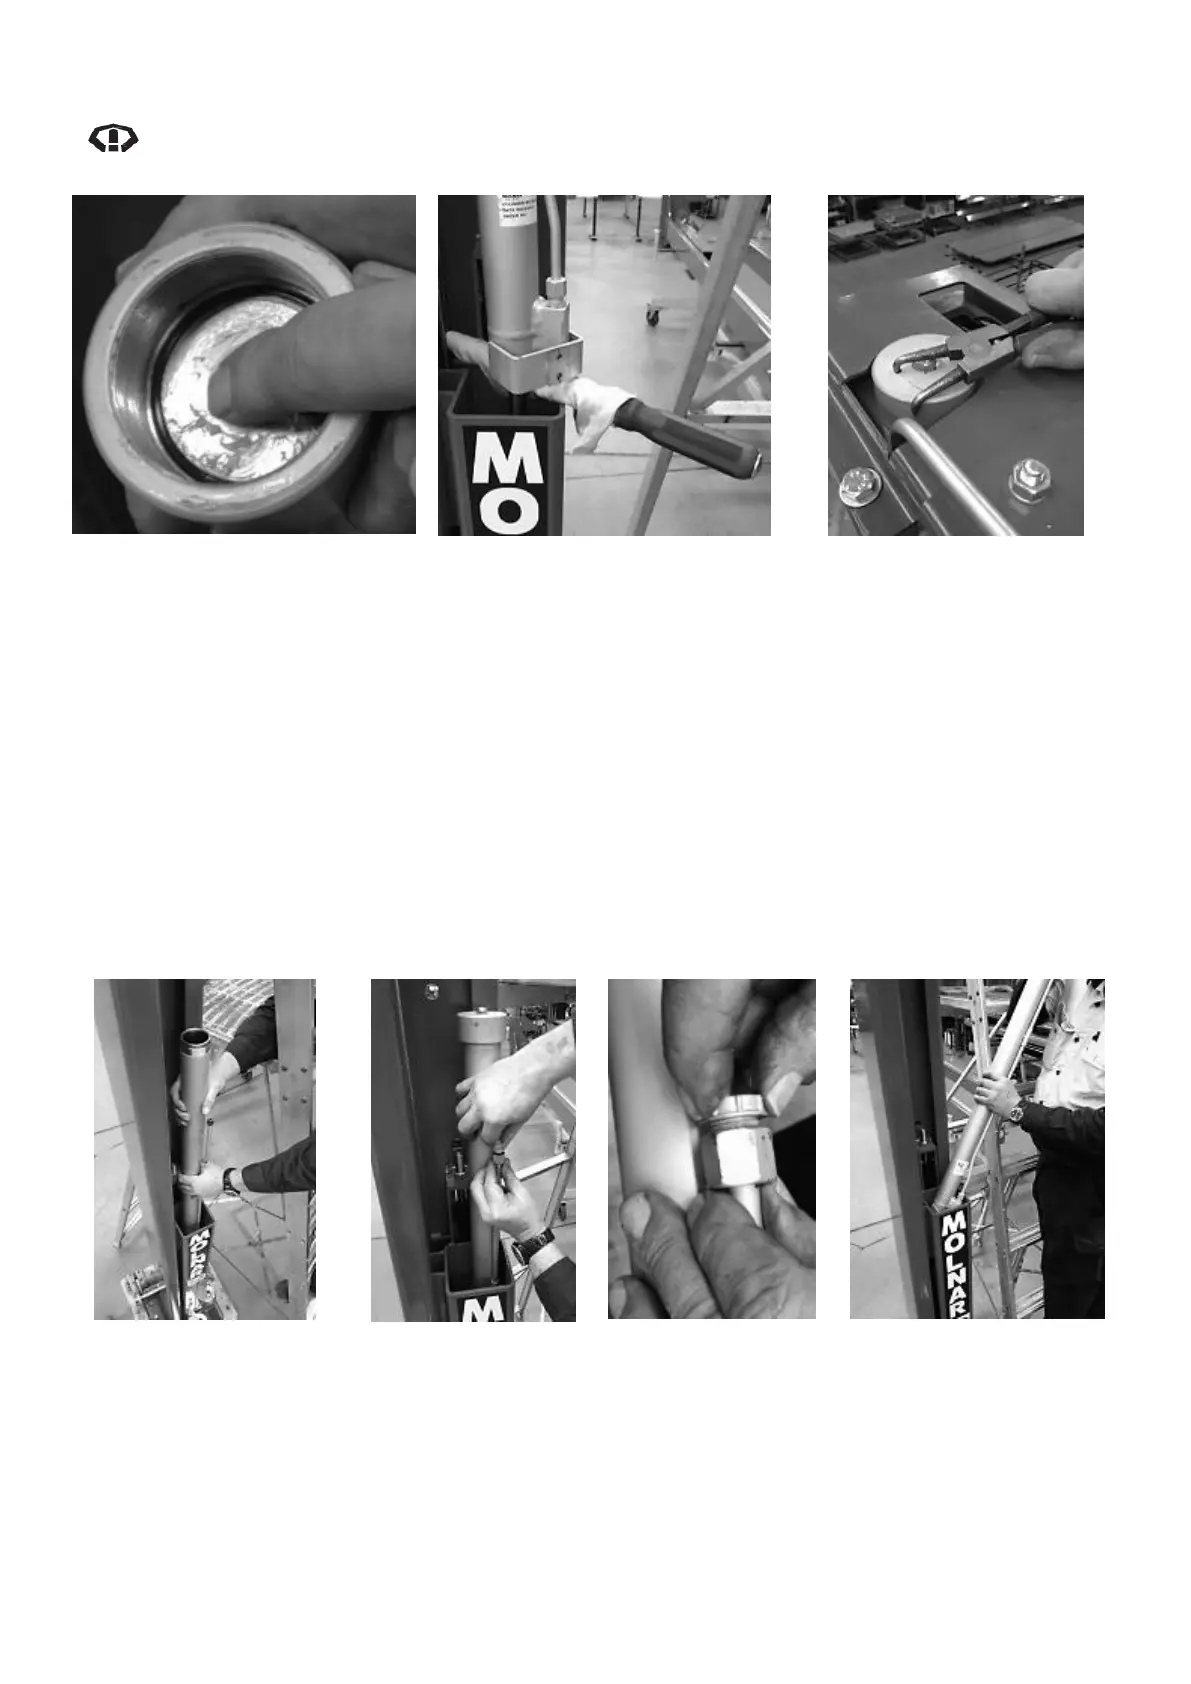
NOTE: When removing or refitting the cylinder end cap, ensure the O-ring is maintained in
position at the top of the thread. Refer to Diagram 8
Diagram 8 – Indication for Cylinder
End Cap O-Ring
Diagram 9 – Bar covered with
Soft Cloth used to support
Cylinder
Diagram 10 – Removing Cylinder
End Cap with Circlip Pliers
7. Place wedge/packers between the top of the carriage and the underside of the cylinder barrel to
support the weight of the cylinder. Wrap the wedge with a soft, clean to protect the cylinder rod from
damage. Refer to Diagram 9
8. Hold the cylinder barrel and unscrew the cylinder end cap; it should only be hand tight but you can
use a pair of circlip pliers to loosen if too tight. Refer to Diagram 10
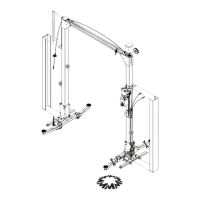
9. While holding the cylinder, remove the wedge/packers and allow it to slide down inside the carriage
until it comes to rest. Refer to Diagram 11
10. Refit (and secure with grub screw) the cylinder end cap and plug the cylinder oil line (use the plug
supplied with the replacement cylinder) to prevent movement of the rod when handling the cylinder.
Refer to Diagrams 12 & 13
11. Lift the cylinder up and out of the carriage. Refer to Diagram 14
Diagram 11 – Lowering
Cylinder down into the
Carriage
Diagram 12 – Cylinder
being Capped &
Plugged.
Diagram 13 – Close-
up image of fitting
plug to hydraulic
fitting.
Diagram 14 – Handling
Cylinder in/out of Carriage