17
Balance Cable Adjustment Procedure
1. Set hoist onto first lock and remove the bottom cylinder covers from both posts.
2. Raise the hoist 100mm.
Diagram 28 - 90mm Extension
under Carriage for Cable
adjustment
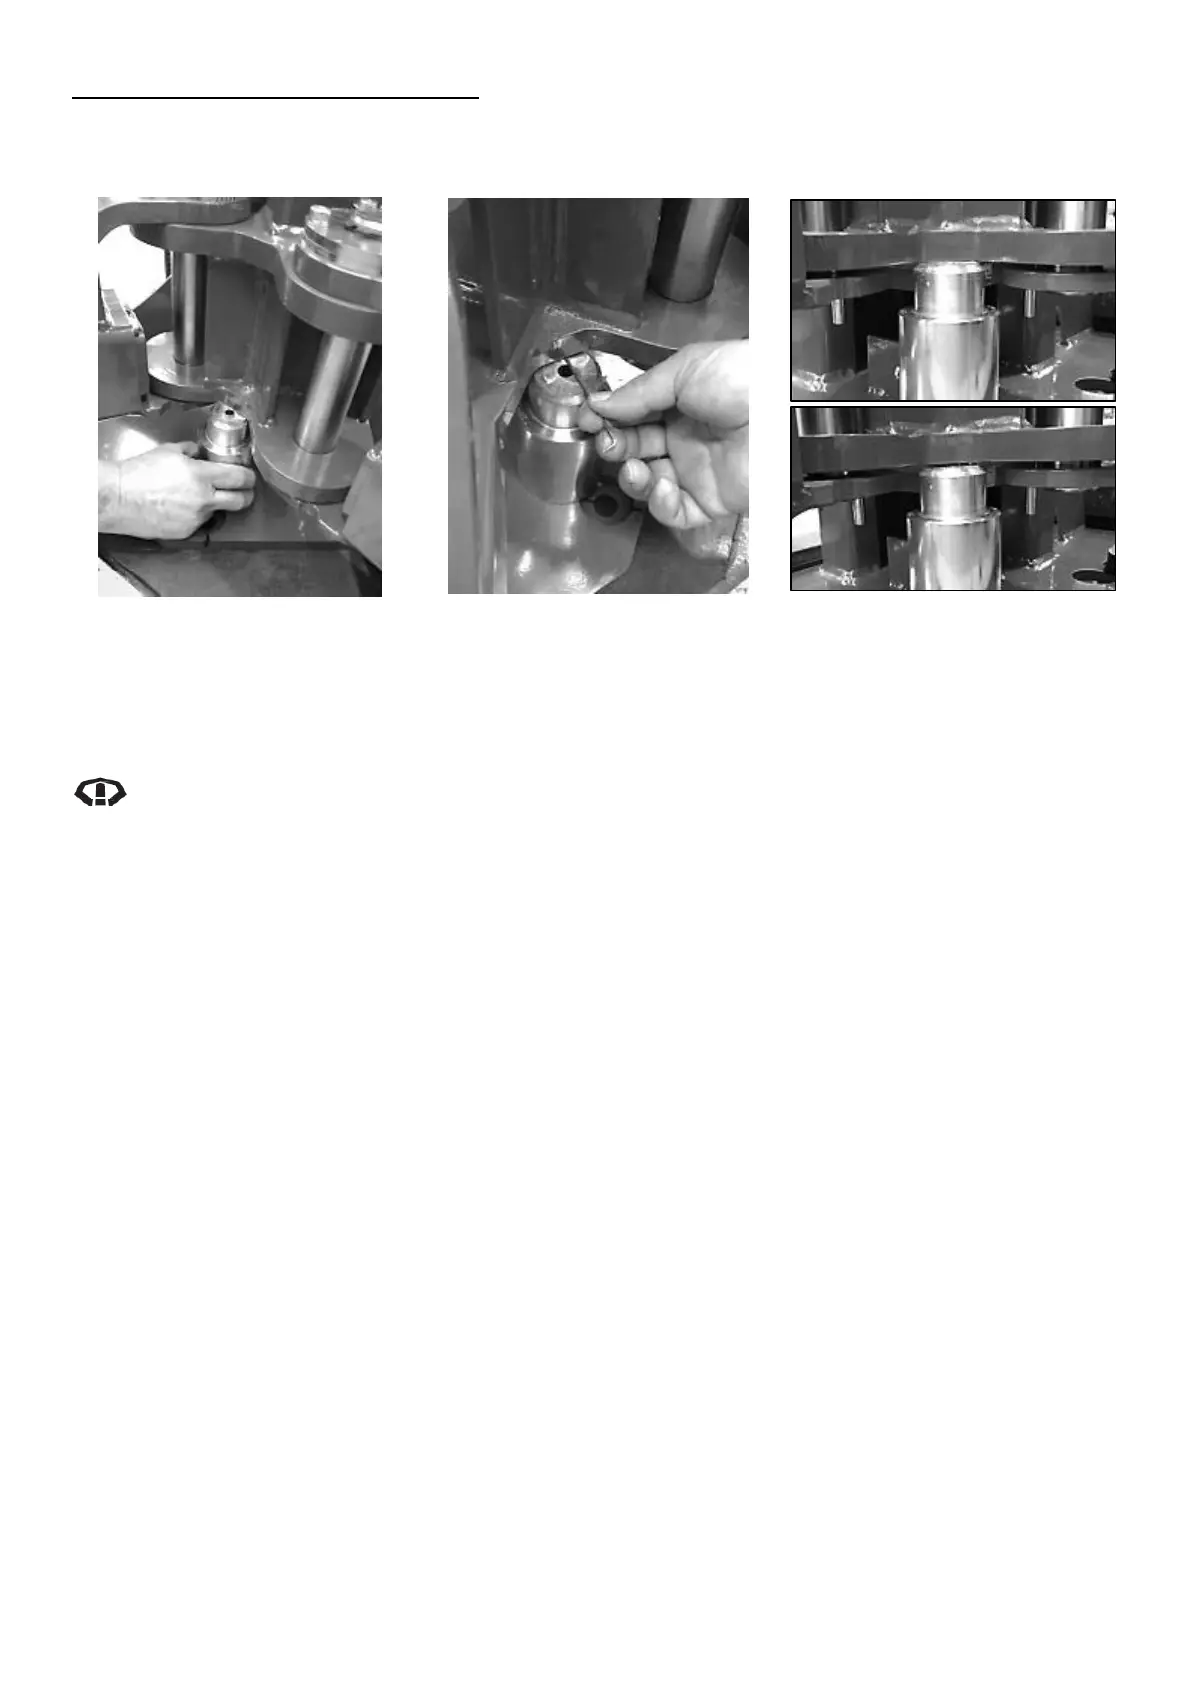
Diagram 29 - 2mm Allen Key on
Non-Control Side for High
Configuration Cable adjustment
Diagram 30 - 90mm Extension
with and without clearance
3. Take 2 x 90mm pad extensions, place 1 between the carriage and base plate on each post. Refer to
Diagram 28
For units in the High configuration (4040mm Overall Height), add a 2mm Allen Key on top of
the Pad Extension on the Non-Control Side only. Refer to Diagram 29
4. Lower the hoist until carriages are just sitting on the extensions so they cannot be removed. Refer
to Diagram 30
a. For units in the High configuration (4040mm Overall Height), add a 2mm Allen Key on top of
the Pad Extension on the Control Side only to allow for the extra length cable adjustment.
Refer to Diagram 29
5. On the control side, hold the top cable end at the top of the carriage with 9/16” spanner and tighten
the cable Nyloc nut with 24 mm Deep Socket or Spanner until the non-control carriage has raised
just enough that the pad extension could be removed. Refer to Diagram 30
a. For units in the High configuration (4040mm Overall Height), remove the 2mm Allen Key at
this point.
6. On the non-control side, hold the hold the top cable end with 9/16” spanner and tighten the cable
Nyloc nut until the non-control carriage lowers back onto the pad extension just so much that the
pad extension cannot be removed.
7. If top cable end thread protrusion is less than 40mm, go to step 5, if greater than 40mm, follow
these steps;
a. Loosen off the nut until the top of the nut is level with the top of the top cable end thread on
both sides.
b. Remove the bottom pulley from both posts and note orientation of pulley. Refer to Diagram
26
c. Pull the bottom cable end down from the bottom of each carriage and wind each nut on a
further 25mm. Refer to Diagram 27
d. Clean old grease from bottom pulleys and bottom pulley pins then re-grease.
e. With the cables seated in the grooves, refit the bottom pulleys on both posts ensuring the
small shoulder is facing towards the post (away from circlip) when refitting.