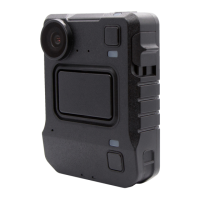
of signal loss. If purchased as part of a subscription, the camera may come with a SIM card already
installed. Each camera comes with an SD card installed.
WARNING: A consumer grade SIM card that is not configured for use with L6Q cameras will
incur excessive voice billing charges from the carrier! Voice charges are considered legitimate
and cannot be disputed. Only approved IoT SIM cards configured for L6Q data should be used
with the L6Q camera. Contact Vigilant Support for questions regarding cellular carriers and
approved SIM cards.
NOTE: L6Q cameras are compatible with Verizon, AT&T, and FirstNet cellular carriers.
Switching to a new SIM does not require re-provisioning.
Procedure:
1 Remove the L6Q Camera, Batteries, Battery Tray, USB Cable, and the Pin and Torx Tool from
the box or Rapid Deployment Carry Case. Remove and discard any foam present between the
battery slots in the battery tray.
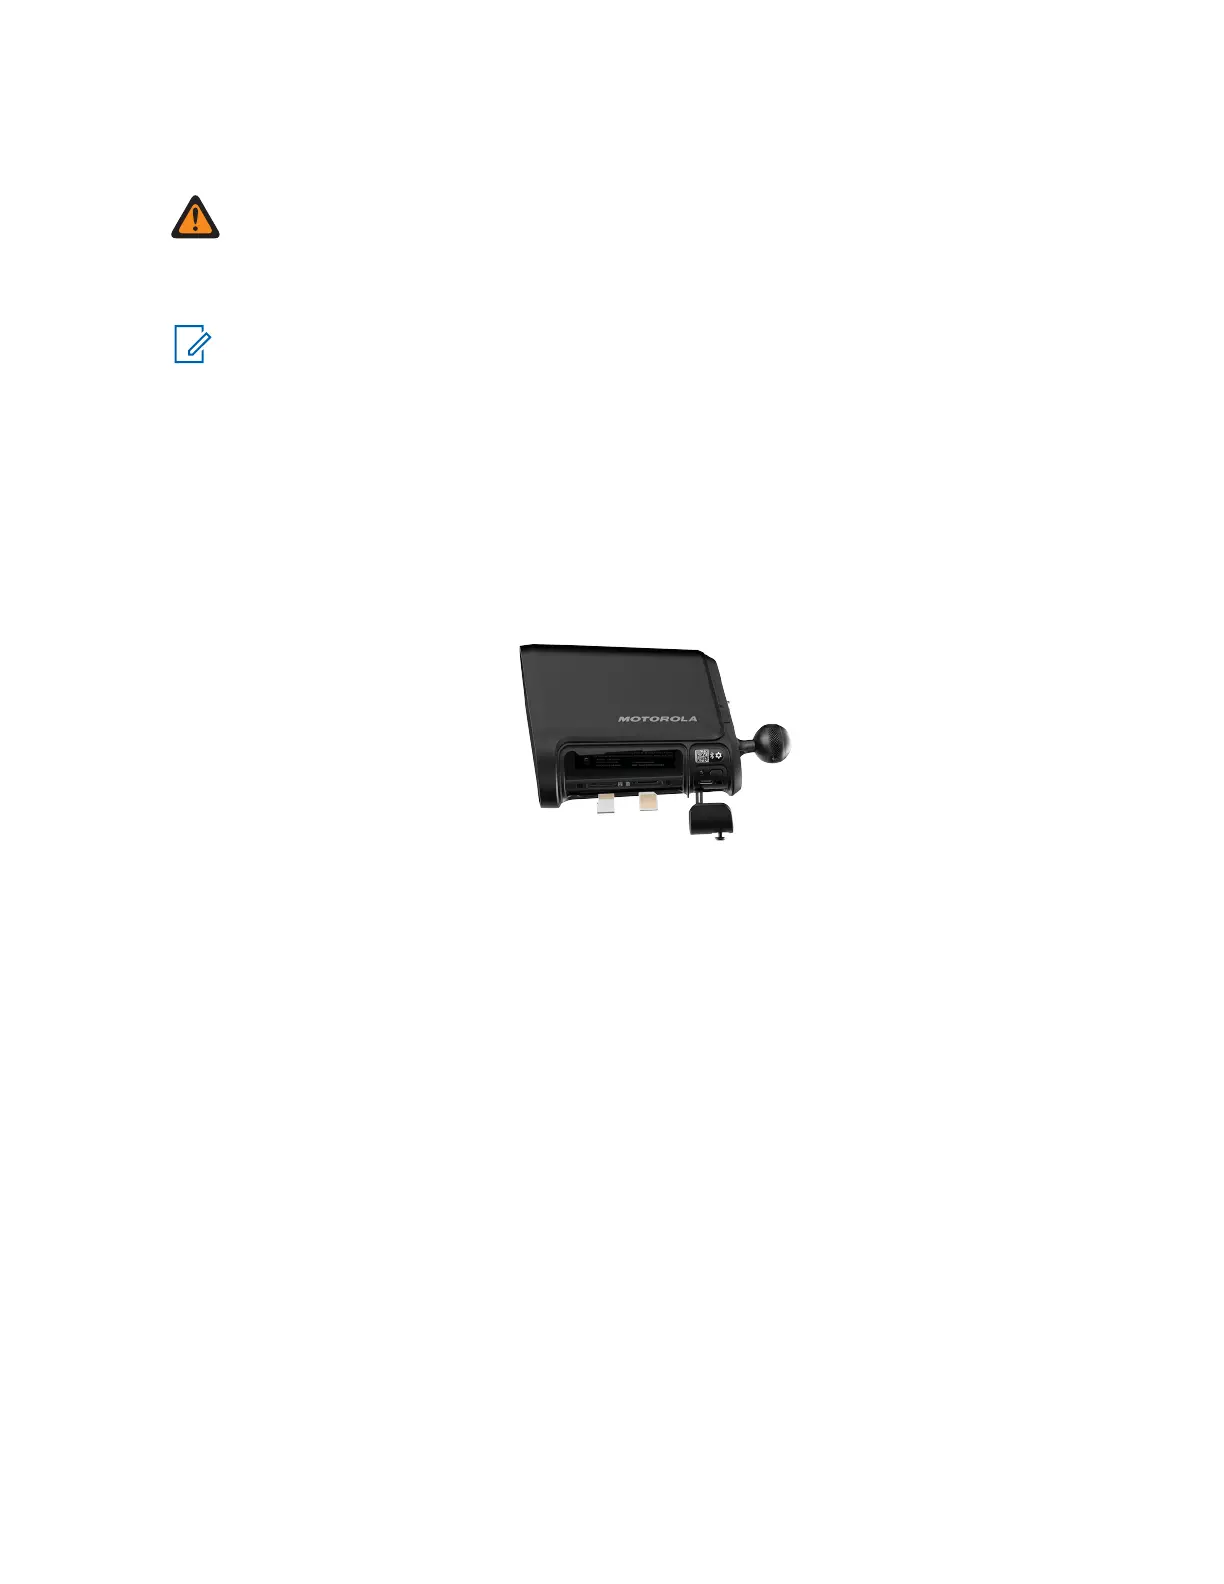
2 To identify the slot type and proper card orientation in the battery compartment, refer to the label
next to each slot.
Figure 10: SIM and SD Card Slots
3 To install a SIM card, align it with the circuity facing up with the notch in the upper right corner.
4 To install an SD card, align it with the arrow facing towards the camera and the shim on the left.
5 Slide each card into its appropriate slot and gently press until it clicks.
2.6
Installing the Battery
Procedure:
1 Remove and discard any foam from between the battery slots in the battery tray.
2 Insert the two batteries into the slots on the battery tray with the gold contacts facing up, and
facing the inner sides of the slots. The beveled edges on the batteries will be facing out as
shown.
3 Insert the battery as shown by sliding it into the battery compartment and secure the two security
screws with the Pin and Torx Tool.
MN008660A01-AC
Chapter 2 : Pre-Installation
25

 Loading...