4
Note: 1. Please install the support rod and rod adatptor according to the position
shown above for fear of falling off. 2. Can’t assiemble 2 support rods together as
extending use
Note:
1. For details of different cameras and lenses, please refer to the page 11.
2. If USB control is not supported, the camera icon won’t display on the screen,
please choose your camera control protocol manually.
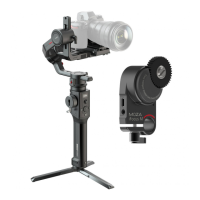
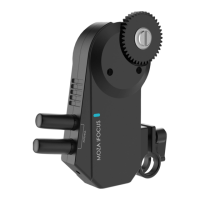
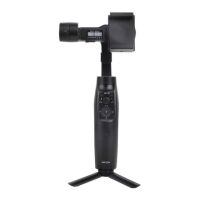
Connecting Camera Control Cable
4 different control cables are stored in the tool box
a. M3C-Mini cable: For cameras with Mini port like Canon 5D3, etc
b. M3C-Micro cable: For cameras with Micro port like Canon 5D4, etc
c. MCSC-Remote cable: For Panasonic cameras with 2.5mm port like GH3, GH4, etc
d. MCSC-Multi cable: For Sony cameras with Multi port like A7sⅡ, A7Ⅲ, etc
e. MCSC-Multi/C cable: For Sony cameras with Multi port and USB power supply
like A7sⅡ, A7Ⅲ, etc
Connect the control cable to the CAM CTRL port on the Air 2 gimbal, and then
the other end to the control port on the camera. The camera icon will be
displayed on the OLED screen. Then parameters adjusting, video recording or
photo taking, and follow focus can be directly operated on the gimbal.
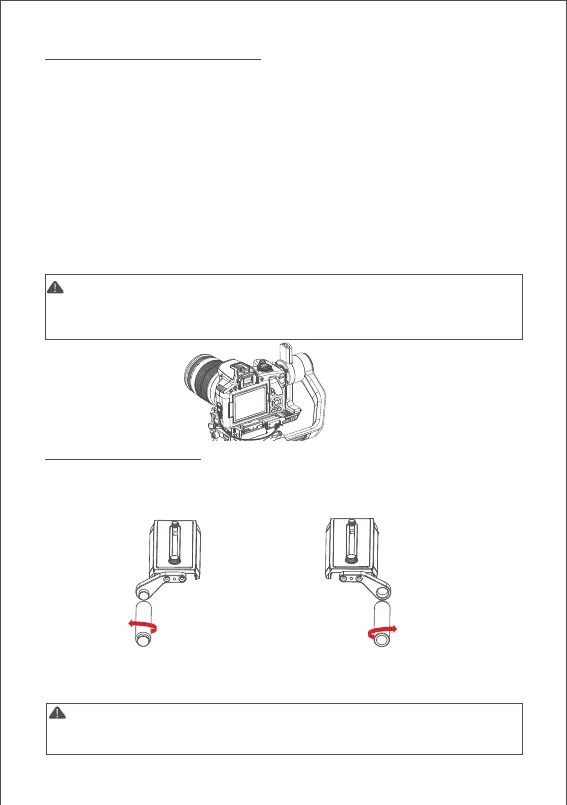
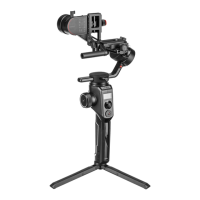
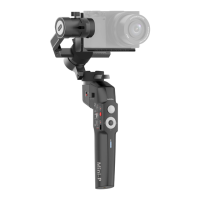
Installing the Support Rod
Please install the rod before using the follow focus.
Take out the rod adaptor, M3x10 screws, Allen wrench first. Fix the adaptor on
the front or back of the quick release plate with M3x10 screws, then revolve
the support rod into the adaptor.
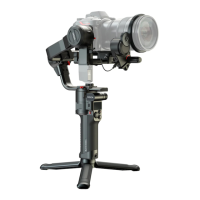
When installed at the left side, please match
the stud of the rod adapter and the screw hole
of the support rod, then tighten the support rod
counterclockwise.
When installed at the right side, please match
the screw hole of the rod adapter and the
stud of the support rod, then tighten the
support rod clockwise.