Trigger Box Quick Start Guide
7
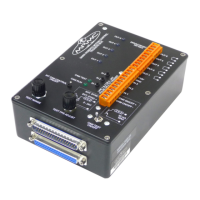
Using the trigger inputs
You can wire the trigger inputs to the Trigger Box in two different ways,
shown in the following example for trigger input 2 (IN 2):
To set up Flair to initiate an action when it receives a trigger input you use
the menu option Setups > Inputs Setup. See the Flair documentation for
details.
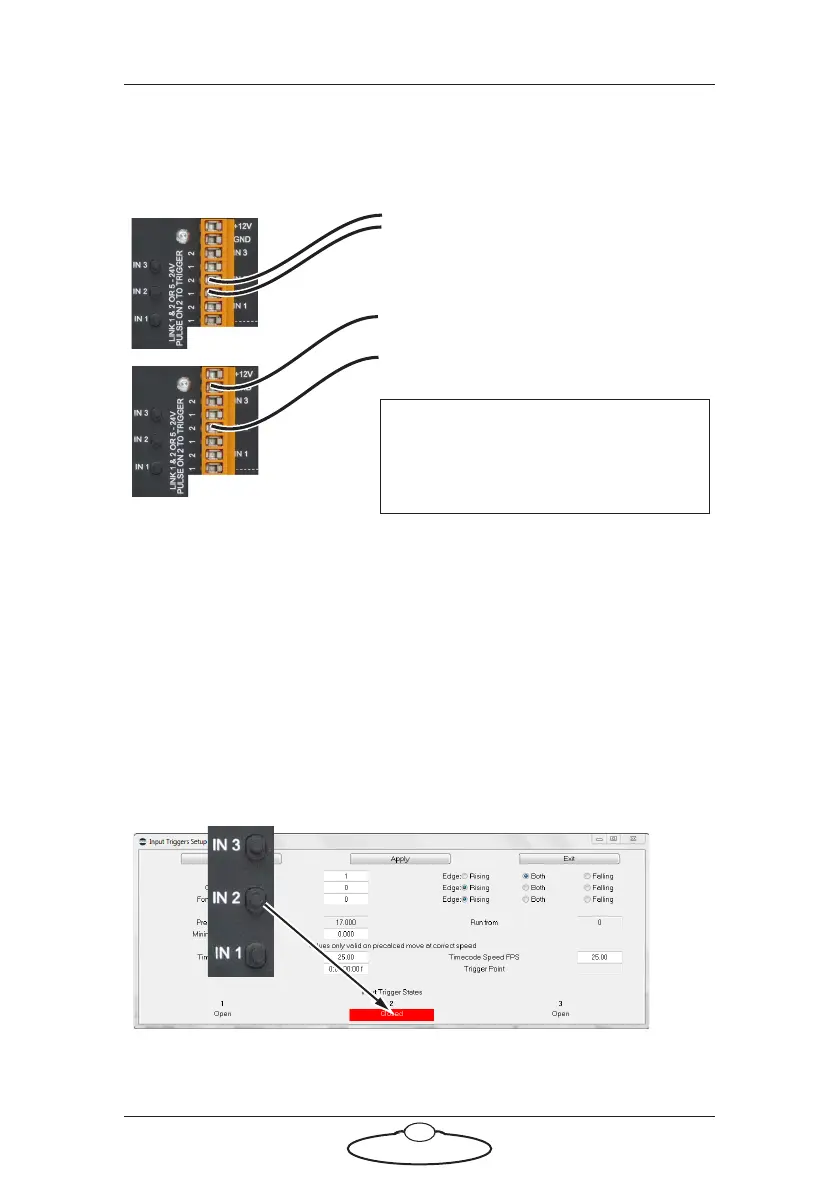
Testing the trigger inputs
You can test that the Flair software is correctly receiving trigger input
signals from the Trigger Box, without needing to connect anything to the
IN connectors on the Trigger Box:
1. In Flair, use menu option Setups > Inputs Setup.
2. Press one of the numbered IN buttons on the Trigger Box panel.
The corresponding numbered Input Trigger State in the pop-up should
change from Open to Closed.
Alternative wiring for trigger input 2 (IN
2). Attach wire 1 to GND instead. To
activate the trigger, apply 5 to 24 Volts
DC to connector 2.
Note
Trigger input 3 (IN 3) is not
operational in the current version.
Trigger input 2 (IN 2) wires connected to
1 and 2. To activate the trigger, short
these two wires.