Trigger Box Quick Start Guide
15
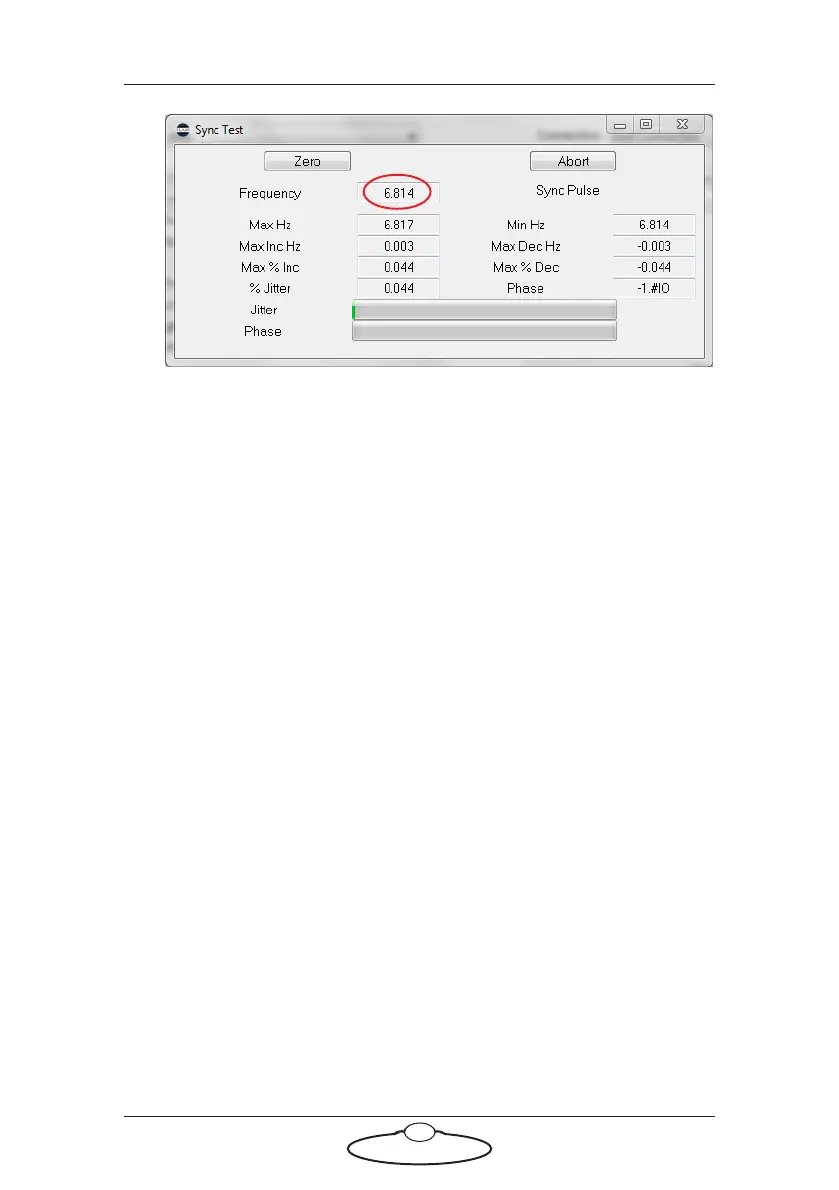
The Sync signal Frequency is displayed at the top. You can adjust it
using the TEST RANGE and TEST FPS ADJUST knobs on the
Trigger Box.
This completes the Sync input test. To test the External Camera trigger
output, continue to the next section without closing any windows. If you
are finished testing, refer to Returning the Trigger Box to normal working
mode on page 17.
Testing the Sync signal input and External Camera trigger
output together
To test Sync input and Camera On/Off trigger together, the Trigger Box
must be plugged into the SYNC connector on the ribbon cable. Then
perform these steps:
1. Follow the complete procedure for testing the Sync signal input in
the previous section (Testing the Sync signal input only on page 14).
When you get to the end of the procedure, leave all windows open.
2. Put the Sync signal generator under Flair control, by switching Off
the INT CAM CONTROL ON/OFF switch (CAM RUN LED Off).
3. In Flair, in the External Camera Setup pop-up (Setups > External
Camera Setup), change the External Control setting from Pulsed to
Continuous High.