If an [OX/TOX] sensor is connected: If a COMB sensor is connected:
1. Press ENTER and select menu5.
2. Press ENTER button.
3. Enter password [→chapter4.5
Password].
1. Press ENTER and select menu5.
2. Press ENTER button.
3. Enter password [→chapter4.5
Password].
• An hourglass symbol is shown to signify
the time span [max. 15min] during
which it is possible to hot-swap a sensor
without triggering an error code
4. [Perform a ZERO and SPAN -calibration
[M-01].
5. Change the sensor during this time
span.
6. Press ENTER or ESC to start the
running-in time countdown.
7. [Perform a ZERO and SPAN or Oxygen
calibration [M-01].
Sensors that are no longer required have to be disposed of in an environmentally compatible
way.
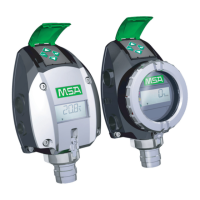
[M-06] - LCD/LED Test
LCD and LED test [LED only available in PrimaX P]. All segments will be displayed and the LEDs will flash
sequentially.
1. Press ENTER and select menu 6.
2. Press ENTER button.
[M-07] - Loop Test
In this menu a 4 - 20mA loop test will be performed.
1. Press ENTER and select menu 7.
2. Press ENTER button.
3. Enter password [→chapter4.5 Password].
The loop test mA value is displayed [default value = 12mA].
4. Press UP or DOWN to change the value.
5. Press ENTER button to start the test.
6. Press ENTER button to go back to menu or ESC to go back to measuring mode.
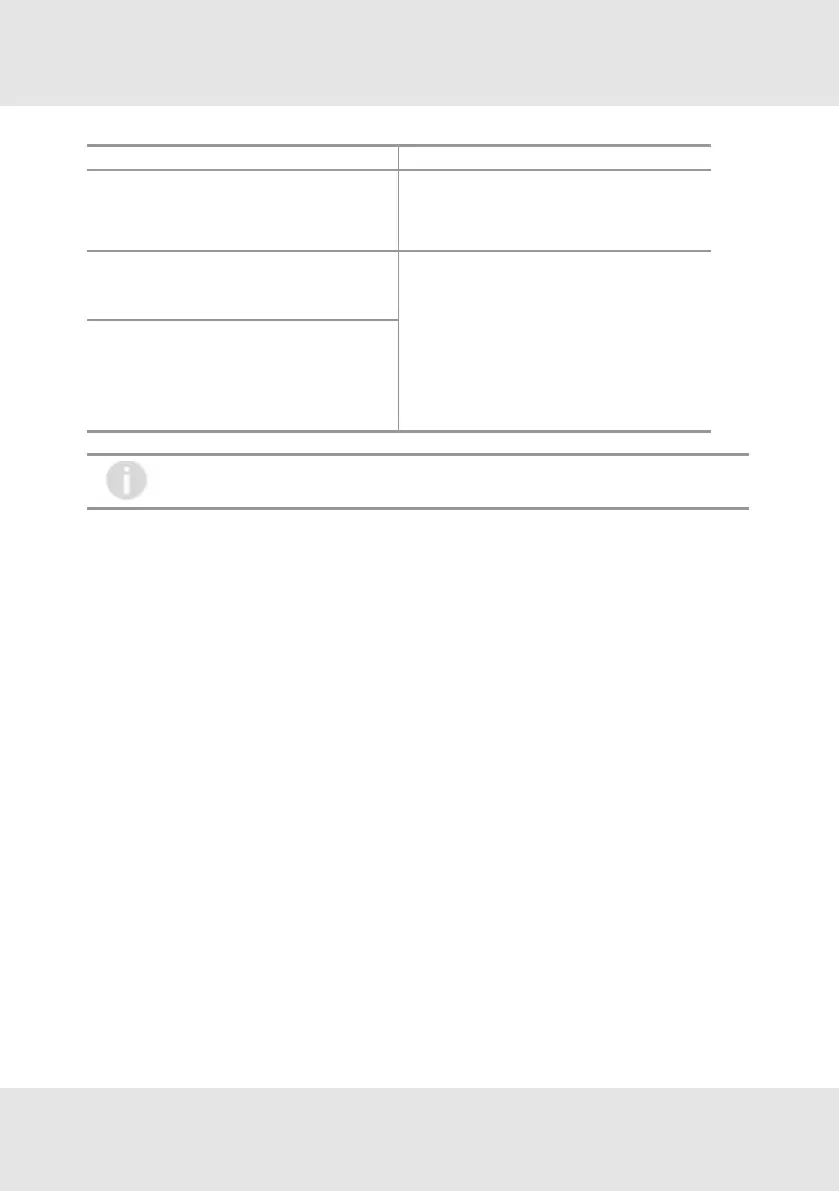
[M-08] - Device Information
In this menu device information is shown, i.e. gas type, measuring range, firmware version.
1. Go through the information with the ENTER button.
[M-09] - Sensor Information
This menu shows the minimum and maximum measured gas concentrations, which can be reset by holding
the UP or DOWN button.
It shows the sensor life time in months since sensor exchange [→M-05].
GB PrimaX 24
4 Operation