4. Unscrew clamping nut at the cable gland.
5. Put clamping nut on the cable.
6. Insert cable for connection into the device.
7. Connect cable to terminal.
Use a shielded cable with 3 wires for the 3-wire sensor.
Use a shielded cable with 4 wires for the 4-wire sensor.
8. Tighten cable gland clamping nut, check that cable cannot move within the cable gland.
9. Replace enclosure lid and secure the interlock.
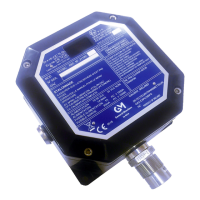
3.2.2 Electrical Connection - PrimaX I
Terminal PrimaX I
Figure 6 Terminal PrimaX I
1 Power supply (+), 24V DC
2 4–20mA (Signal)
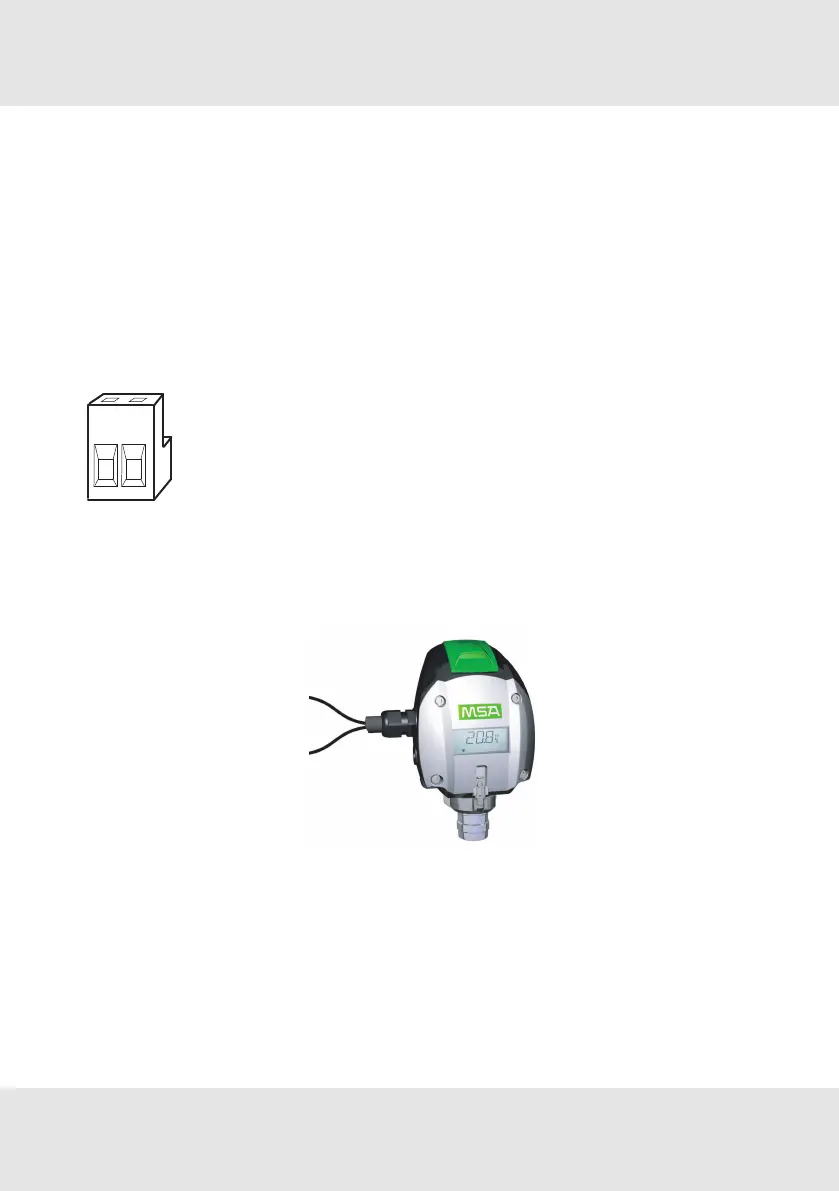
PrimaX I
Figure 7 2-wire connection - PrimaX I
Power supply (+)
4–20mA(Signal)
1. Remove plastic cover.
It is bolted with 4 screws.
2. Remove the 2-way terminal block.
It is located behind a plastic cover above the display.
3. Unscrew clamping nut at the cable gland.
4. Put clamping nut on the cable
GB PrimaX 16
3 Installation