TM1215 Iss. 6.0 RPR750
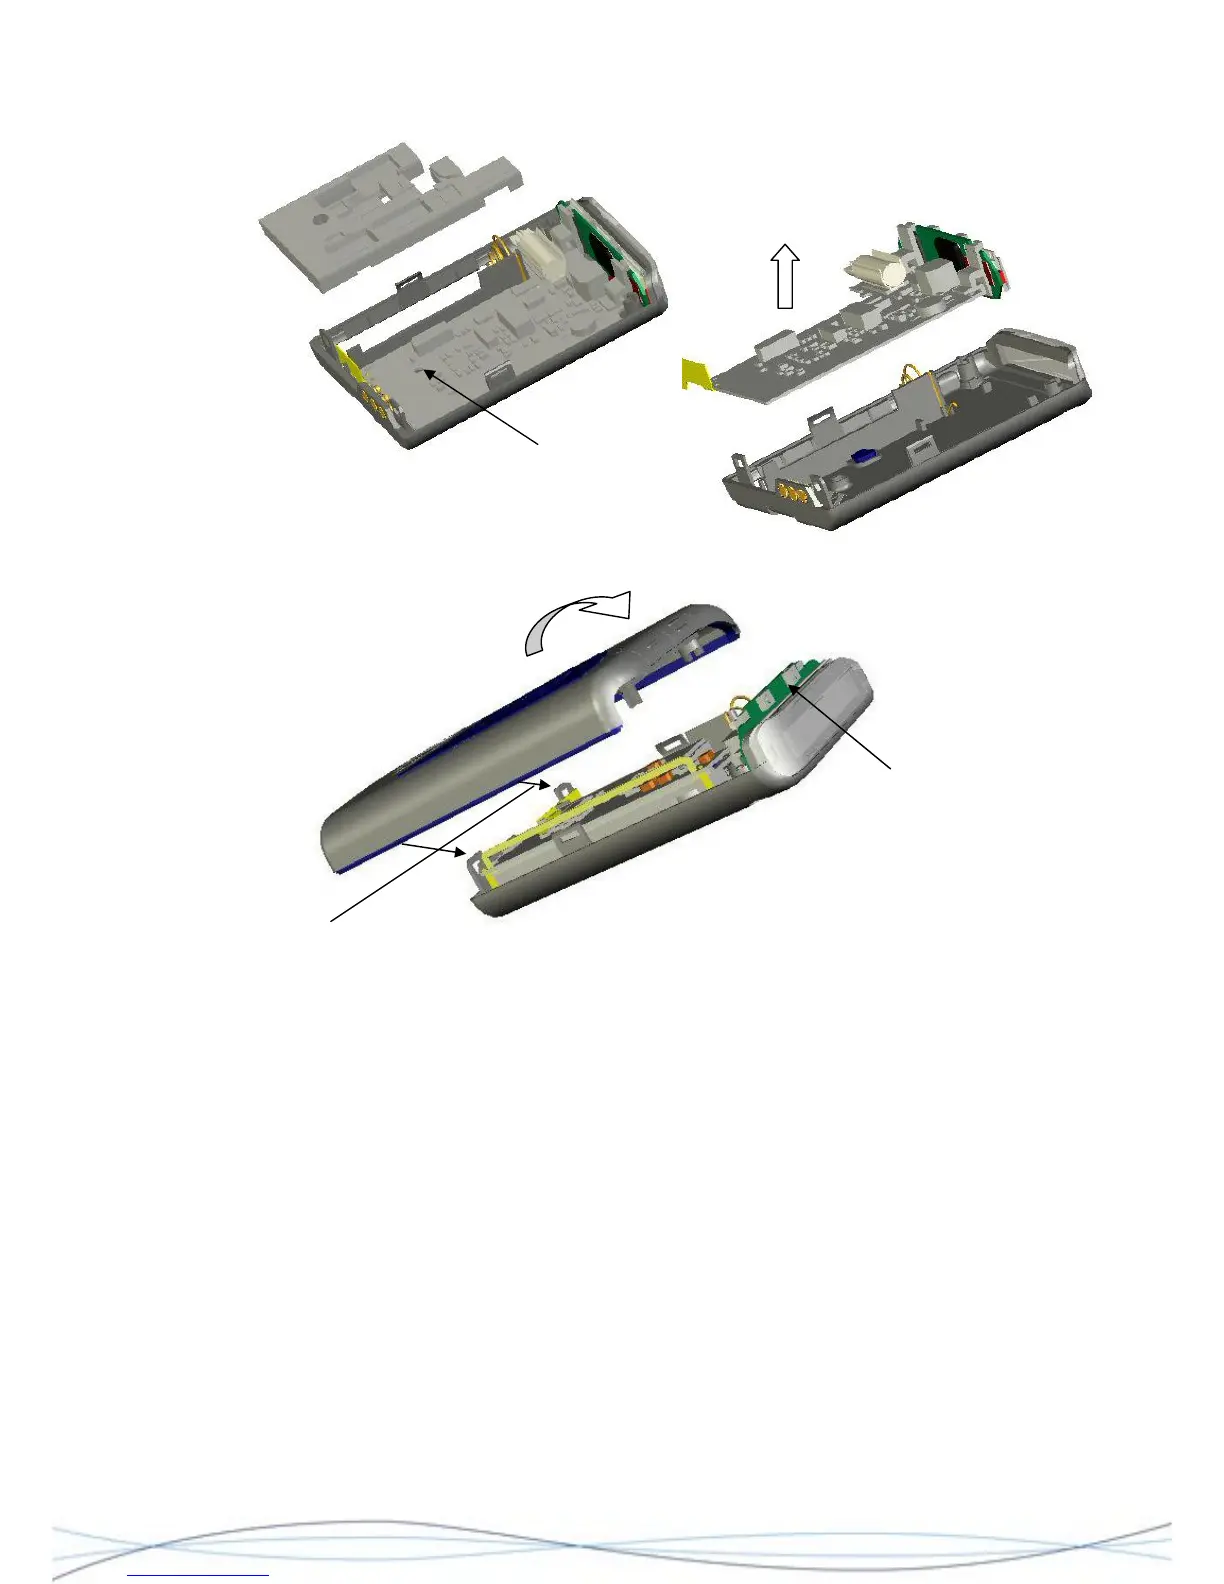
Location of retaining screw
4.4.4 Re-assembly
Ensure that the
switches are located
correctly, before
closing.
Locate these rear catches first
Re-assembly is the reverse process of the above. When re-assembling a complete case-
back assembly (including PCB's) together with a case-front; first locate the two catches at
the base of the rear case assembly and lock these into position in the case-front.
Ensure that the edges of the case are correctly aligned and working up from the base
along both edges, squeeze the sides into position, ensuring that the locking catches
engage. Before closing the top, check that the switches on the display module engage
correctly behind the buttons in the front case moulding and that the display module sits
correctly in front of the loudspeaker-retaining clip. Gently squeeze the top halves of the
case together until they join. Screw the two halves together, using the 2 fixing screws.
To re-fit the buttons (early models), first locate each button in position. This is done by
locating the "tab" at the bottom of each button, in the slot at the lower front of each button
recess. Gently push the button back into the recess, ensuring that the two locating lugs on
the back of the button position themselves into the corresponding dovetail notches at the
back of the recesses and the buttons lie flat.
For older models, fit a NEW window part in place over the top of the unit, ensuring it is
pushed down firmly and retains the rear button lugs in place.
32