UNPAClUNG:AJiIQ
SETUP
WHAT'S
IN
THE
BOX
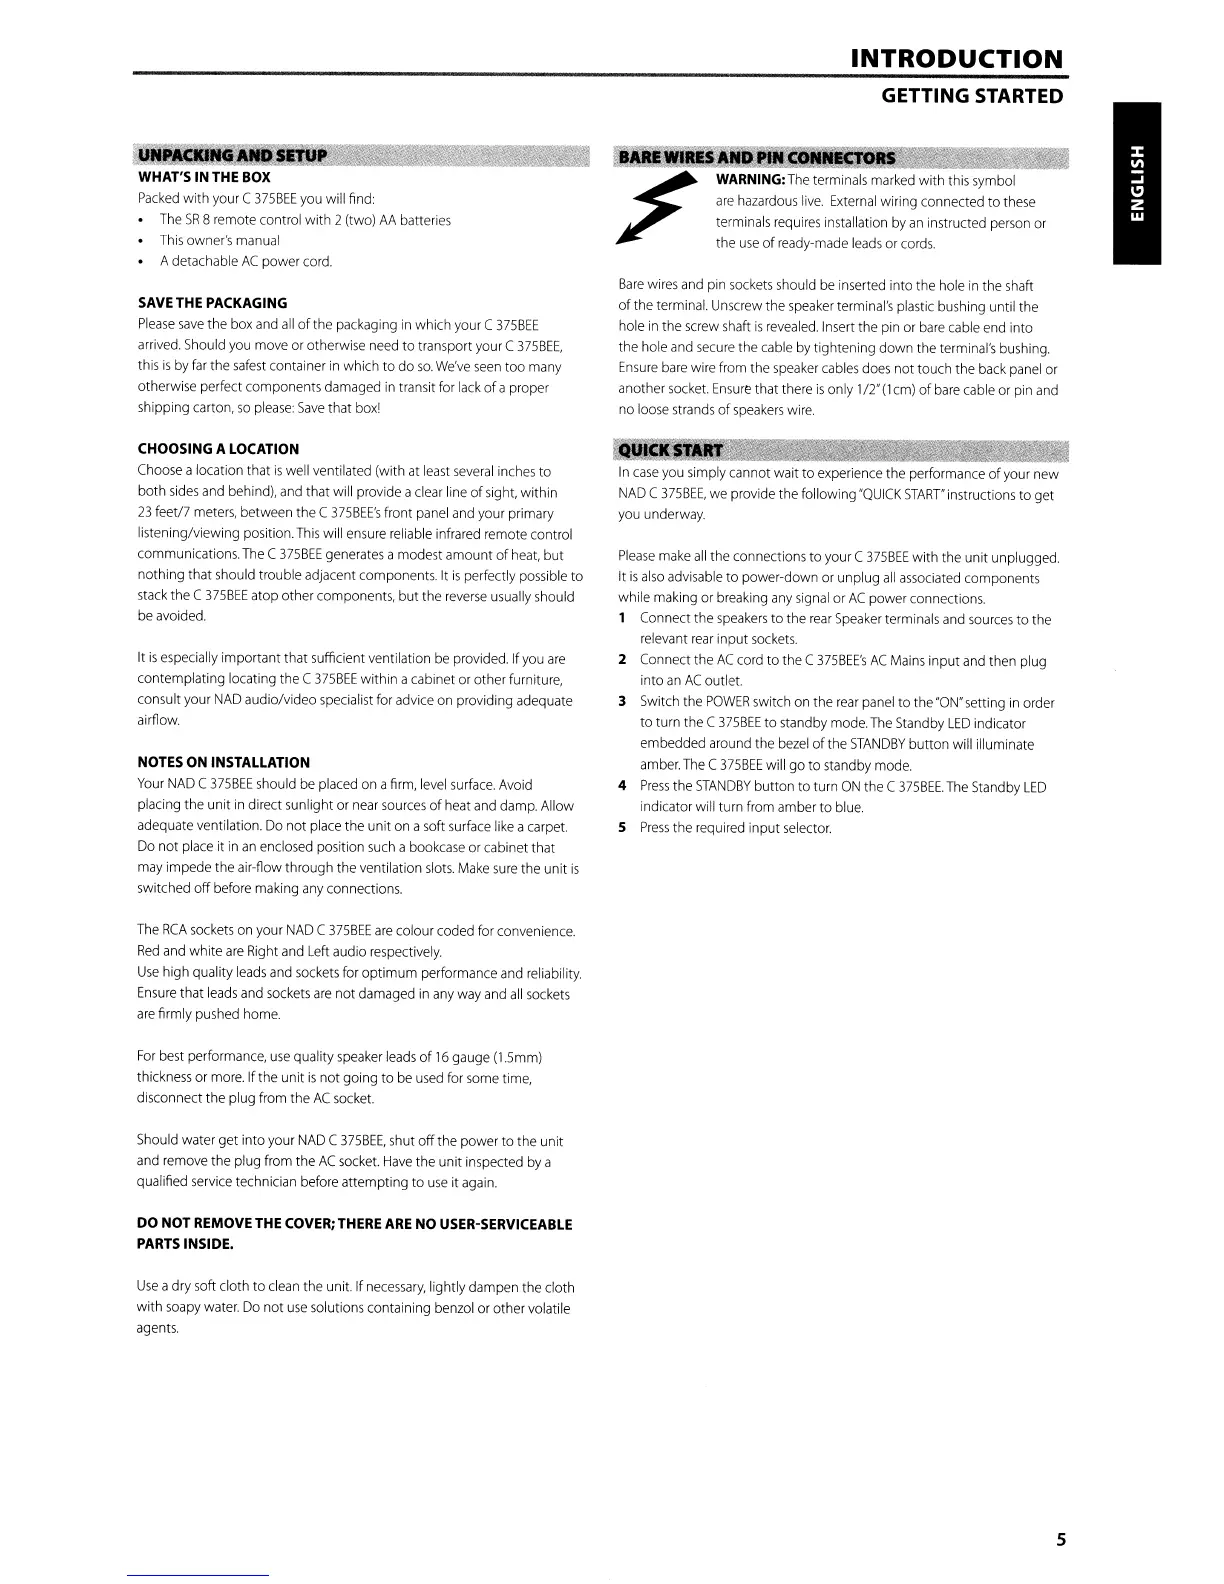
Packed
with your C
375BEE
you
will find
The
5R
8
remote
control with 2 (two)
AA
batteries
This
owner's
manual
Adetachable
AC
power
cord.
SAVE
THE
PACKAGING
Please
save
the
box
and
all
of
the
packaging
in
which
your
C
375BEE
arrived.
Should
you
move
or
otherwise
need
to transport your C
375BEE,
this
is
by
far
the
safest
container
in
which to do
so.
We've
seen
too
many
otherwise perfect components
damaged
in
transit
for
lack
of
a proper
shipping
carton,
so
please:
Save
that
box
l
INTRODUCTION
GETTING STARTED
BARE
WIRES
AND
PIN
COtl0NHlIC;;;CllnORS--:--::-
~
WARNING:
The
terminals
marked
with
this
symbol
are
hazardous
live.
External
wiring connected to
these
terminals
requires
installation
by
an
instructed
person
or
the
use
of
ready-made
leads
or
cords.
Bare
wires
and
pin
sockets
should
be
inserted
into the
hole
in
the
shaft
of
the
terminal.
Unscrew
the
speaker
terminal's
plastic
bushing until the
hole
in
the
screw
shaft
is
revealed.
Insert
the
pin
or
bare
cable
end
into
the hole
and
secure
the
cable
by
tightening down the
terminal's
bushing.
Ensure
bare
wire
from
the
speaker
cables
does
not touch the
back
panel
or
another
socket.
Ensure
that
there
is
only
1/2"
(1
cm)
of
bare
cable
or
pin
and
no
loose
strands
of
speakers
wire.
In
case
you
simply
cannot wait to
experience
the performance of
your
new
NAD
C
375BEE,
we
provide the
follOWing
"QUICK
START'
instructions to get
you
underway.
Please
make
all
the connections to
your
C
375BEE
with the unit unplugged.
It
is
also
advisable
to power-down
or
unplug
all
associated
components
while
making
or
breaking
any
signal
or
AC
power connections.
1 Connect the
speakers
to
the
rear
Speaker
terminals
and
sources
to the
relevant
rear
input
sockets.
2
Connect
the
AC
cord
to the C
37SBEE's
AC
Mains
input
and
then plug
into
an
AC
outlet.
3
Switch
the
POWER
switch
on
the
rear
panel
to the
"ON"
setting
in
order
to turn the C
375BEE
to
standby
mode.
The
Standby
LED
indicator
embedded
around
the
bezel
ofthe
STANDBY
button will illuminate
amber.
The
C
375BEE
will go to
standby
mode.
4
Press
the
STANDBY
button to turn
ON
the C
375BEE.
The
Standby
LED
indicator will turn
from
amber
to
blue.
S
Press
the
required
input
selector.
CHOOSING A
LOCATION
Choose
a location that
is
well
ventilated (with
at
least
several
inches
to
both
sides
and
behind),
and
that will provide a
clear
line
of
sight,
within
23
feet/7
meters,
between the C
375BEE's
front
panel
and
your
primary
listening/viewing position.
This
will
ensure
reliable
infrared
remote control
communications.
The
C
375BEE
generates
a modest amount of
heat,
but
nothing that
should
trouble adjacent components. It
is
perfectly
possible
to
stack
the C
375BEE
atop other components, but the
reverse
usually
should
be
avoided.
It
is
especially
important that sufficient ventilation
be
provided. If
you
are
contemplating locating the C
375BEE
within acabinet or other furniture,
consult your
NAD
audio/video
specialist
for
advice
on
providing
adequate
airfiow.
NOTES
ON
INSTALLATION
Your
NAD
C
375BEE
should
be
placed
on
a
firm,
level
surface.
Avoid
placing the unit
in
direct sunlight
or
near
sources
of
heat
and
damp.
Allow
adequate ventilation.
Do
not
place
the unit
on
asoft
surface
like
a
carpet.
Do
not
place
it
in
an
enclosed
position
such
a
bookcase
or
cabinet that
may
impede the air-fiow through the ventilation
slots.
Make
sure
the unit
is
switched off
before
making
any
connections.
The
RCA
sockets
on
your
NAD
C
37SBEE
are
colour
coded
for
convenience.
Red
and
white
are
Right
and
Left
audio
respectively.
Use
high quality
leads
and
sockets
for
optimum performance
and
reliability.
Ensure
that
leads
and
sockets
are
not
damaged
in
any
way
and
all
sockets
are
firmly
pushed
home.
For
best
performance,
use
quality
speaker
leads
of
16
gauge (l.5mm)
thickness
or
more.
If the unit
is
not going to
be
used
for
some
time,
disconnect the plug
from
the
AC
socket.
Should
water
get into your
NAD
C
375BEE,
shut
offthe power to the unit
and
remove
the plug
from
the
AC
socket.
Have
the unit
inspected
by
a
qualified
service
technician
before
attempting to
use
it
again.
DO
NOT
REMOVE
THE
COVER;
THERE
ARE
NO
USER-SERVICEABLE
PARTS
INSIDE.
Use
adry
soft
cloth to
clean
the unit. If
necessary,
lightly dampen the cloth
with
soapy
water.
Do
not
use
solutions containing
benzol
or other volatile
agents.
c:
<.
5