100
1.Unplugthepowercordfromthemachineandwait5minutes.Placethe
power cord in a secure location.
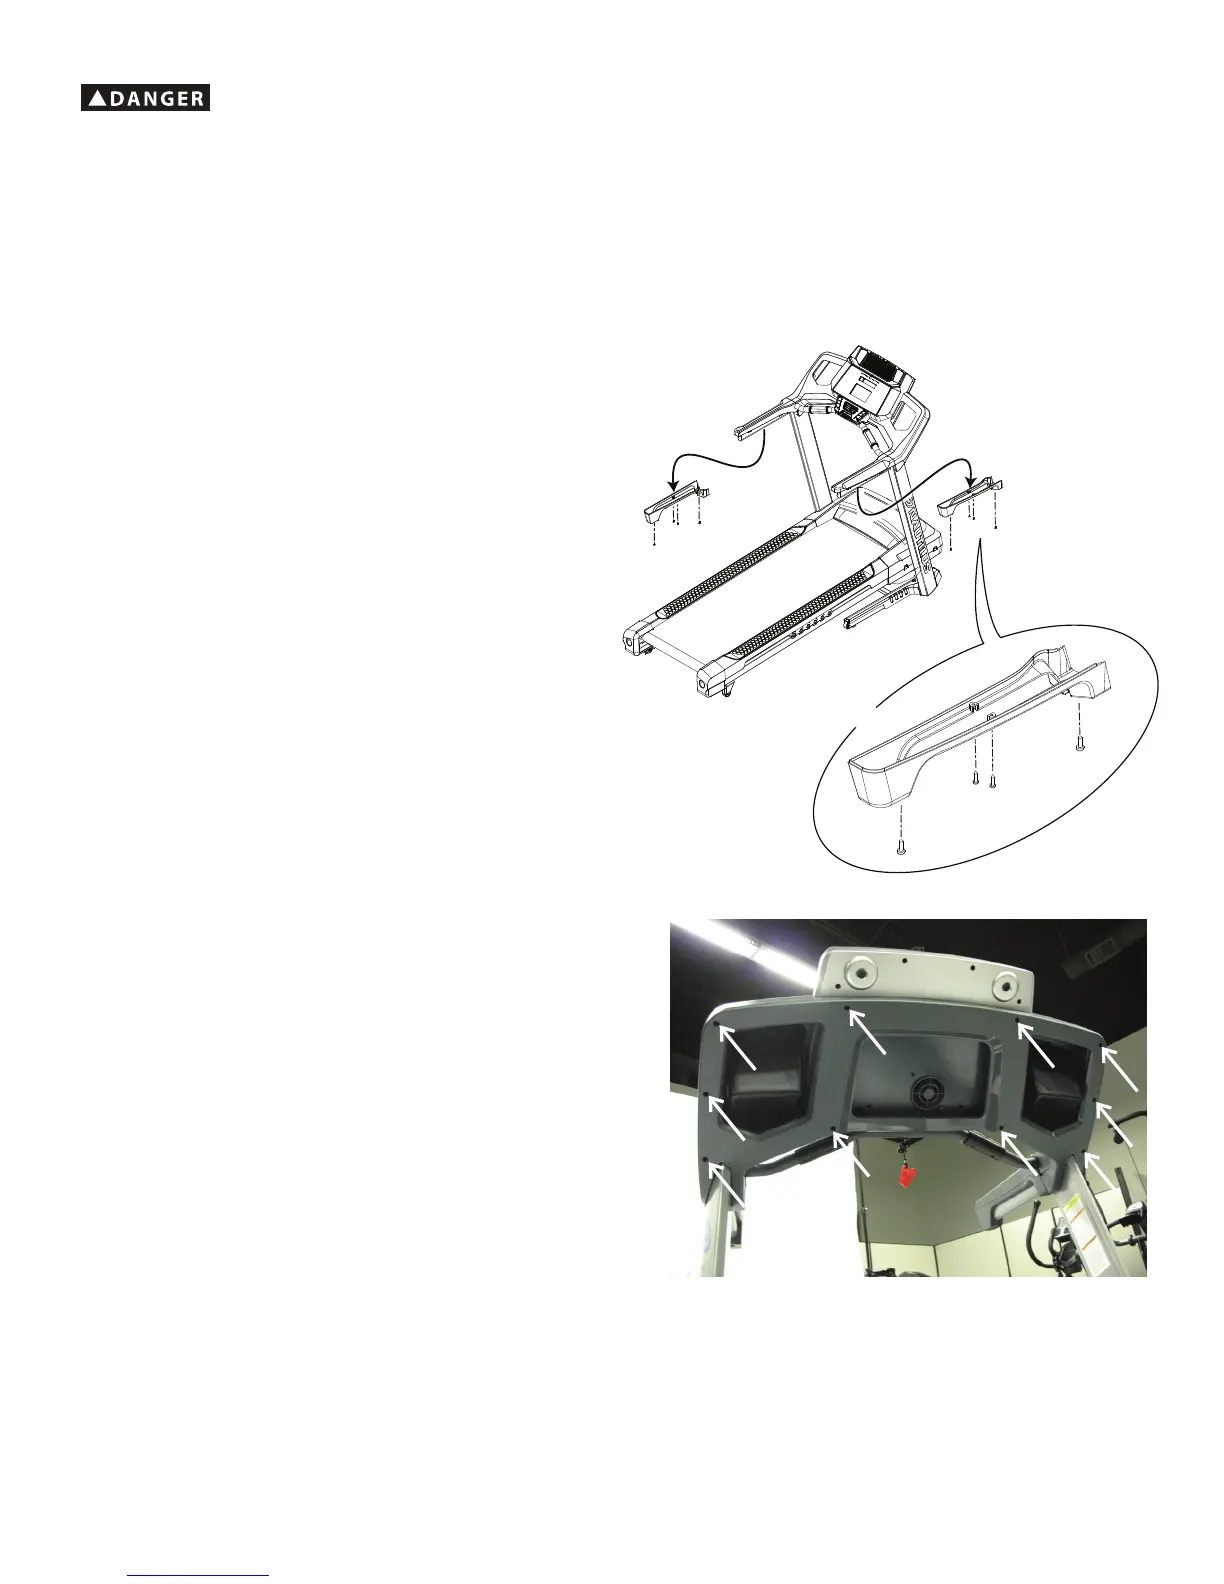
2. Using a #2 Phillips screwdriver, remove the 8 indicated screws from the
Lower Handlebar Shrouds.
Note: to assist with re-assembly, record that the self-tapping screws are
used in the center of the Lower Handlebar Shroud.
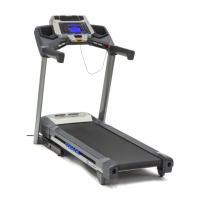
There are only 2 screws to remove the Handlebar Shrouds on the Nauti-
lus
™
T624/T684 and Schwinn
®
530machines.
3. Using a #2 Phillips screwdriver, remove the 10 indicated screws from
Console Backing. Be sure not to mix the self-tapping screws from the
previous step.
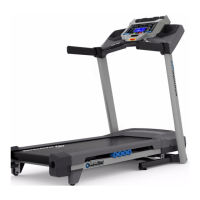
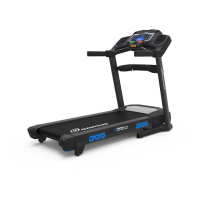
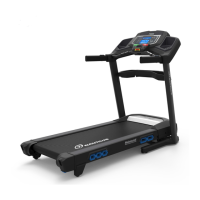
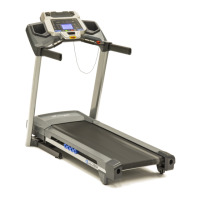
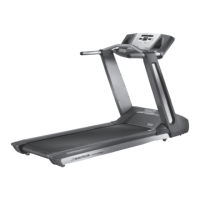
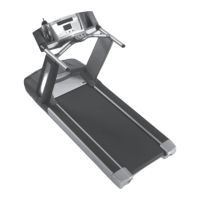
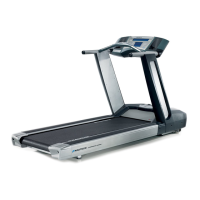
Note: The Nautilus™ T626 is used in the following images. The procedure is the same for the Nautilus™ T624/T684/T686 and Schwinn
®
530/570
models.
!
To reduce the risk of electrical shock or unsupervised usage of the equipment, always unplug the power cord from the wall outlet
andthemachineandwait5minutesbeforecleaning,maintainingorrepairingthemachine.Placethepowercordinasecure
location.
D
D
C
C
X2
 Loading...