55
3. Convenient Features
TIP:
Ifthemenuwindowwillnotbedisplayed,trythefollowingprocedure.
ForWindows7:
1.Click“start”onWindows.
2.Click“AllPrograms”→“Accessories”→“Run”.
3. TypeyourCD-ROMdrivename(example:“Q:\”)and“LAUNCHER.EXE”in“Name”.(example:Q:\LAUNCH-
ER.EXE)
4. Click“OK”.
The menu window will be displayed.
2. Click“InstallingImageExpressUtilityLite”onthemenuwindow.
The installation will start.
“ENDUSERLICENSEAGREEMENT”screenwillbedisplayed.
Read“ENDUSERLICENSEAGREEMENT”carefully
3. Ifyouagree,click“Iagree.”andthenclick“Next”.
• Followtheinstructionsontheinstallerscreenstocompletetheinstallation.
• Whentheinstallationiscomplete,youwillreturntothemenuwindow.
When the installation is complete, a completion message will be displayed.
4. Click“OK”.
This completes the installation.
TIP:
•UninstallingImageExpressUtilityLite
TouninstallImageExpressUtilityLite,dothesameproceduresstatedasin“UninstallingVirtualRemoteTool”.Read“VirtualRemote
Tool”as“ImageExpressUtilityLite”(→page37)
Step 2: Connect the projector to a LAN.
ConnecttheprojectortotheLANbyfollowingtheinstructionsin“ConnectingtoaWiredLAN”(→page112),“Con-
nectingtoaWirelessLAN(Optional:NP02LMseries)”(→page113)and“9.ControllingtheProjectorbyUsingan
HTTPBrowser”(→page43)
Step 3: Start Image Express Utility Lite.
1. OnWindows,click“Start”→“Allprograms”→“NECProjectorUserSupportware”→“ImageExpressUtility
Lite”→“ImageExpressUtilityLite”.
ImageExpressUtilityLitewillstart.
Theselectwindowfornetworkconnectionwillbedisplayed
2. SelectNetworkandclick“OK”.
The select window for destination will show a list of connectable projectors.
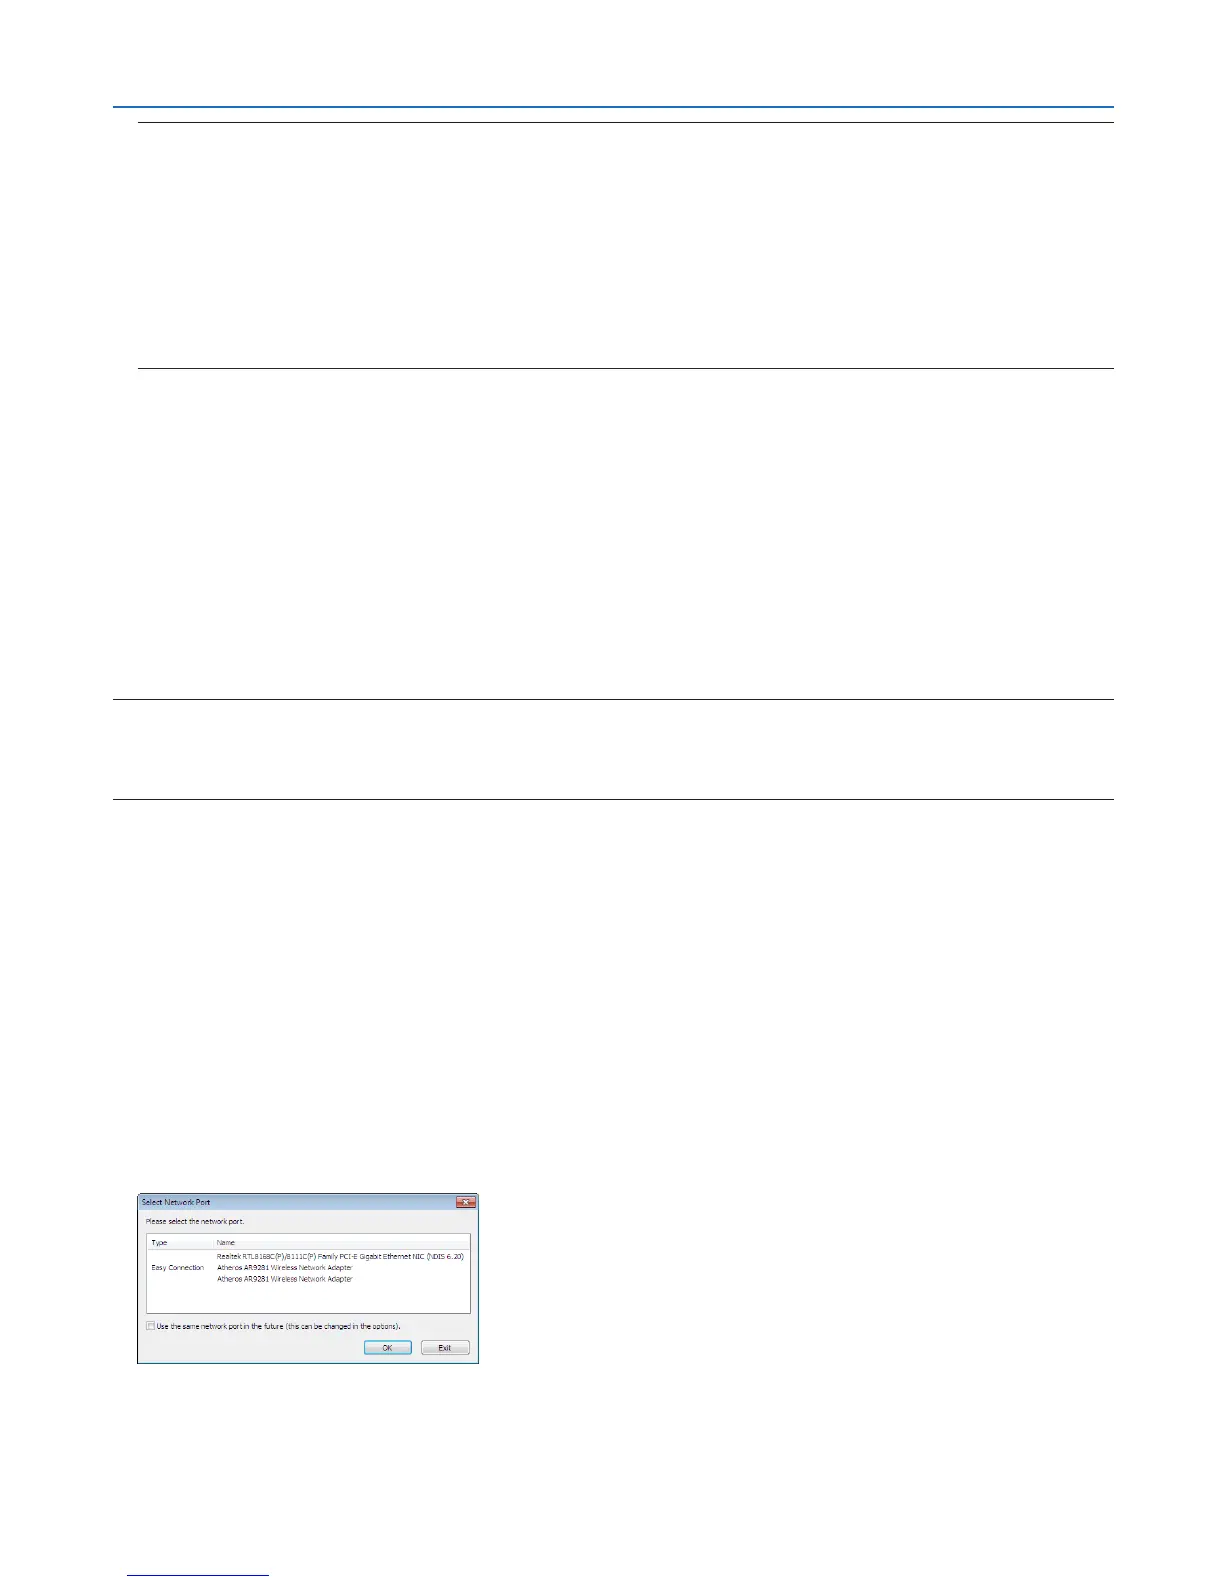
• Whenconnectingthecomputerdirectlytotheprojectorbyone-to-one,“EasyConnection”isrecommended.
• Whenoneormorenetworksfor“EASYCONNECTION”arefound,the“EasyConnectionSelectionScreen”
window will be displayed.
• Tocheckforthenetworkavailableforconnectedprojectors,fromthemenu,select[INFO.]→[WIRELESS
LAN]→[SSID].
 Loading...