Page 9
2.1.2.1 Using HyperTerminal
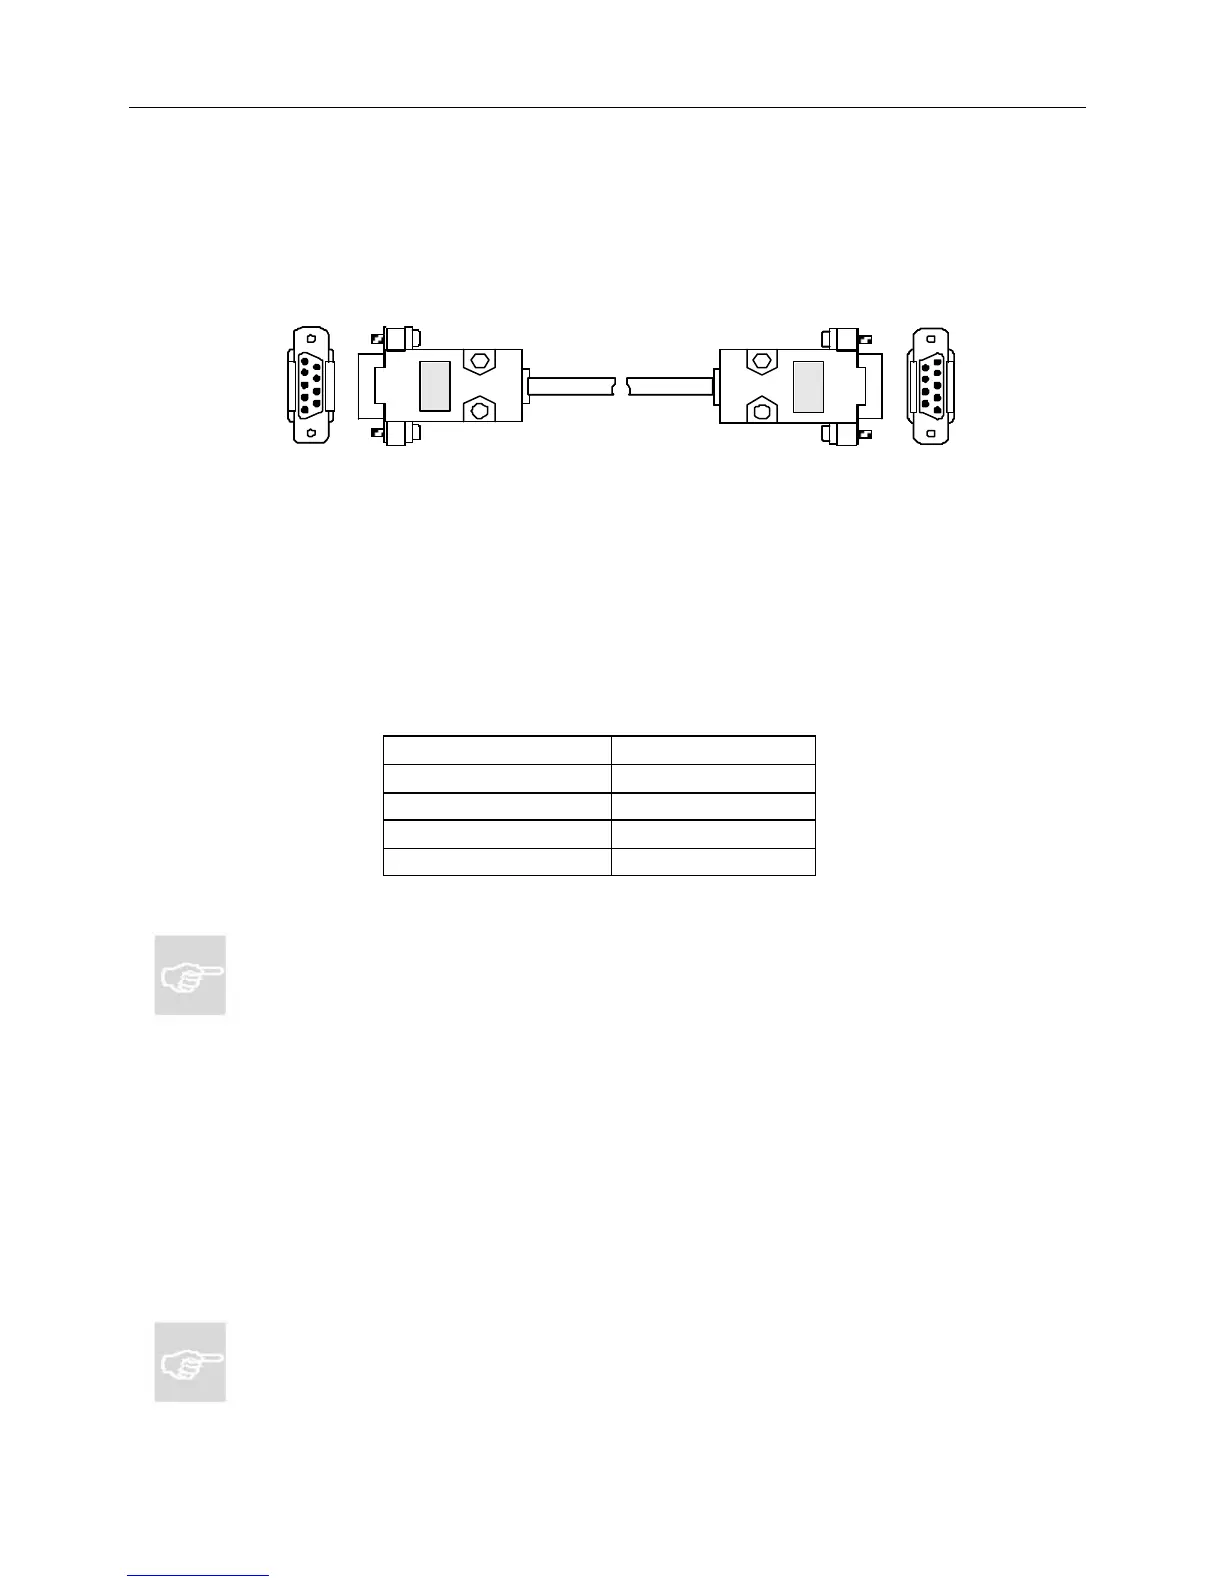
For this procedure you will need a standard serial cable (D-sub 9-pin, male-to-female,
straight-through connection) as shown in Figure 6, and a PC or Mac running the
HyperTerminal terminal-emulator program (or an equivalent), which is included in Microsoft
operating systems. It is usually found in the Programs menu, under Accessories.
1. With the power to the Net2Phone MAX 410 turned OFF, connect the cable from the
unit’s serial port to one of the PC’s serial ports. Note which of the PC’s serial ports you
are using.
2. Launch HyperTerminal and set up a new connection.
3. In the dialog box, specify the appropriate serial port, and set the serial communication
parameters as follows:
Baud rate 19200
Parity None
Character size 8
Stop Bit 1
Flow Control None
5. Power-on the Net2Phone MAX 410, then press R on your PC. The boot messages are
displayed, followed by the command prompt n2p:>.
n2p is the default system name with which the unit is shipped. This can be replaced by a
system-name you select, such as MY_MAX:>. To change the system name, see Section
4.6 in this Guide, System Information and Commands, or Section 2.5 in the Net2Phone
MAX 410/420/430 Command Reference Guide.
6. Press the R key. The Login: prompt is displayed.
7. Three default user IDs are provided:
??root
??manager
??sysadm
Type one of these user IDs at the Login: prompt, followed by the R key. For example, type
root, followed by the R key. The Password: prompt appears.
8. At the Password: prompt, type the default password, n2p, followed by the R key. The
command line prompt n2p:> appears. You are now logged in.
NOTES:
?? Net2Phone MAX 410/420/430 provides three fixed user (or manager) names.
?? You can change any manager’s password, but managers cannot be created, deleted,
or renamed.
Net2Phone MAX 410/420/430 User GuideSection 2.1 –
Connecting the MAX 410/420/430 to a DHCP LAN
Figure 6