Page 15 of 15
Switch> Trunking Page
Port Trunking is a feature that allows multiple links between switches to work as one virtual link (aggregate
link). Trunks can be defined for similar port types only. For example, a 10/100 port cannot form a Port
Trunk with a gigabit port. For 10/100 ports, trunks can only be formed within the same bank. A bank is a set
of eight ports, such as ports 1 to 8, ports 9 to 16, ports 17 to 24, or port 25 and port 26, on the same switch
unit. Up to four trunks can be operating at the same time.
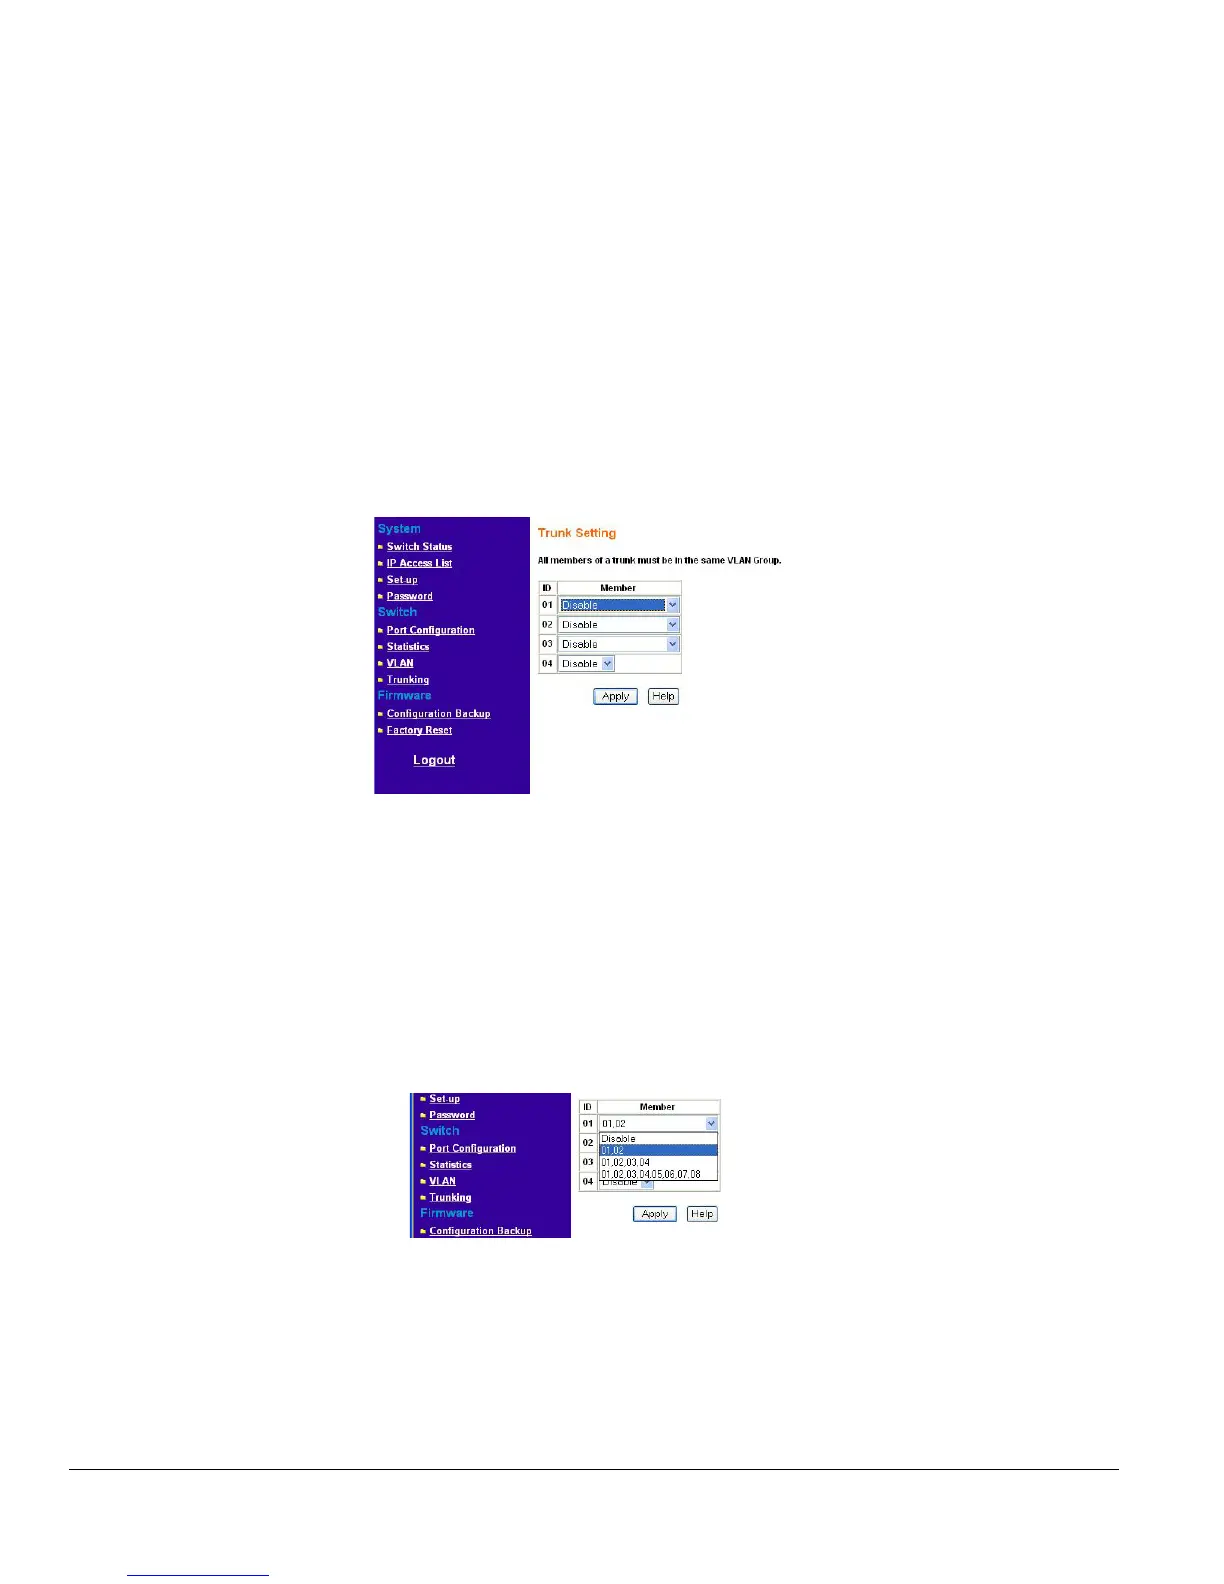
The Trunk Table shows all four trunking groups are set disabled by default. For each trunk group, trunk
members are pre-set for selection.
Click to select Trunk members from a pull-down menu for a Trunk group
Click Apply to activate the new setting
Note: The selected trunk port setting must set to the same VLAN group.
Figure 5-4. Switch> Trunk Setting
For Trunk Group 01, there are four types of member selection:
• Disable: Trunk Group 01 is disabled.
• 01, 02: These two ports are trunked as Trunk Group 01.
• 01, 02, 03, and 04: These four ports are trunked as Trunk Group 01.
• 01 ~ 08: These eight ports are trunked as Trunk Group 01.
The other Trunk Groups behave in a similar manner.
Figure 5-5. Switch> Trunk Setting: Trunk Group 01
Firmware Menu
There are 2 options available:
 Loading...