EasyManuals Logo

NETGEAR WNR1000v3 - Wireless- N Router Setup Manual

NETGEAR WNR1000v3 - Wireless- N Router
42 pages
To Next Page IconTo Next Page
To Previous Page IconTo Previous Page
Page #19 background imageLoading...
Page #19 background image
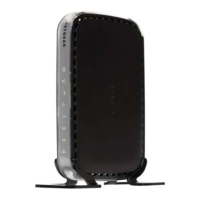
Manually Installing Your Router 14
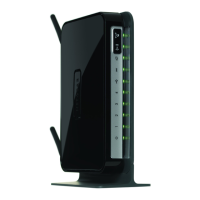
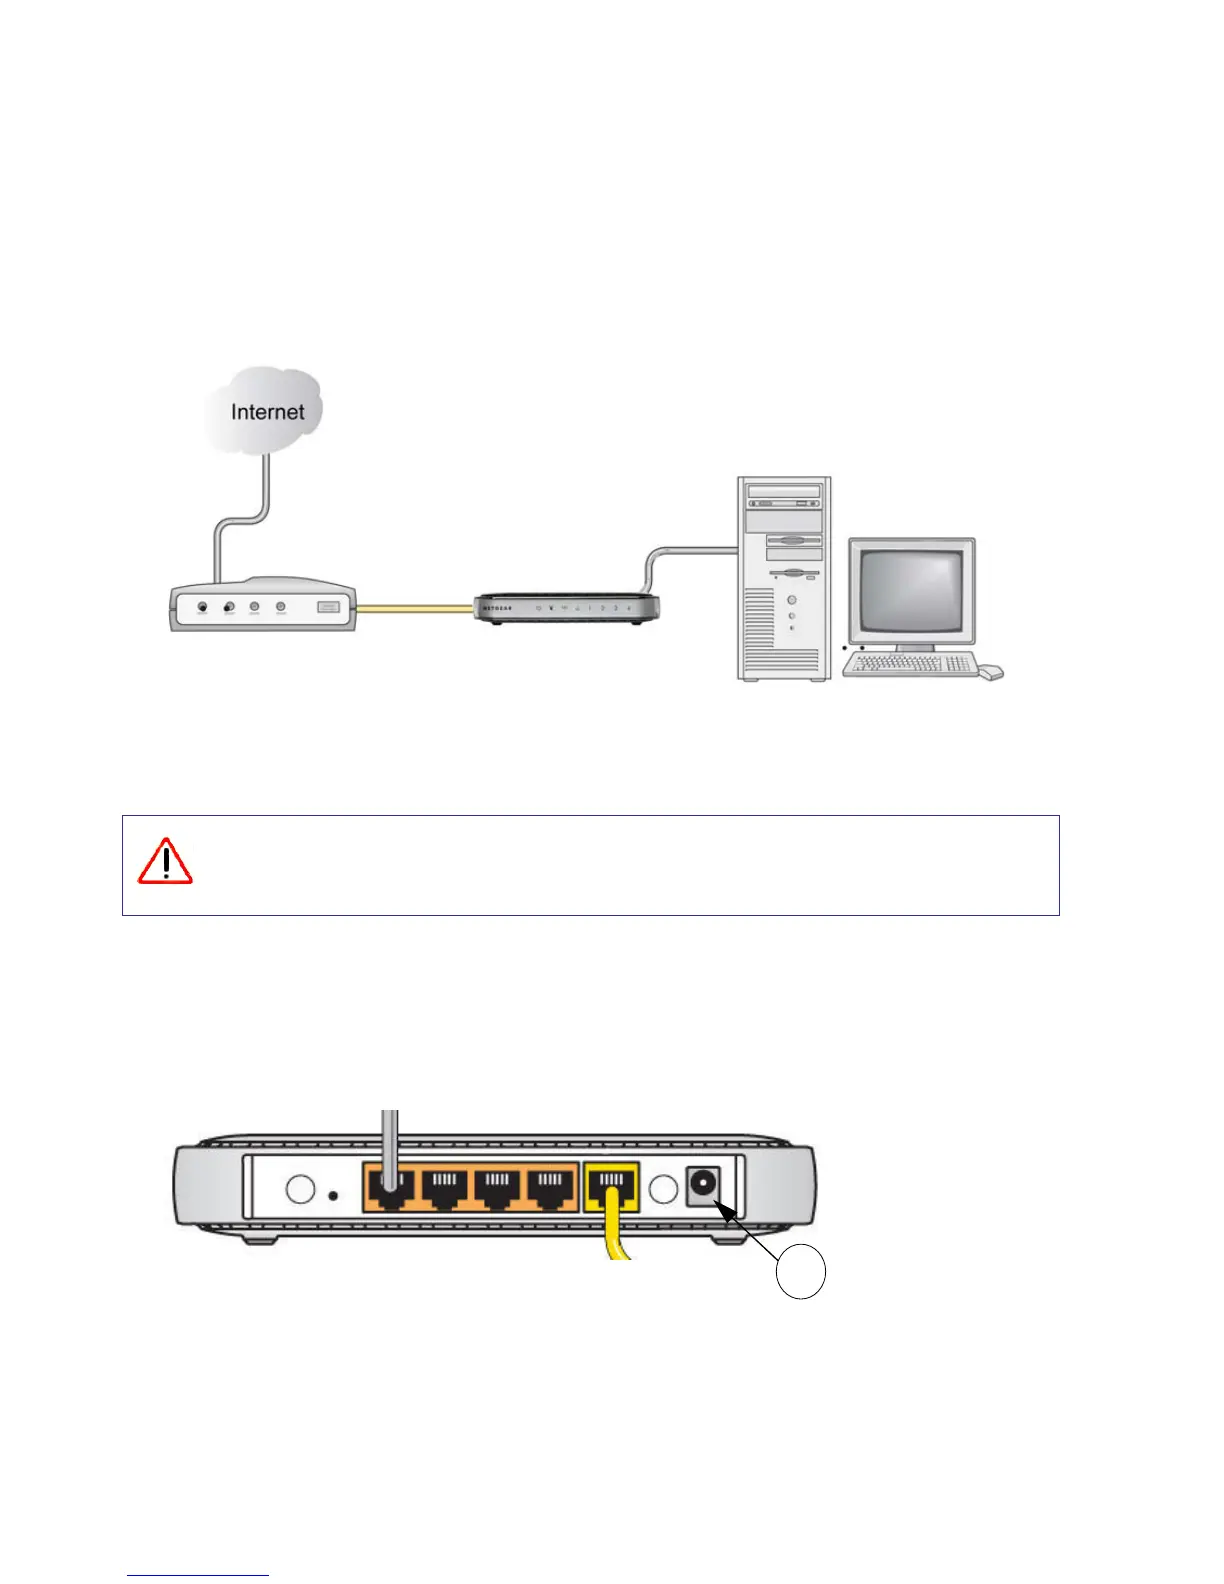
7. Connect any additional wired PCs to your router by inserting an Ethernet cable from a PC into
one of the three remaining LAN ports.
8. Review that your network is now set up (as shown in Figure 9); you are ready to start your
network.
9. Start your network in the correct sequence, as described below.
To start your network:
1. Plug in and turn on the cable or DSL modem. Wait 2 minutes.
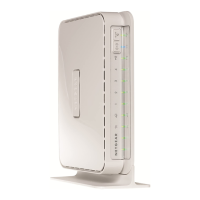
2. Plug the end of the power adapter’s cord into the wall or a power strip, and into the power
adapter outlet of your wireless router (F), as shown in Figure 10. Wait 1 minute.
Figure 9
Failure to start or restart your network in the correct sequence could prevent you
from accessing the Internet.
Figure 10
F

Other manuals for NETGEAR WNR1000v3 - Wireless- N Router

Questions and Answers:

Question and Answer IconNeed help?

Do you have a question about the NETGEAR WNR1000v3 - Wireless- N Router and is the answer not in the manual?

NETGEAR WNR1000v3 - Wireless- N Router Specifications

General IconGeneral
WiFi Technology802.11n
WiFi SpeedUp to 150 Mbps
Frequency Band2.4 GHz
Power Supply12V DC, 0.5A
SecurityWPA, WPA2
Weight0.44 lb (0.2 kg)
Ethernet Ports4 x 10/100 Mbps LAN, 1 x 10/100 Mbps WAN
Dimensions173 x 128 x 28 mm

Related product manuals