EasyManuals Logo

NETGEAR WNR1000v3 - Wireless- N Router Setup Manual

NETGEAR WNR1000v3 - Wireless- N Router
42 pages
To Next Page IconTo Next Page
To Previous Page IconTo Previous Page
Page #8 background imageLoading...
Page #8 background image
Getting to Know Your Wireless Router 4
Back Panel
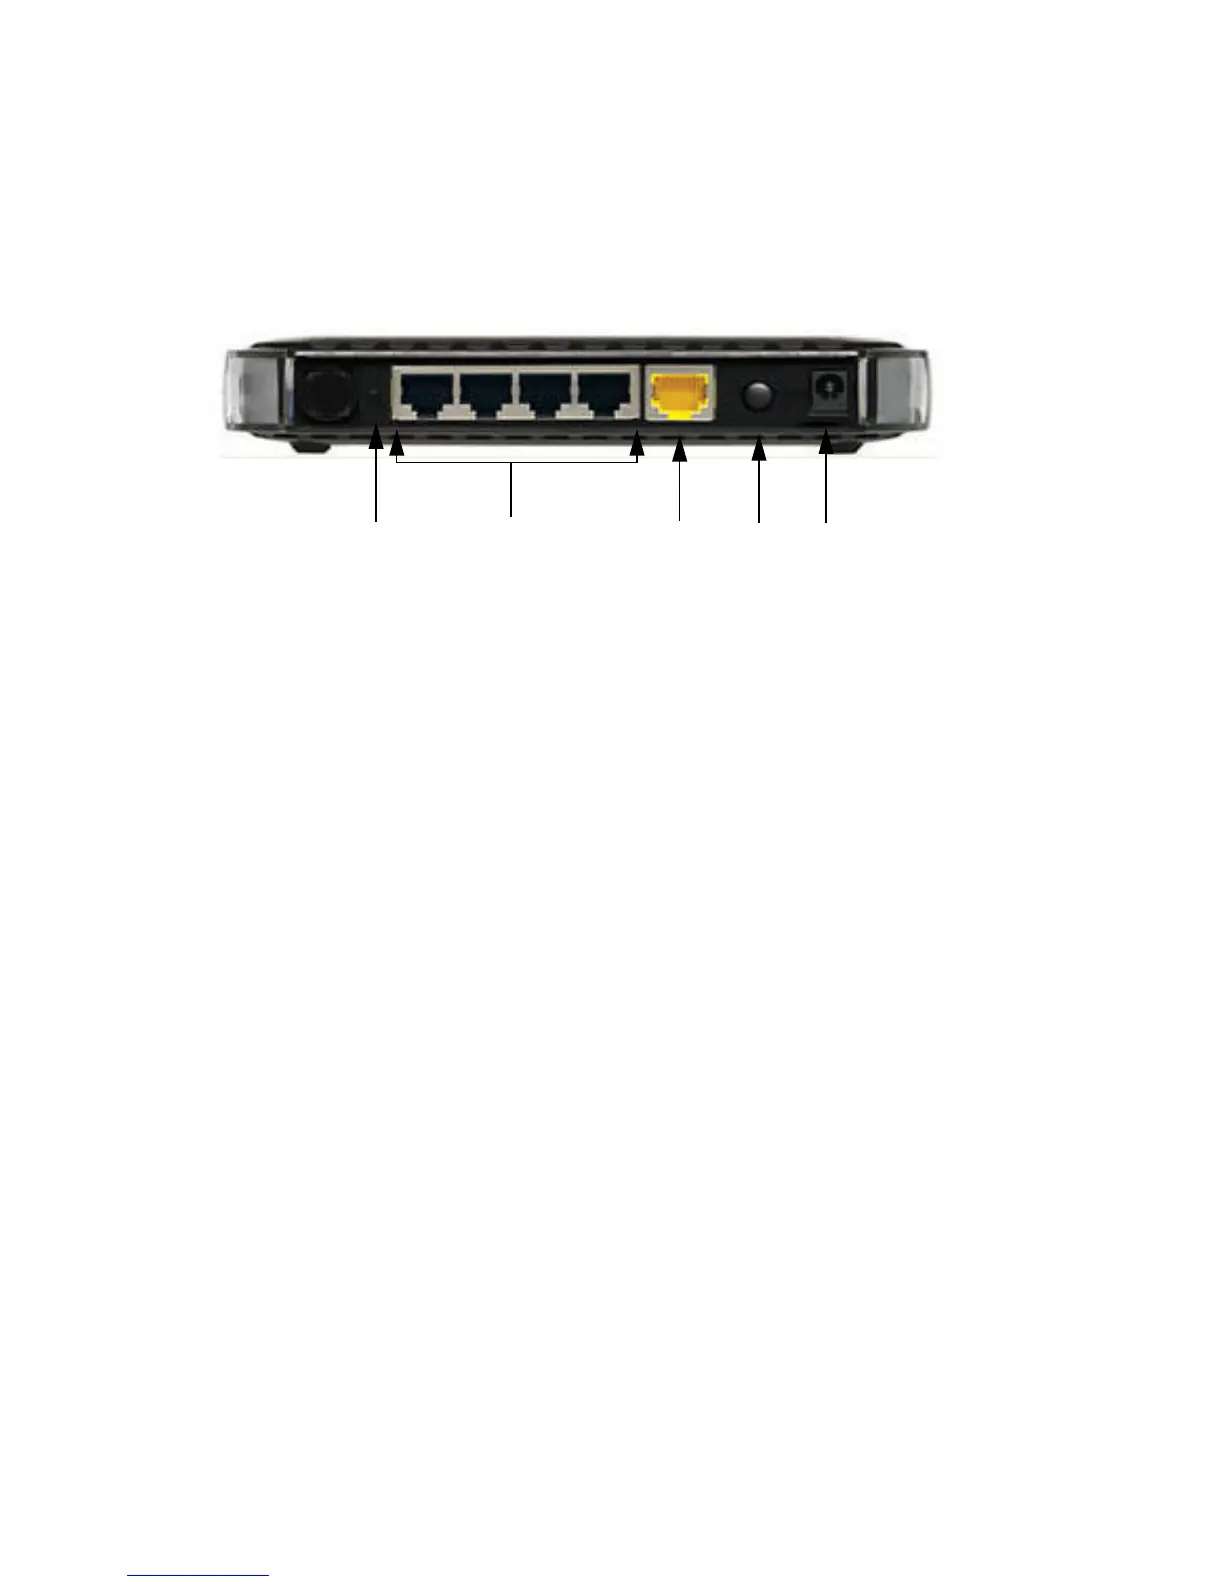
The router back panel, shown in Figure 2, contains port connections.
Viewed from left to right, the rear panel contains the following elements:
1. Restore factory settings button. Press for approximately 5 seconds to reset the router to the
factory default settings.
2. Four Local Area Network (LAN) 10/100 Mbps Ethernet ports for connecting the router to
your local computers
3. Internet/Wide Area Network (WAN) Ethernet port for connecting the router to a cable or DSL
modem.
4. Power on/off push-button.
5. AC power adapter outlet for connecting the power adapter.
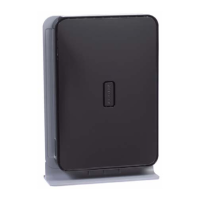
Side Panel
The router side panel is shown in Figure 3.
Figure 2
1
4
3
2
5

Other manuals for NETGEAR WNR1000v3 - Wireless- N Router

Questions and Answers:

Question and Answer IconNeed help?

Do you have a question about the NETGEAR WNR1000v3 - Wireless- N Router and is the answer not in the manual?

NETGEAR WNR1000v3 - Wireless- N Router Specifications

General IconGeneral
WiFi Technology802.11n
WiFi SpeedUp to 150 Mbps
Frequency Band2.4 GHz
Power Supply12V DC, 0.5A
SecurityWPA, WPA2
Weight0.44 lb (0.2 kg)
Ethernet Ports4 x 10/100 Mbps LAN, 1 x 10/100 Mbps WAN
Dimensions173 x 128 x 28 mm

Related product manuals