EasyManuals Logo

NETGEAR WNR1000v3 - Wireless- N Router Setup Manual

NETGEAR WNR1000v3 - Wireless- N Router
42 pages
To Next Page IconTo Next Page
To Previous Page IconTo Previous Page
Page #6 background imageLoading...
Page #6 background image
Getting to Know Your Wireless Router 2
To prepare your router for installation:
1. Carefully peel off any protective film covering the sides of your router.
2. Place your router in a suitable area for installation (near an AC power outlet and accessible to
the Ethernet cables for your wired computers).
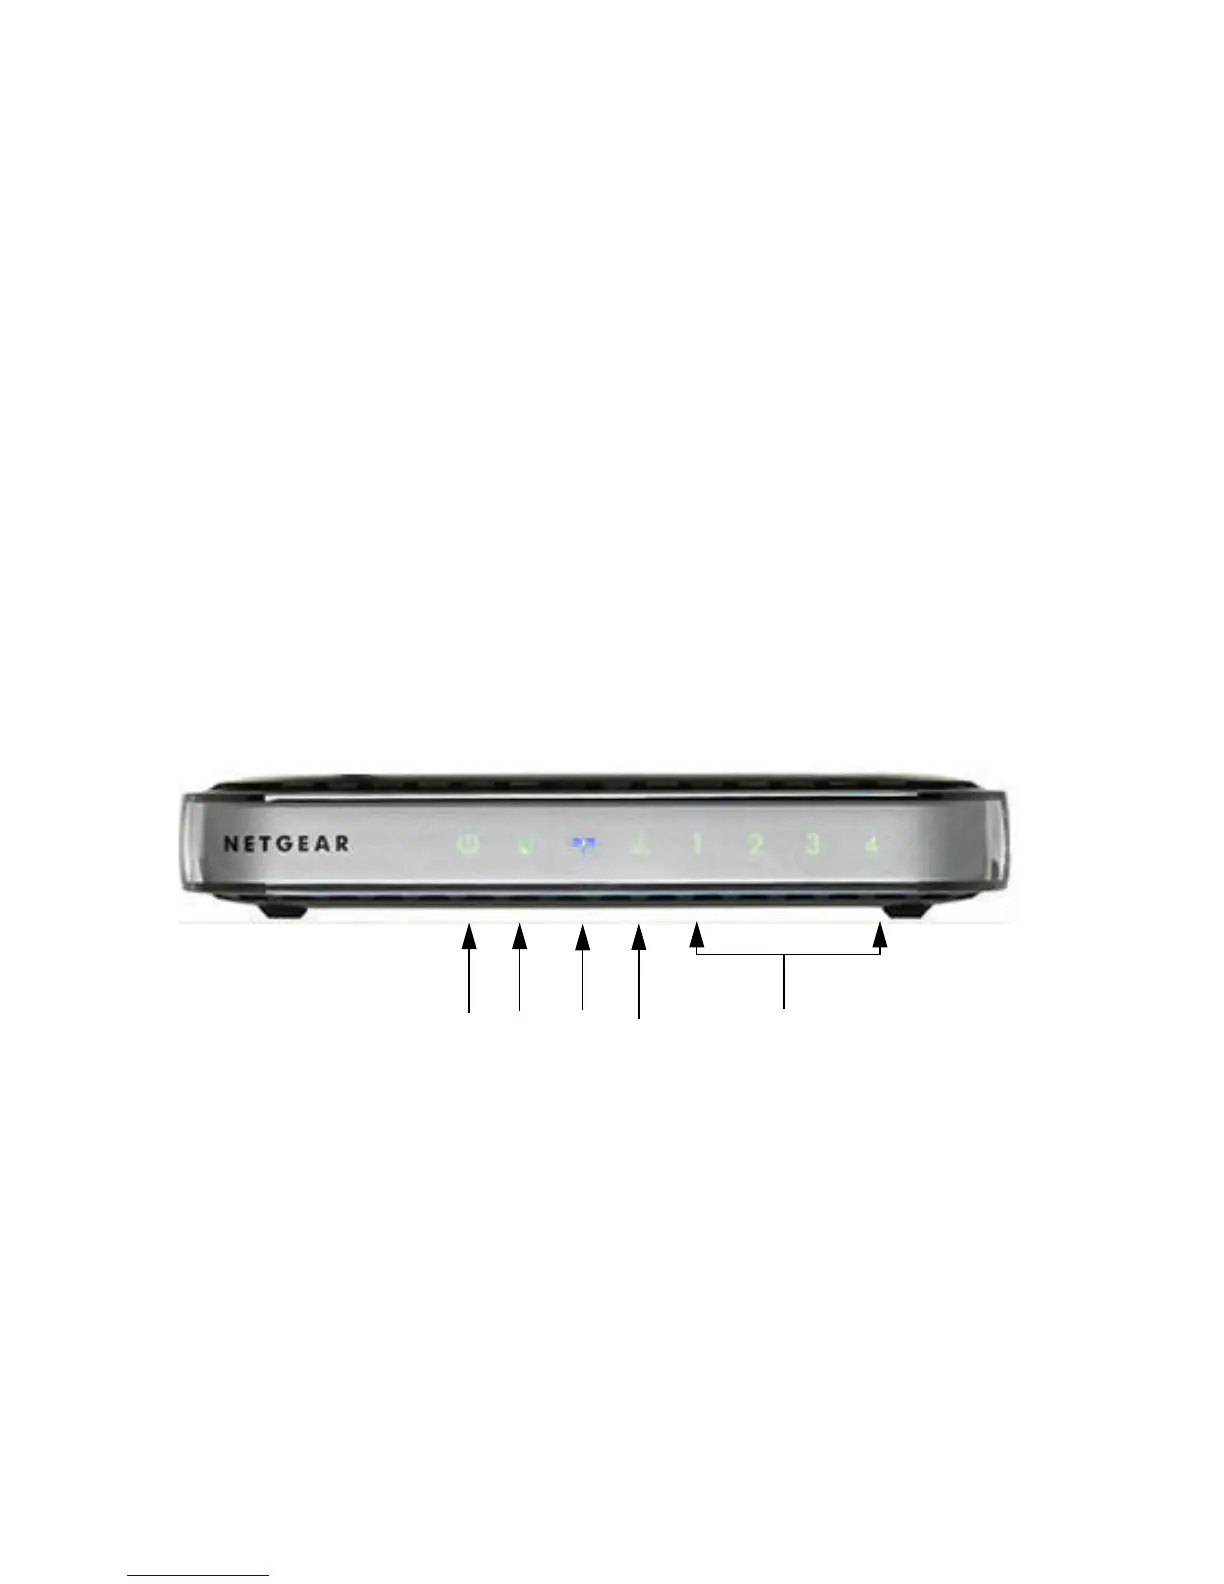
Hardware Features
Before you install and connect your router, take a moment to become familiar with the front and
back panels of the router—especially the status lights on the front panel.
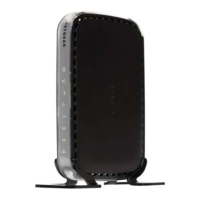
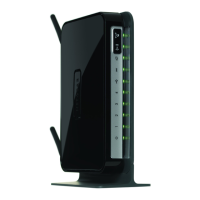
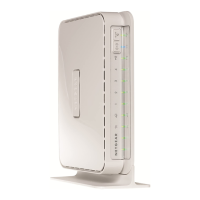
Front Panel
The router front panel, shown in Figure 1, contains status lights. (For more information on
interpreting the status lights, see “Verifying Your Connection” on page 15 and “Checking Basic
Router Functions” on page 25.)
Figure 1
1
2
3
4
5

Other manuals for NETGEAR WNR1000v3 - Wireless- N Router

Questions and Answers:

Question and Answer IconNeed help?

Do you have a question about the NETGEAR WNR1000v3 - Wireless- N Router and is the answer not in the manual?

NETGEAR WNR1000v3 - Wireless- N Router Specifications

General IconGeneral
WiFi Technology802.11n
WiFi SpeedUp to 150 Mbps
Frequency Band2.4 GHz
Power Supply12V DC, 0.5A
SecurityWPA, WPA2
Weight0.44 lb (0.2 kg)
Ethernet Ports4 x 10/100 Mbps LAN, 1 x 10/100 Mbps WAN
Dimensions173 x 128 x 28 mm

Related product manuals