Manually Installing Your Router 15
3. Turn on your computer. It will take several minutes for your router to establish a connection
with your computer and your Internet provider.
Verifying Your Connection
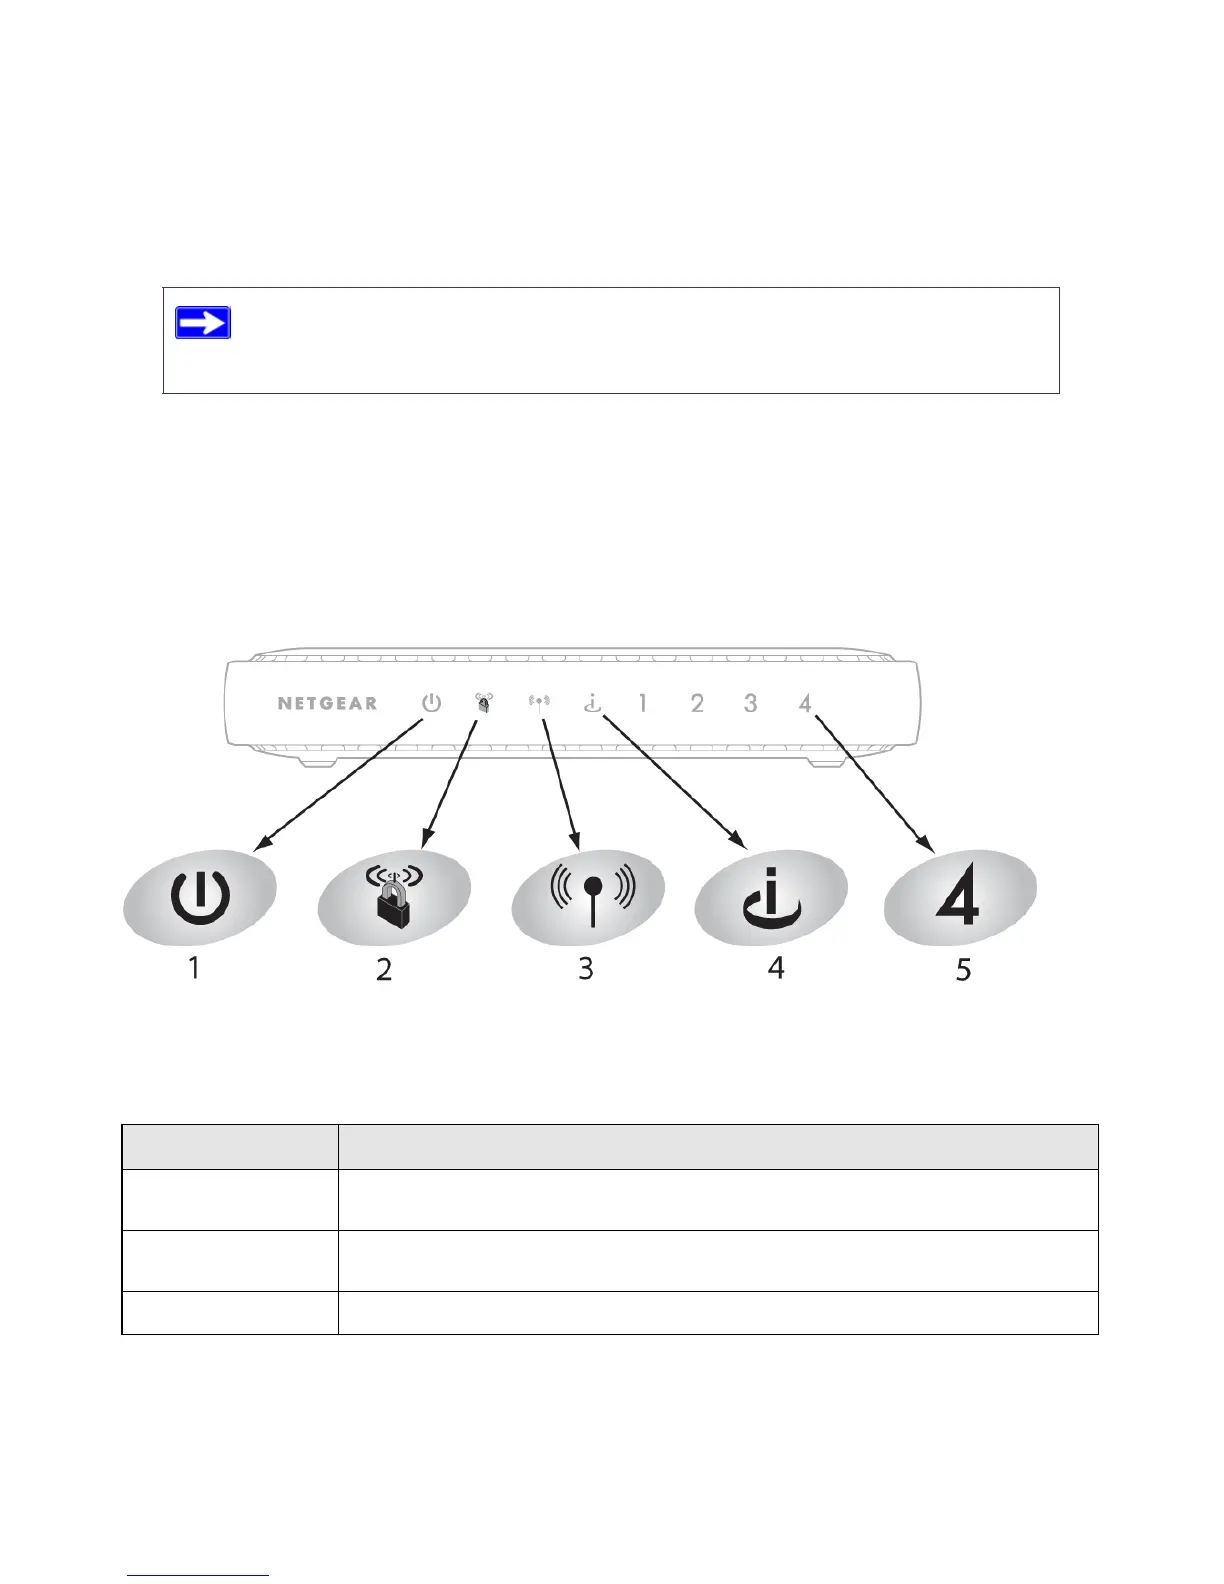
Verify that your router is connected correctly by checking the wireless router status lights (as
illustrated in Figure 11).
For DSL customers, if software logs you in to the Internet, do not run that
software. You might need to go to the Internet Explorer Tools menu, Internet
Options, Connections tab and select “Never dial a connection.”
Figure 11
Table 2. Status Lights After Installation
Label Description
1. Power
The power light should turn solid green. If it does not, see “Checking Basic Router
Functions” on page 25.
2. Push 'N' Connect
The WPS light will not be lit unless you have set wireless security. See “Using Push
'N' Connect (WPS) to Configure Your Wireless Network” on page 22.
3. Wireless
The wireless light should be lit after turning on the wireless router.
 Loading...