Preparations
1.
Check that the switch (SF1) for the compatible heat
pump is in position “ ”.
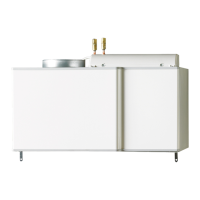
2.
Check that the filling valves are fully closed (see
image).
Filling and venting
Caution
Insufficient venting can damage internal com-
ponents in NIBE FLM.
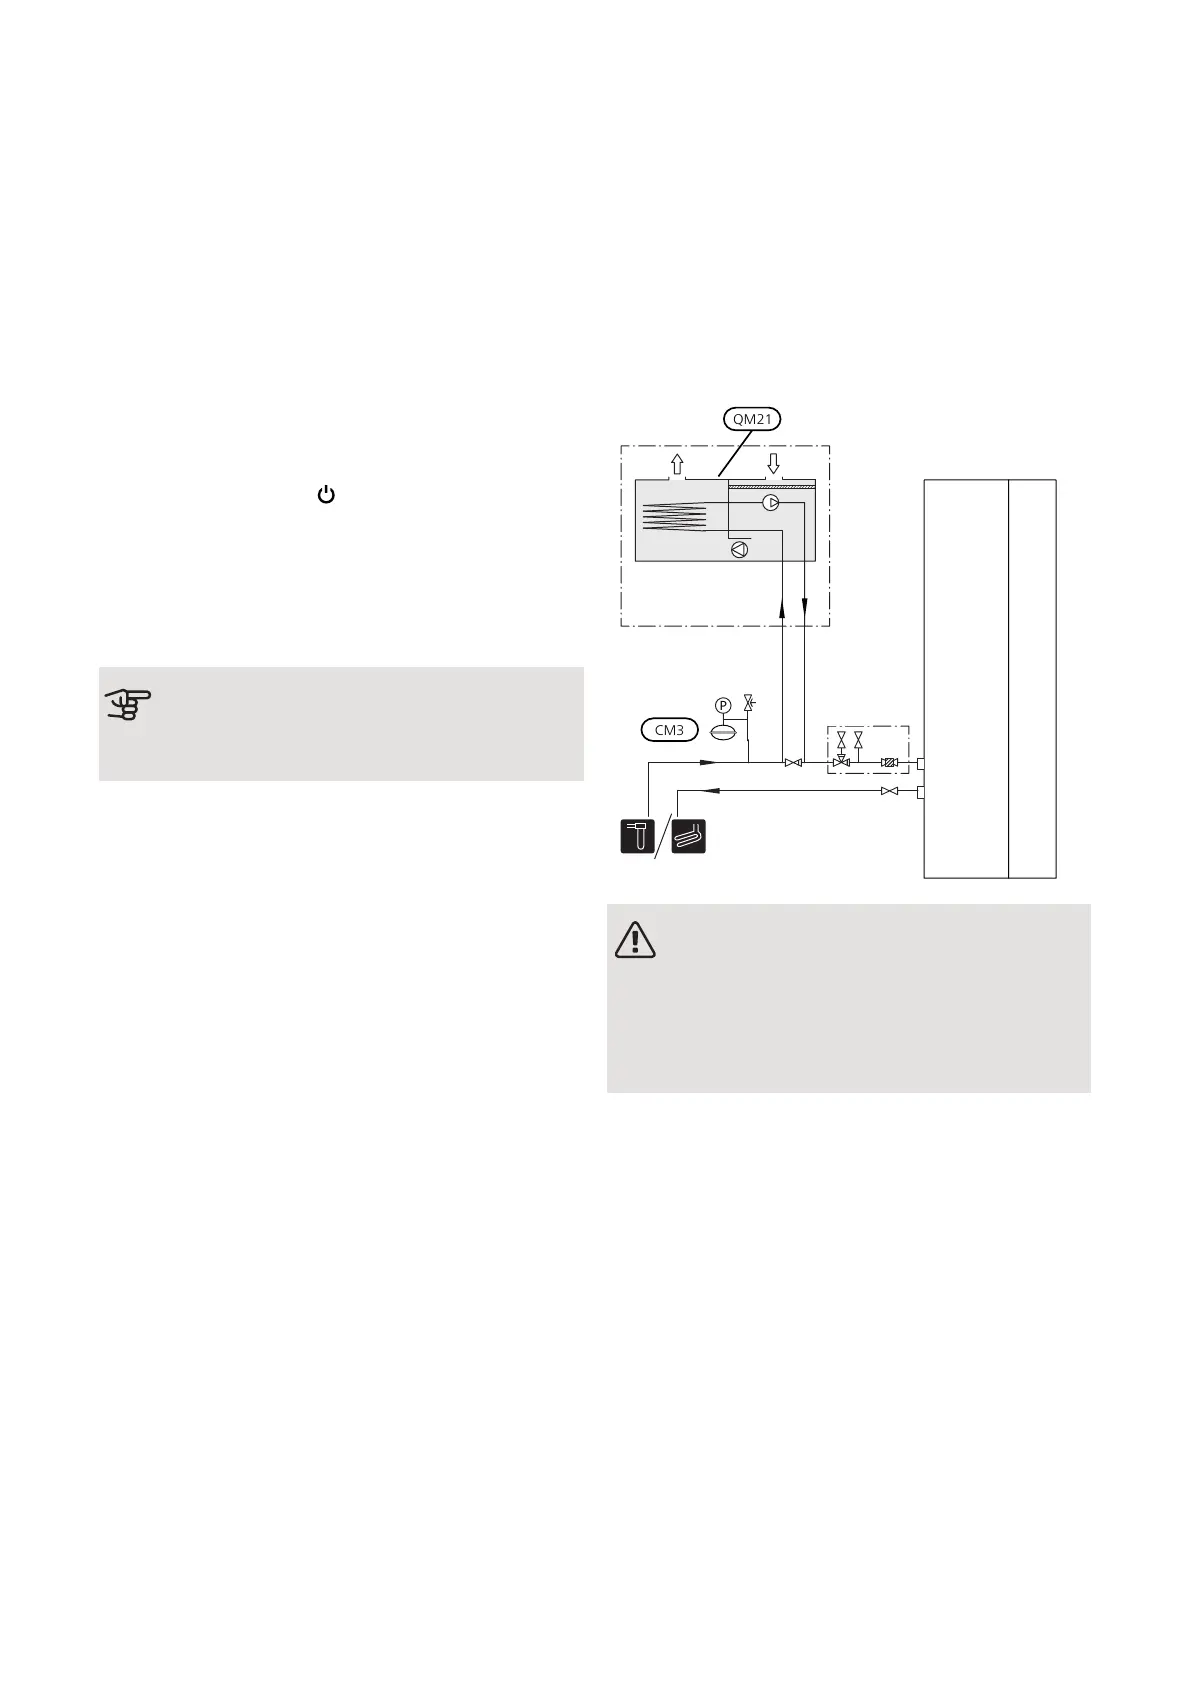
FILLING AND VENTING THE BRINE SYSTEM
When filling the brine system, mix the water with anti-
freeze in an open container. The mixture should be
protected against freezing down to about -15°C. The
brine is topped up by connecting a filling pump.
1.
Check that the level vessel is replaced with expan-
sion vessel (CM3).
2.
Check the brine system for leakage.
3.
Connect the filling pump and return line on the brine
system’s filling connection (QZ20) (accessory).
4.
Close the reversing valve in the filling connection
(QZ20).
5.
Open the valves on the filling connection (QZ20).
6.
Start the filling pump.
7.
Fill until liquid enters the return pipe.
8.
Vent the brine system with vent valve (QM21) on
NIBE FLM.
9.
Close the valves on the filling connection (QZ20).
10.
Open the reversing valve in the filling connection
(QZ20).
NOTE
Venting may be necessary during installation
and after a period of use. Venting takes place
through vent valve (QM21). When venting, set
the switch for the circulation pump (SF2) to
position “0”.
NIBE FLMChapter 6 | Commissioning and adjusting22
6 Commissioning and adjusting
 Loading...